Add a Fuel Receipt Listing
This article provides instructions for adding detailed information about fuel purchases to a fuel tax trip in Encompass. Users can access a trip by navigating to Vehicles > Fuel Tax and selecting the appropriate unit, then editing the trip using the pencil icon or Trip Line Info option. From the edit screen, users can enter essential details including purchase date, vendor name, city, total cost, and invoice number. Completing all required fields ensures the fuel purchase appears correctly on the Fuel Listings Report, supporting accurate reporting and compliance.
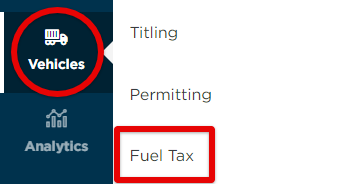
Once fuel has been added to a fuel tax trip, details about the purchase can be added. If you are no longer in the trip you recently added, go to Vehicles > Fuel Tax and click on the Unit in which the trip exists to open up its trips. Then, continue with the instructions below.

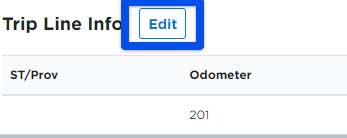
Click the Edit pencil while hovering on the Trip (in red below), or click into the Trip # and click Edit next to Trip Line Info (in blue below).

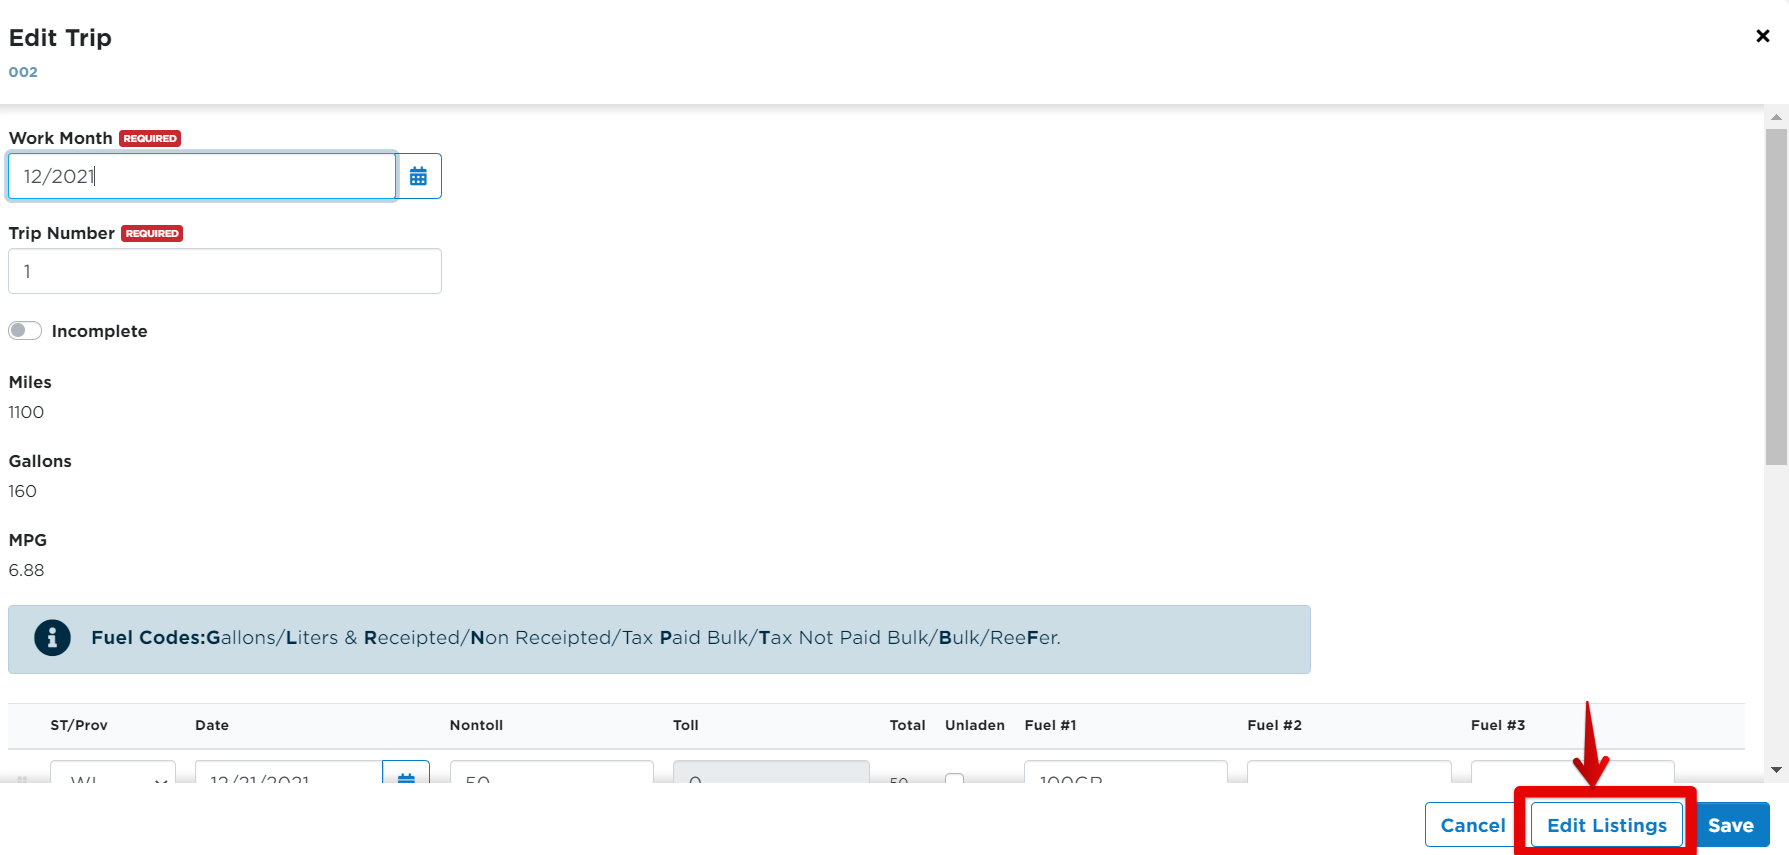
From the Edit pop-out screen, click Edit Listings near the bottom, next to Save.
- Date - Enter the date of the purchase or use the calendar next to the field to select the date of purchase
- Vendor Name - Enter the name of the fuel vendor
- City - Enter the city where the fuel purchase occurred
- Cost - Enter the total cost of the fuel purchase (not the price per gallon/liter)
- Invoice # - Enter the receipt number from the fuel receipt

Each of these fields must be entered in order for the purchase to show up on the Fuel Listings Report.
Once these details have been entered, click Save.