Purge Unassigned Events
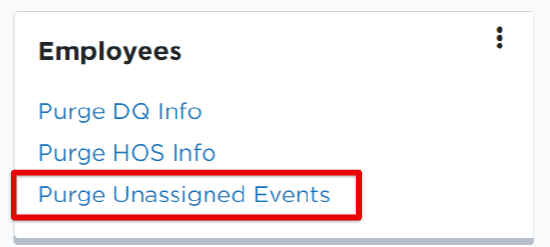
The steps below walk through the process of purging Unassigned Events in the new/"new UI" version of Encompass.
Reminder: This process is permanent. There is no under or restore option available. Please purge records with caution
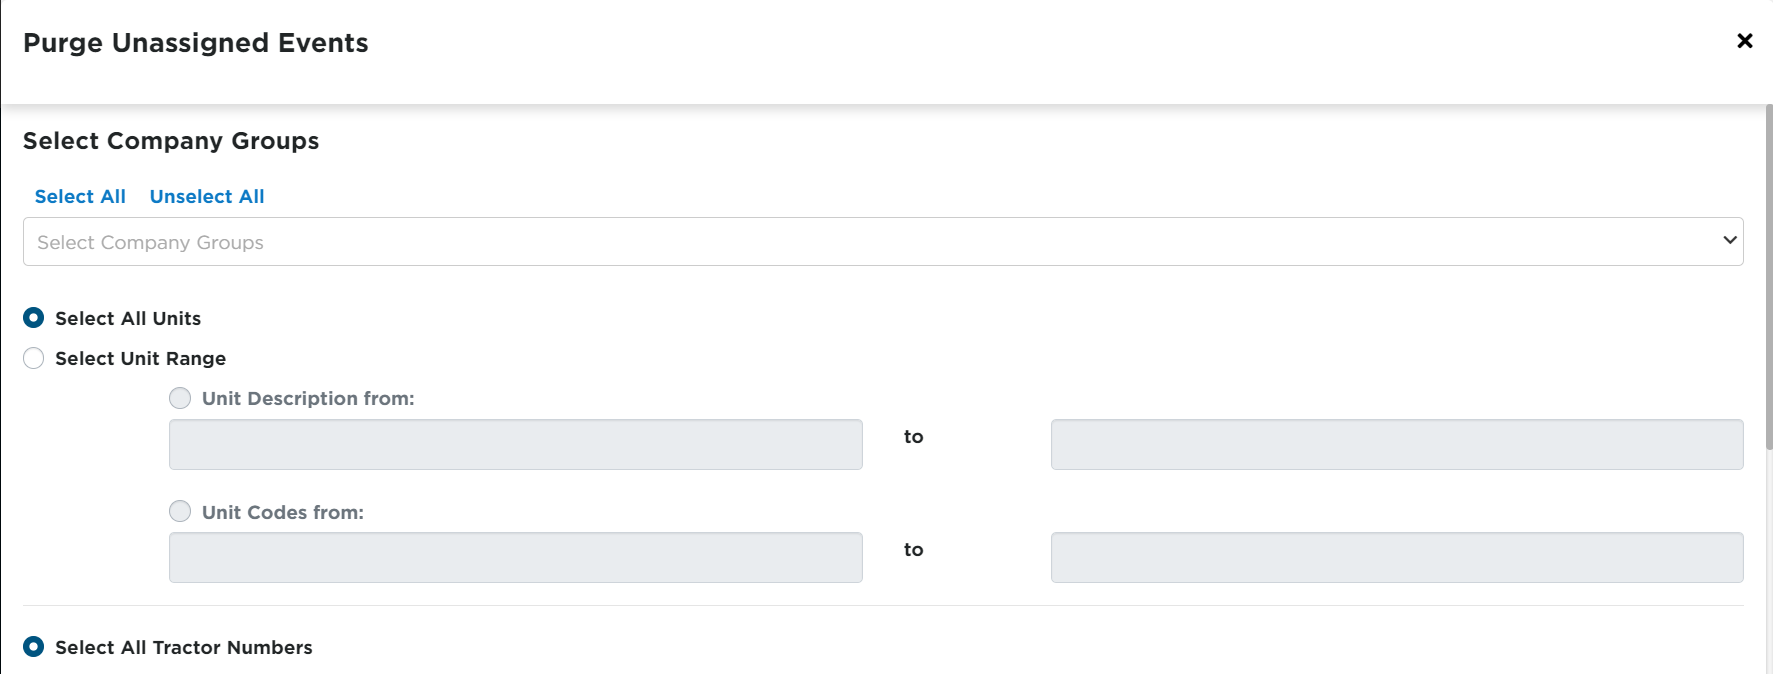
Next, set the parameters for the purge. Many of the fields are not required, but can help to narrow down record results when determining which Unassigned Events to purge. When finished selecting parameters, click Continue.
- The user can purge Unassigned Events from a specific company level, if desired. Select the appropriate level.
- The user can choose to purge from all Units or specify a Unit Range via the Unit Description or Unit Code.
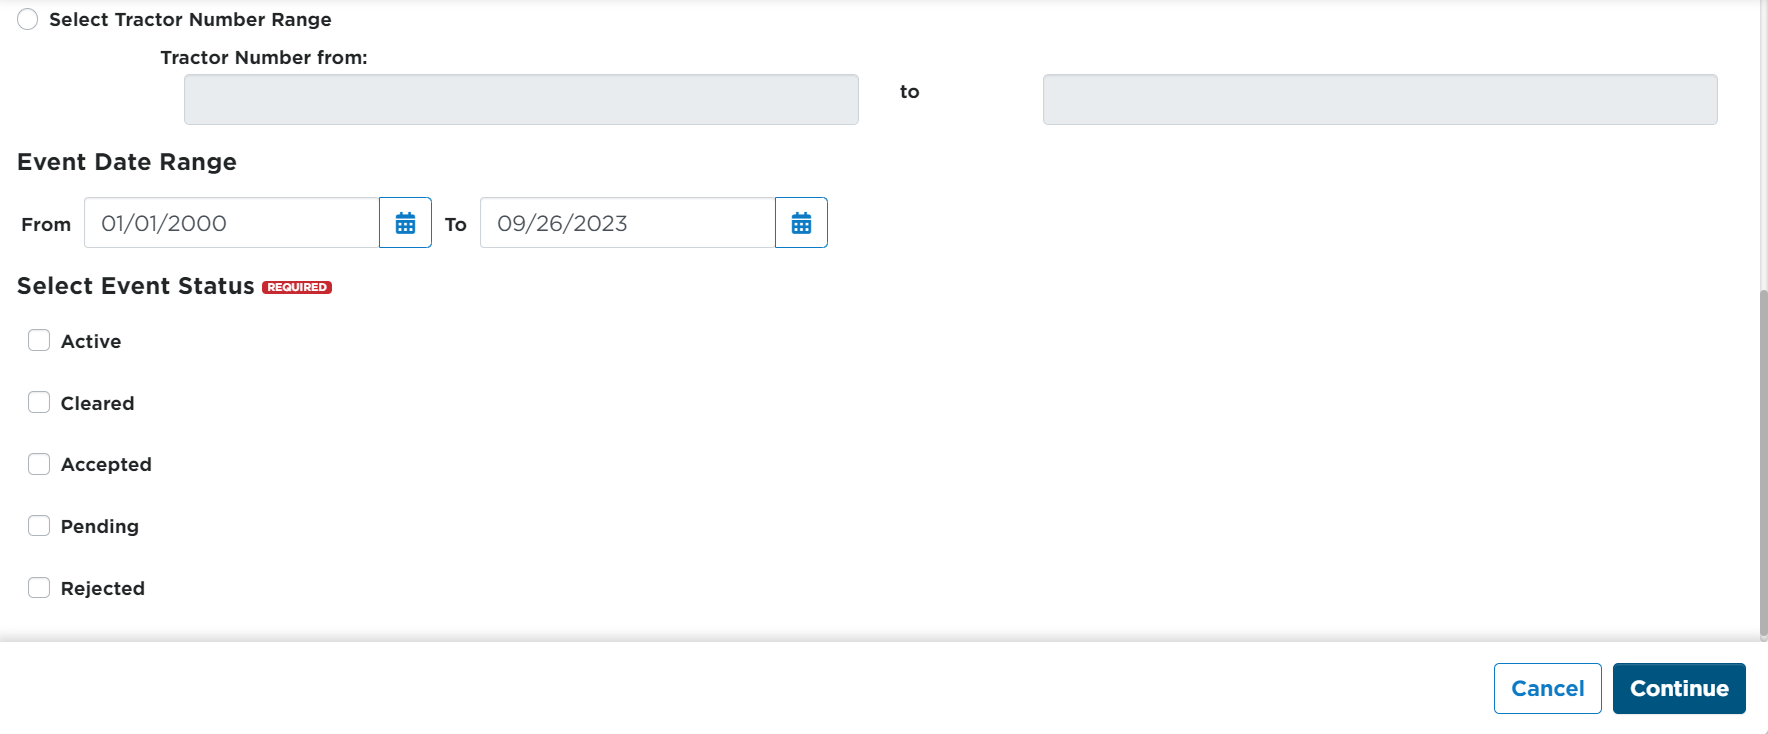
- The user can select all Tractor Numbers, or specify a range.
- The user can choose a date range to display Unassigned Events from within the selected dates.
- Check the box next to the Event Type/s desired to purge. (Required)
The next screen will display all results from the set parameters. Uncheck the box next to any Unassigned Event/s you do NOT want to purge. Click Continue when finished.
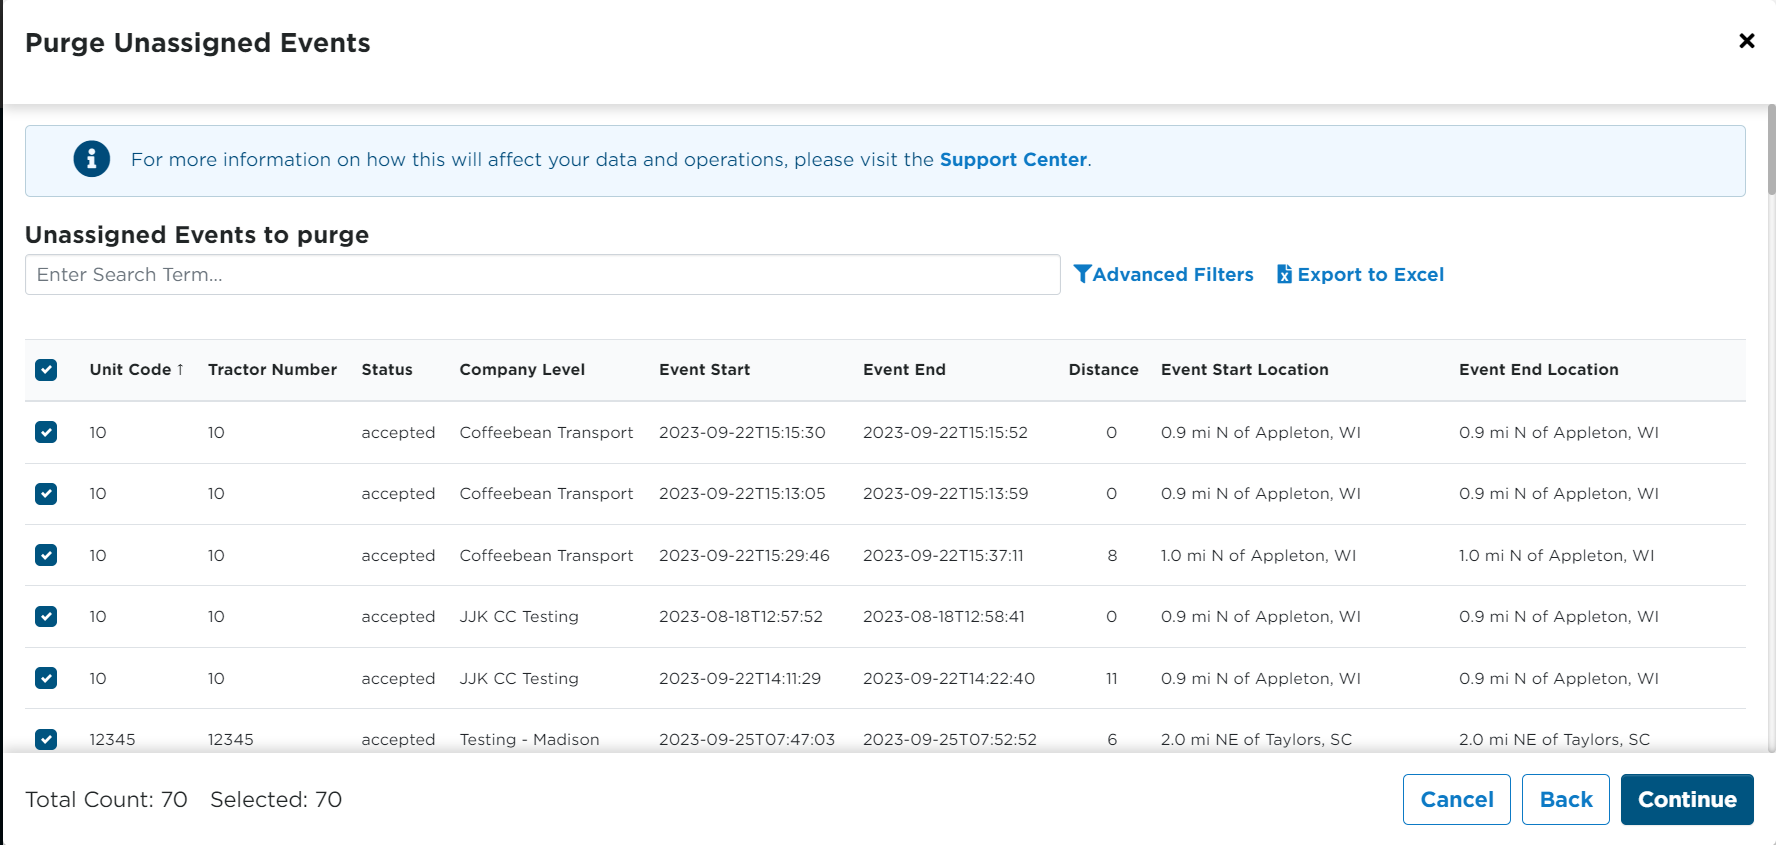
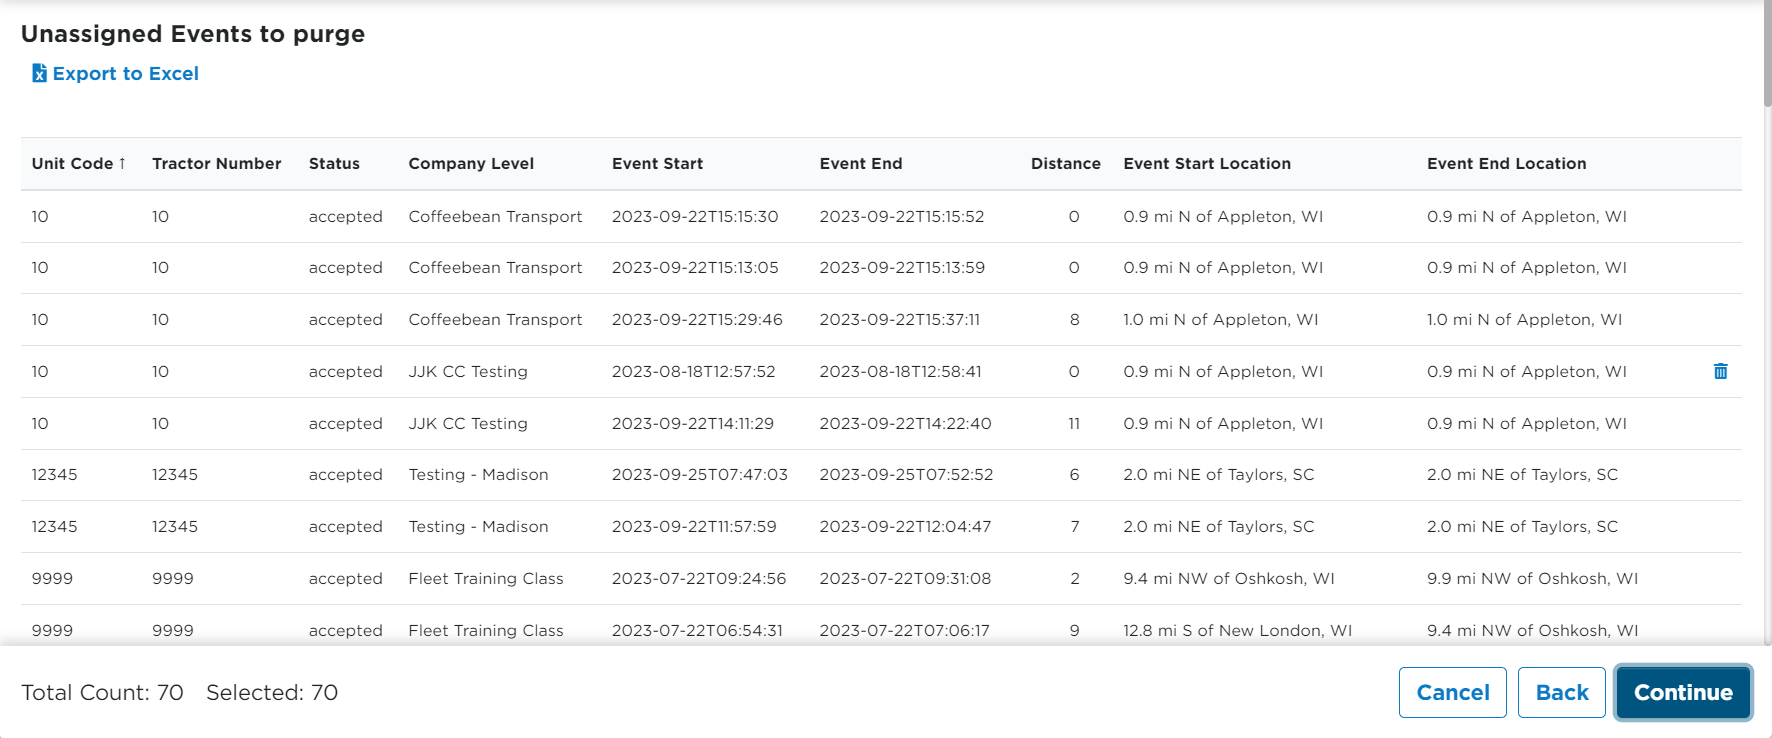
The next screen displays a final list of Unassigned Events that will be purged. You can export the list to Excel if desired. Click Continue when ready to move on.
On the final screen, determine if you would like to be updated on the purge status, or if you would like to send updates to a different email address. Click Purge when you are ready. Depending on the size of the purge, it may take awhile to process. Updates will be sent to the specified email.
REMINDER: CLICKING PURGE IS A PERMANENT DELETION OF ALL SELECTED RECORDS.
