Unassigned Fuel Purchases
This article explains how to correct Unassigned Fuel Purchases in Encompass® caused by Drivers entering an incorrect Vehicle Number in the ELD application. Users can assign these purchases by selecting the correct Unit, Fuel Tax Trip, and Trip Line (jurisdiction) through Alerts on the Vehicle Management home page. Once assigned, the system updates the trip to reflect the Fuel Purchase, which can be verified in Fuel Listings under the associated Unit and Trip. Proper assignment ensures accurate tracking of Fuel Purchases and correct Fuel Tax Reporting.
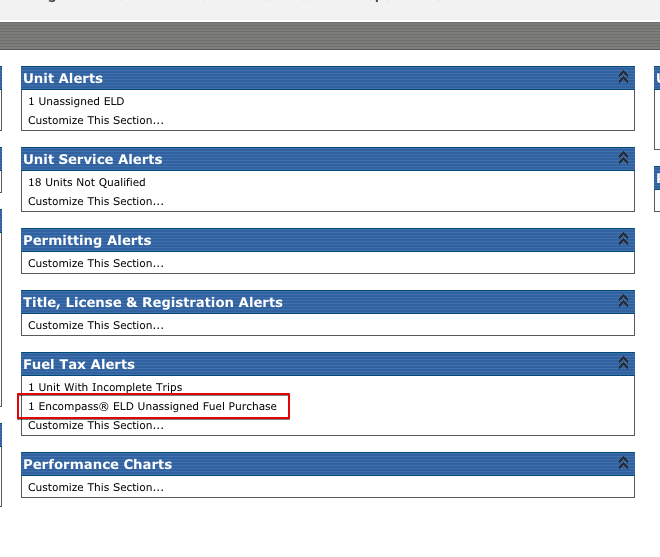
To start, the Unassigned Fuel Purchase will show as an Alert on the Vehicle Management home page. To assign the Fuel Purchase, click on the Alert.
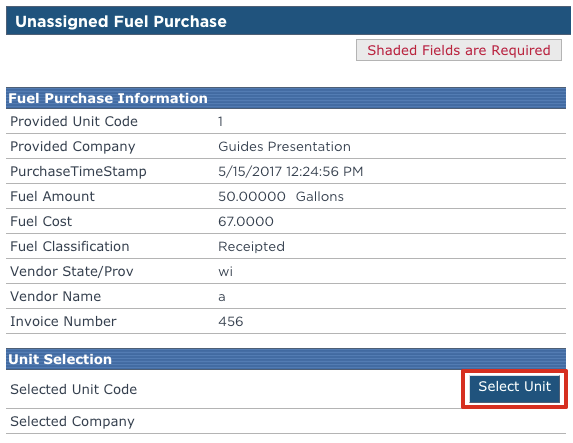
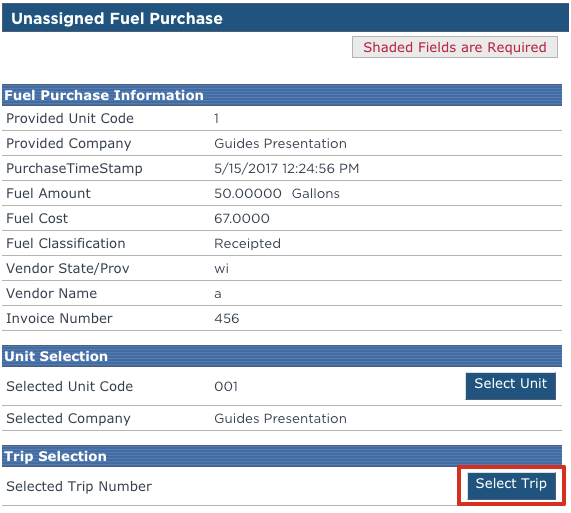
The following screen will show any unassigned fuel purchases and their details. Click on the Unit Code to assign the fuel purchase to a trip.

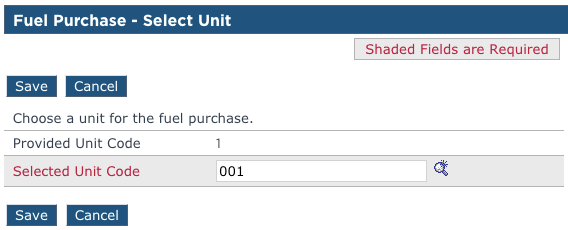
First, the appropriate unit must be selected. Click on the Select Unit button.
Enter the correct unit code in the Selected Unit Code field, or, click on the magnifying glass to the right of the text box to select the correct unit from the list. When the magnifying glass is clicked, a new window will be opened. Click on the appropriate Unit Code in the far left column. If this list is long, the user can also search by typing the unit code in the Filter Unit Code box and clicking Go. Once the correct unit is entered in the Selected Unit Code field, click Save.
Now that the correct unit is selected, the appropriate fuel tax trip needs to be selected. Click Select Trip under Trip Selection.
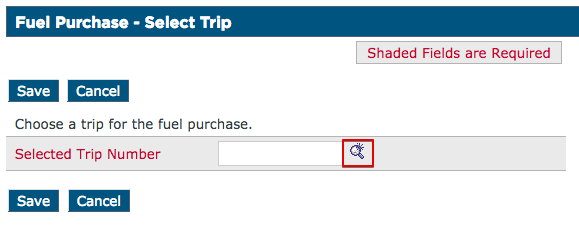
If the trip number is known, it can be entered in the Selected Trip Number field. Otherwise, click on the magnifying glass like in the previous step to select the appropriate trip from a list. Once the correct trip number is in the Selected Trip Number field, click Save.
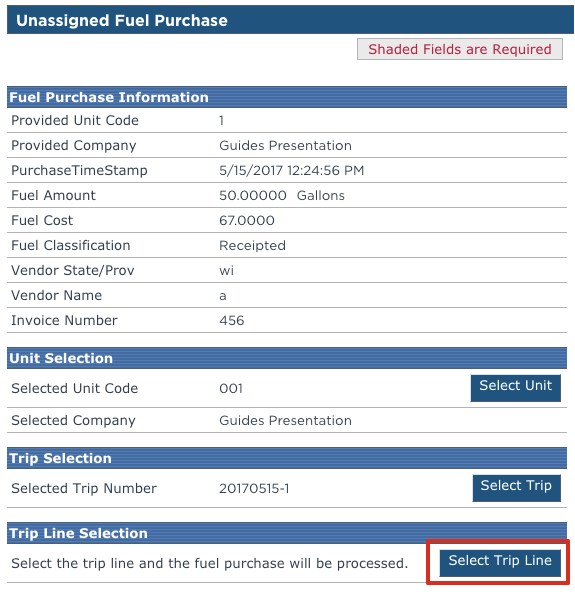
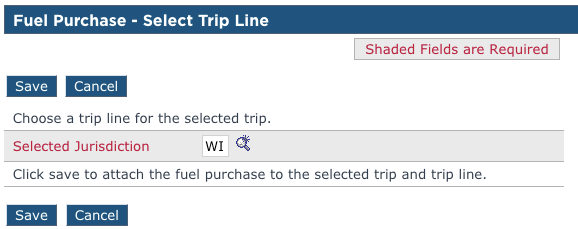
Finally, the appropriate trip line for the designated trip needs to be selected. This will determine which jurisdiction (state) the fuel purchase is associated with on the trip. Click Select Trip Line under trip line selection.
Click on the magnifying glass to the right of the Selected Jurisdiction box. In the new window, select the appropriate trip line that the fuel purchase should be associated with. Once the Selected Jurisdiction box has the correct two character jurisdiction code, click Save.
The user should then receive the following confirmation that the fuel purchase has been assigned.

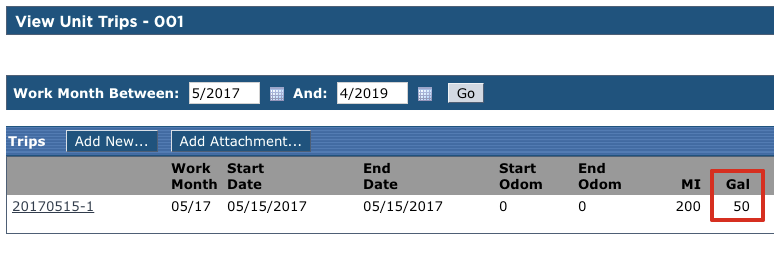
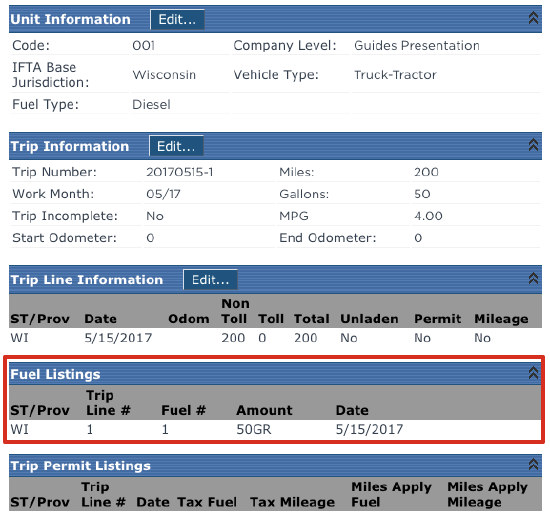
To confirm that the fuel purchase has been assigned to the appropriate trip, go to Vehicle Management > Fuel Tax. Either search for the unit on the left hand side, or click on All Active Units. Click on the correct unit number to see the list of trips for the unit. In the Gal column, the associated trip should now display the total gallons to include what was just added. If the trip number is clicked to go into the details of the trip, the fuel purchase can also be seen under Fuel Listings.