Adding and Managing Learners in TMC
This article explains how to add, manage, edit, and deactivate learners in the Learning Center using the "Manage Learners" function. It outlines the steps to enter a learner’s personal and optional company or driver information, as well as how to assign learners to groups, update settings, and manage course enrollments. Users can view learner profiles to track course progress, reset passwords, and upload documents. It also details how to edit or delete a learner and how to view and reactivate inactive learner profiles. The article is intended for administrators or training coordinators responsible for managing learner records within the platform.
Under the Learners tab select Manage Learners.

Alternatively, you can click Manage Learners from the TMC Dashboard.

Add Learners
Click the + New Learners button.

Next, you will enter information about the Learner. You can click the plus sign on the right of the category to expand just that section, or you can use the Expand/Collapse All button near the top right to open/close all categories.

Personal Information
Enter the Learner's Name, Company Location, an email/s for the Learner, and their phone number (not required). You can also upload an image of the Learner if you so choose. The image must be 300x300 pixels or smaller.

If a Location hasn't been added yet, you can click Add New Location.
Learner Settings
These are additional settings for Learner identification and organization. You can enter a Learner ID (this can be unique to your company and could be useful for record-keeping purposes), place the Learner in a specific Learner Group, and/or add any additional notes about the Learner.
*This section is not required to be completed to successfully add a Learner.

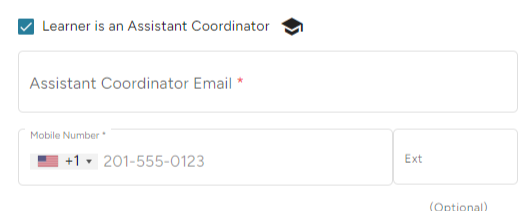
*If the Learner is also an Assistant Coordinator, check the box. Or, see Assistant Coordinators for more information.
Company Information
If applicable, select a Company Affiliation that you have set up for your system. (See Affiliations Management for more information) Choose any applicable job functions of the Learner.
*This section is not required to be completed to successfully add a Learner.

Driver Information
This area is optional. You can include Driver's License and Permit information.

Managing Learners
Clicking on a specific Learner will open more details about the Learner's Profile, course progression, etc.

From here you can view their username, edit their information, generate a temporary password, see an overview of their course completion, view the courses they're enrolled in/enroll them in courses, view enrolled curriculums, etc. You can also see Failed Courses, Learner Questions, and upload any pertinent documents related to the Learner. Use the tabs to shift through the various Learner information.

Edit/Delete a Learner
On the Manage Learners page, select the checkbox next to the Learner's name. Select Edit to update any necessary information, or Delete to completely remove the Learner from the site.
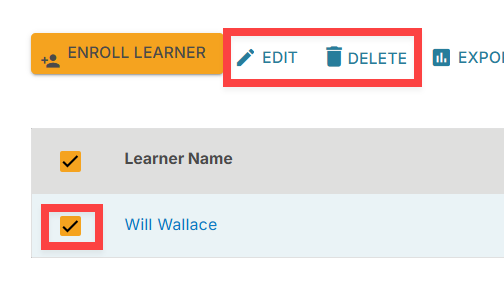
Or, you can click Edit Profile after you click on a Learner to open their Learner Profile.

Deactivate a Learner
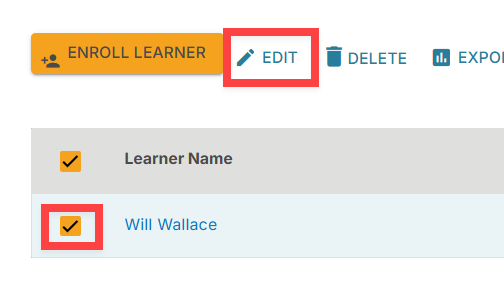
On the Manage Learners page, check the box next to the Learner in question and click Edit.
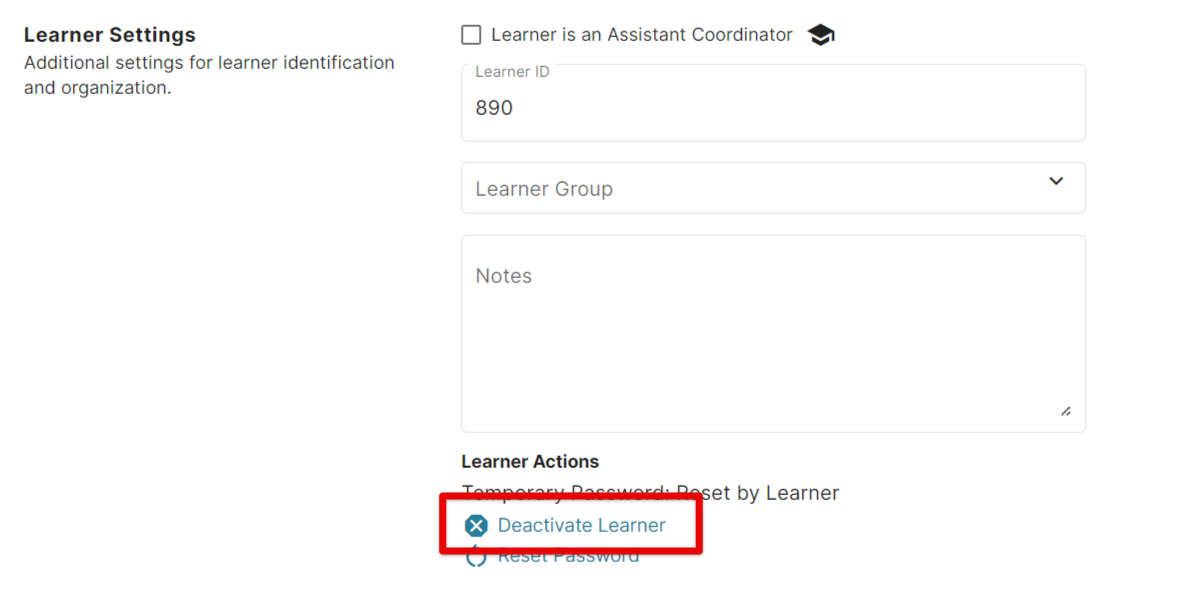
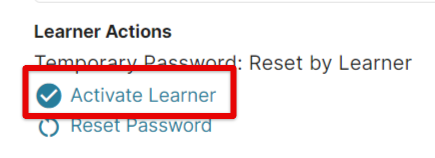
Scroll to the Learner Settings section, and click Deactivate Learner.
Confirm the decision to deactivate.
Repeat these steps to reactivate the learner if needed.
Viewing Inactive Learners
When you are on the Manage Learners page, locate the filters on the left side. Check the box next to Inactive, and click Apply. Employees who have been Deactivated will now display in the table.


