Opening a Repair Order
There are a few ways to open a repair order. All methods will open up the same Repair Order tool. This article will detail adding a repair order from the Unit Maintenance Repair Order tab. You can open a repair order by:
1) Hovering over the specific unit within Unit Maintenance and clicking the tools icon. (Go to Vehicles > Maintenance in the left menu.)


2) Click on the unit to open the unit's Maintenance file. Then, click Add New in the Repair Orders section:

3) Via the Repair Orders tab, as detailed below:
Repair Orders Tab
Go to Vehicles > Maintenance > Repair Orders tab.

Click the orange Add Repair Order button.

Add General Information
Enter in general Repair Order information.
- The Repair Order Number can be changed, but it must be unique. By default, it increments up by one from the last used number.
- Do NOT toggle on Repair Order Complete unless all Repair Order Details are complete.
Click Save & Next.

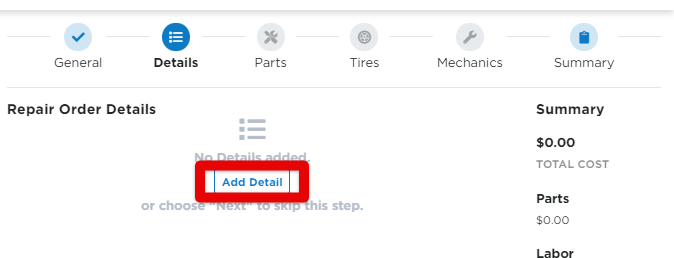
Add Details
Add Details to the Repair Order. (To skip this step, click Save & Next)
-
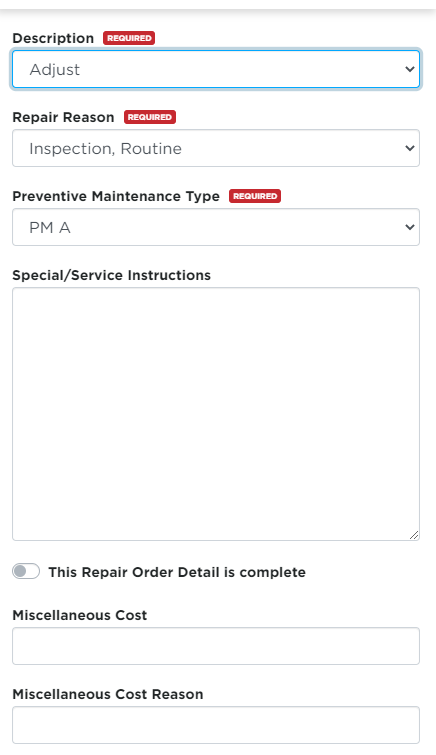
Enter a Description from the drop-down list, or click the [+] button to add a new description to the system.
-
Select a Repair Reason, or click the [+] button to add a new repair reason to the system.
-
If the task is related to a preventative maintenance item, choose the PM Type.
-
To add more PM types to your system, go to Settings > Vehicles tab > Unit Type Preventive Maintenance underneath the Unit Maintenance section.
-
- Enter any Service/Special Instructions and Miscellaneous Cost information.
- Do NOT toggle on This Repair Order Details is complete until all parts, labor, and tire details are complete.
The details added will then populate under the Repair Order Details. Click +add another to enter additional details. Otherwise, click Save & Next.

If you need to edit or delete any of the entered information in this section and the following sections, hover over the line item to reveal icons to Edit and/or Delete the information.
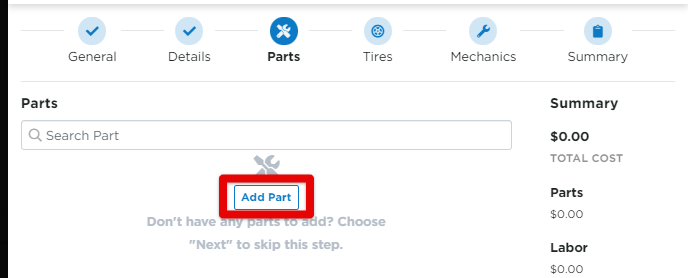
Add A Part/s
To add a part, click the Add Part button. (If you don't have any parts to add, click Save & Next.)
Enter any details about the part, noting the required fields.
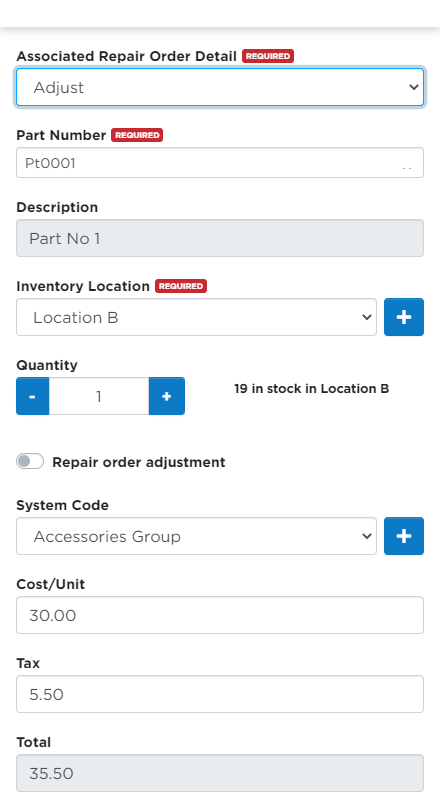
Click Save & Add New to add another part. Or click Save to move onto next steps.
Add Tire/s
Click the Add Tire button. (If you don't have any tires to add, click Save & Next.)
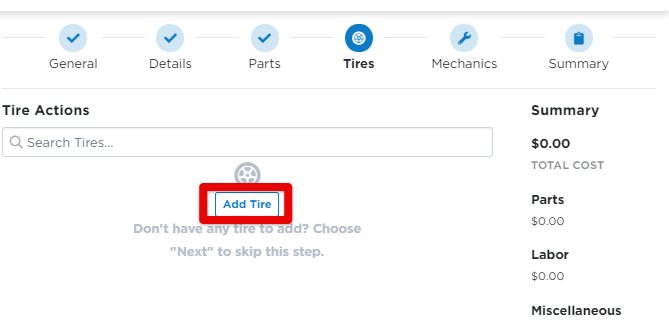
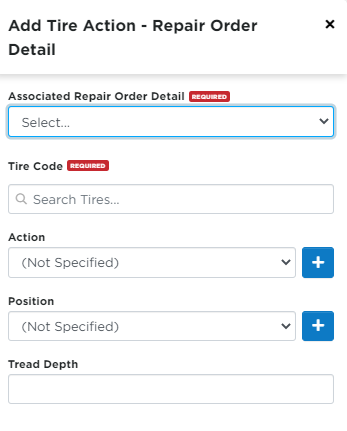
Enter in any tire information, noting the required fields.
Add a Mechanic
Click the Add Mechanic button. (If you don't have any mechanics to add, click Save & Next.)
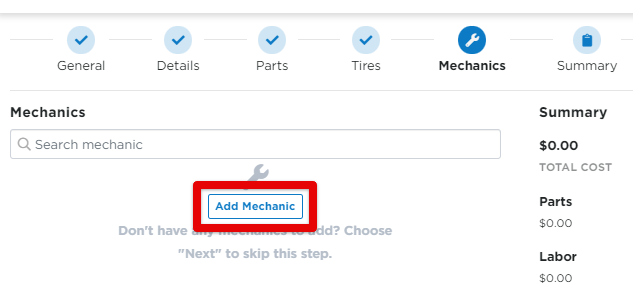
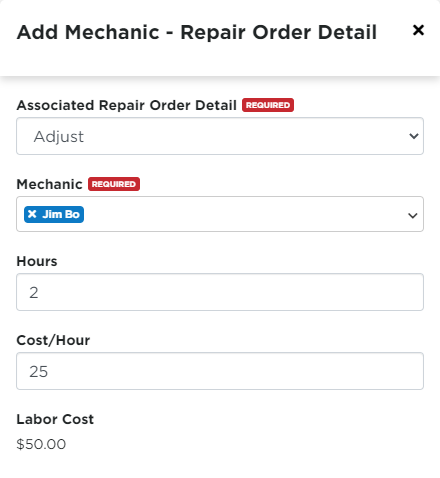
Enter in the mechanic details, noting the required fields.
Summary
The final Summary page will show you parts and labor cost and any other miscellaneous information. Click Save & Finish.

Edit a Repair Order
To edit a repair order, navigate to the unit's Maintenance file by selecting the unit from the Maintenance list, or click on the Repair Orders tab for a list of all repair orders.
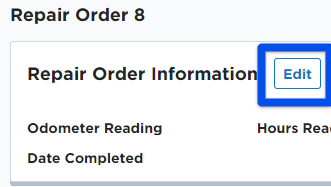
Click on the Repair Order Number and click Edit next to Repair Order Information (shown in blue below) or simply hover over the repair order and click the pencil icon to open the editor (shown in red below).

Go through any section/s that needs editing. Hover over the line item to reveal edit and delete functions. Make sure to click Save when finished.

Add Repair Order Attachment/s
To add an attachment to a repair order, hover over the repair order line item and click the paper clip icon.

Enter the required information, including your file attachment. Click Save or Save & Add New to add another attachment.

Delete a Repair Order
To delete a repair order, hover over the repair order line item and click the trash can icon.

A pop-up message will confirm if you want to delete the repair order. Deleting a repair order will remove it permanently.
