Manually Entering a Vehicle Inspection (DVIR)
Although drivers can enter DVIRs into the Encompass® ELD or DVIR applications, DVIRs can manually be entered into Encompass.
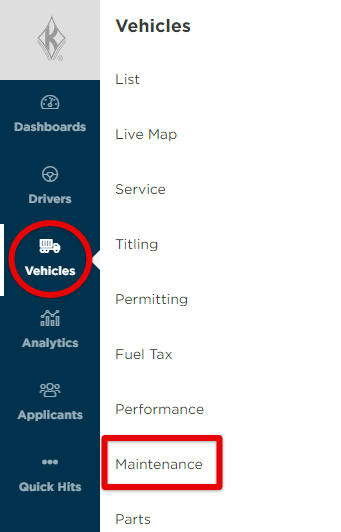
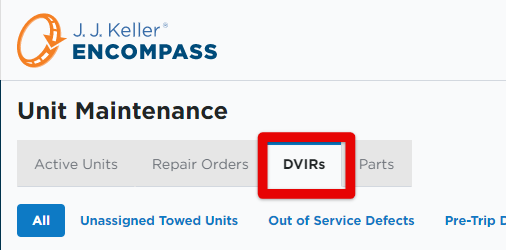
Go to Vehicles > Maintenence. Then click on the DVIRs tab.
Entering a DVIR
Click the orange +DVIR button to add a new DVIR.

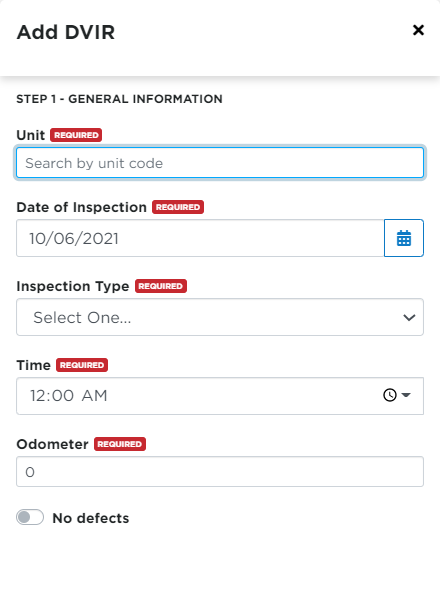
The first section of the DVIR entry screen allows the user to enter the basic information about the DVIR:
- Unit
- Date of the inspection
- Inspection Type (Whether it's a Pre- or Post-Trip)
- Time of the inspection
- Odometer reading (Note: In order for the Odometer field to display, the selected Unit must be a powered unit, not a towed unit)
- Turn the toggle on if there are no defects.
Click Next when all information has been filled out.
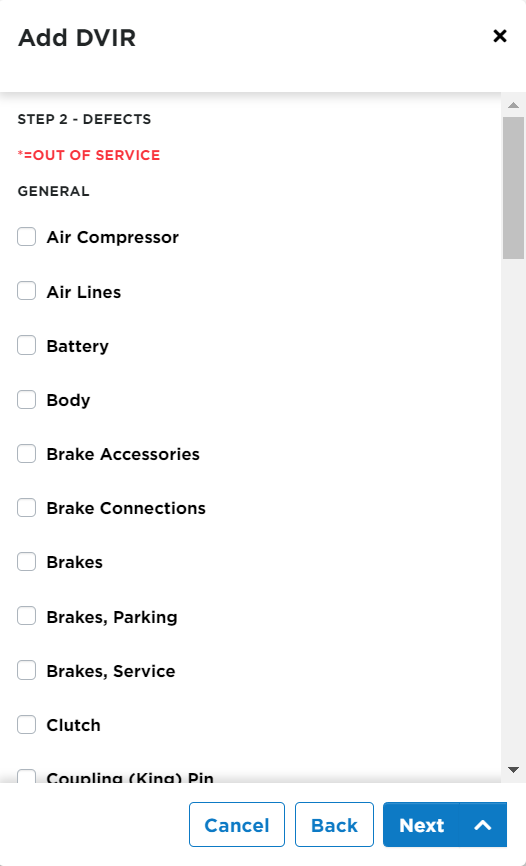
If defects were discovered, check any defects that need(ed) repair. Click Next.
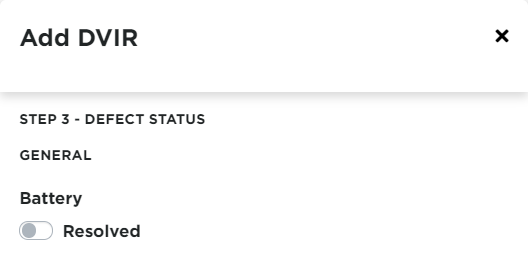
Toggle on "Resolved" if the defect has already been resolved.
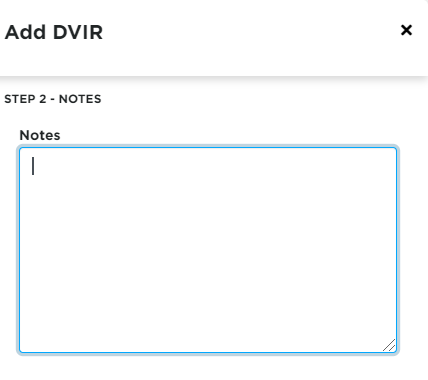
If there are no defects, you will be taken directly to the notes section. Enter any Notes needed for the inspection. Then, click Next.
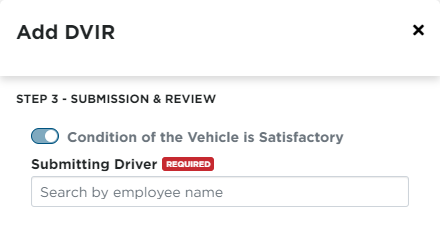
Toggle on/off Condition of the Vehicle is Satisfactory depending on the vehicle's condition. Search for and select the submitting driver.
Click:
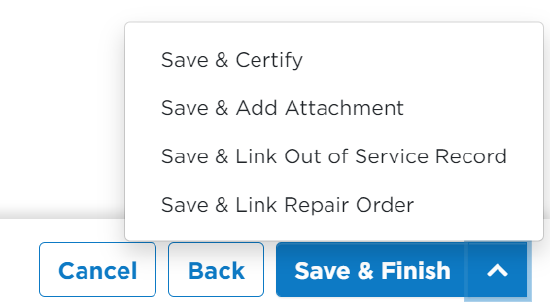
Save & Finish - to store the DVIR and its information. (Good for DVIRs that didn't have defects and didn't need certification.)
Save & Certify - to store the DVIR and note who has certified that any defects/repairs have been fixed/made related to the DVIR. *This does not indicate that the DVIR is "finished".
Save & Add Attachment - to store the DVIR and add an attachment to the DVIR
Save & Link Out of Service Record - to store the DVIR and link it to an out of service record entered in Encompass
Save & Link Repair Order - to store the DVIR and link it to a repair order entered in Encompass
