J. J. Keller Support Center

Creating a Job Class in Encompass

This article provides guidance for creating, editing, and managing Job Classes in Encompass®. Administrators access Job Class Settings via Settings > Drivers > Job Class and can add a new Job Class by entering a name and choosing whether it appears in selection lists. Existing Job Classes can be edited using the pencil icon or deleted using the trashcan icon. These steps help streamline employee role categorization and ensure accurate assignment of job responsibilities within the system.


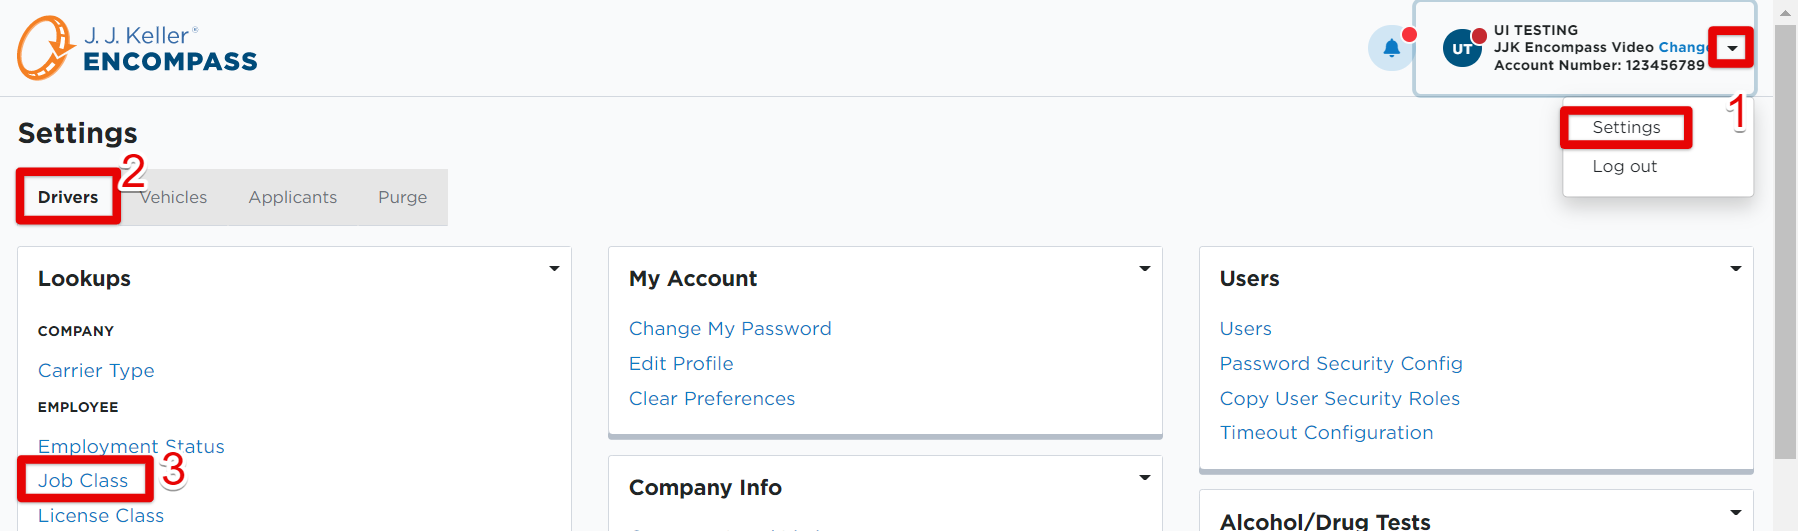
To create a Job Class, go to Settings > Drivers tab > Job Class.
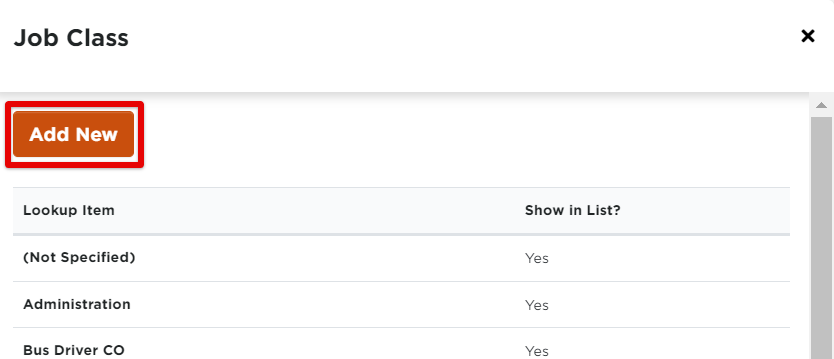
clipboard_e2246de259b8834a3fc0a574b9f253e45.png

Click Add New.

clipboard_e360934081f3cb36c0a931ac51d811381.png


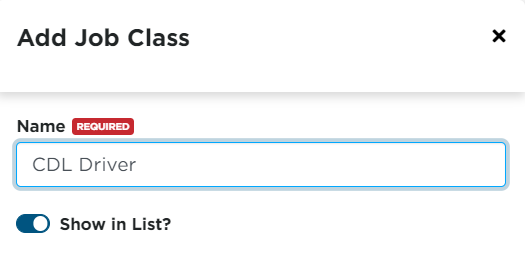
Enter a name for the Job Class. Toggle on/off whether or not you would like to have that Job Class display in the list of job classes to choose from when adding employees, etc. Click Save.

clipboard_e49df67357c7a19b35ff4ed5ebc056165.png


To edit a Job Class, hover over the specific job class line item and click the edit pencil.

clipboard_e04e13616dfb633dc1b04438f4ea7dfb6.png

To delete a Job Class, hover and click the trashcan.

clipboard_e389c2c7d7b7e2cb33ea4632e4d8c47b4.png

  • Was this article helpful?