Incident Intake Form
The Incident Intake Form allows employees to enter details of an incident without contacting their Safety Department directly. Below is information on setting up the incident intake form and usage by the employee.
Setting up the Incident Intake Form
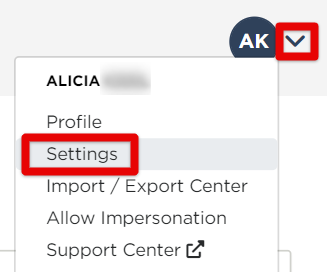
Locate your initials in the top right corner and click the arrow to reveal additional options. Select Settings.
Click the Incident Intake Form button.

Introductory Message
This text will appear at the top of the Intake Form. Use this to inform employees of anything including emergency-related information, or information on workflow specific to the company.
Confirmation Message
This message will appear on the confirmation page after the employee submits the form.
Incident Intake Form URL
The Incident Intake Form URL is automatically generated and shown underneath the Message fields. This link could be used to post to your company's intranet or distributed to employees as desired. Click the "Copy to Clipboard" button to copy the URL.
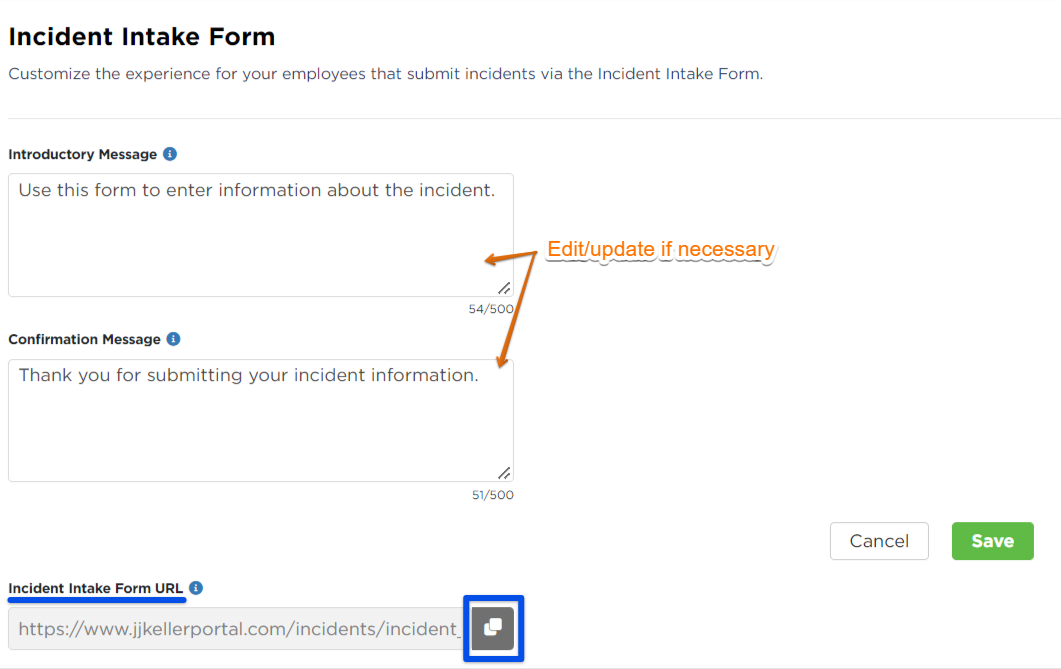
Remember to click Save if any changes are made.
Incident Intake Form Process for Employees
When employees access the Incident Intake Form URL, they will have various required and non-required fields available to complete. They should fill out as much information as possible. Employees can click on the blue (i) icon to reveal additional information about specific fields.
- Employees filling out the form can opt to include their Supervisor's email; this will send the form to that supervisor once submitted.
- Note: Form fields are not customizable.
-
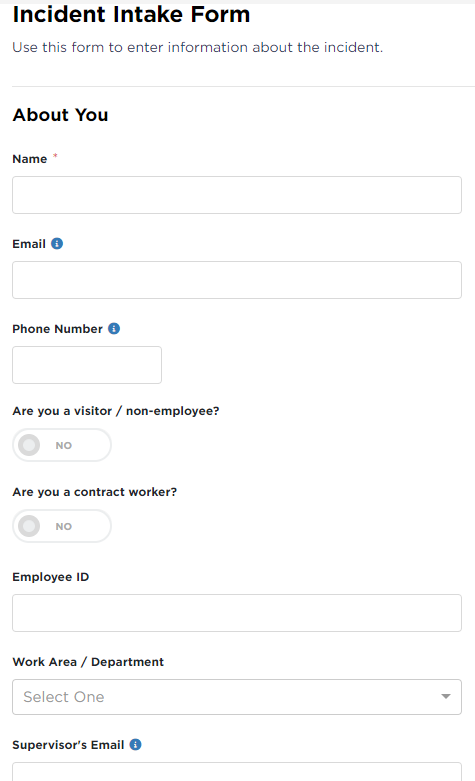
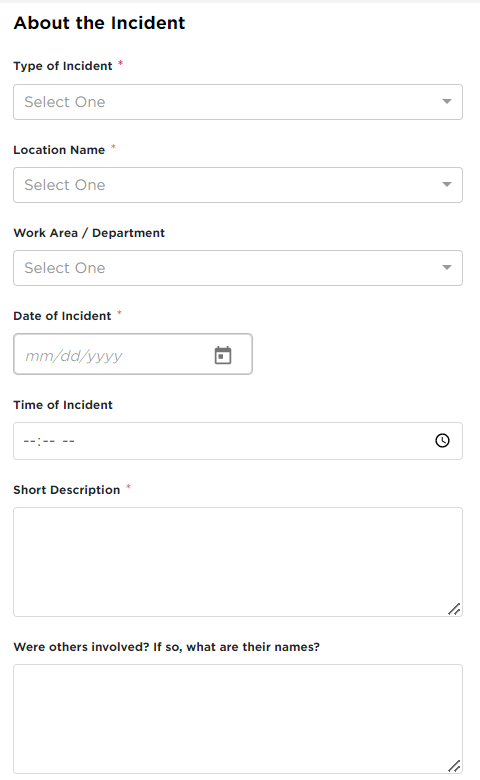
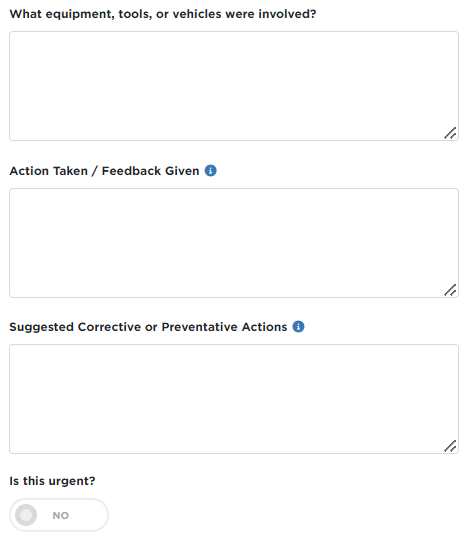
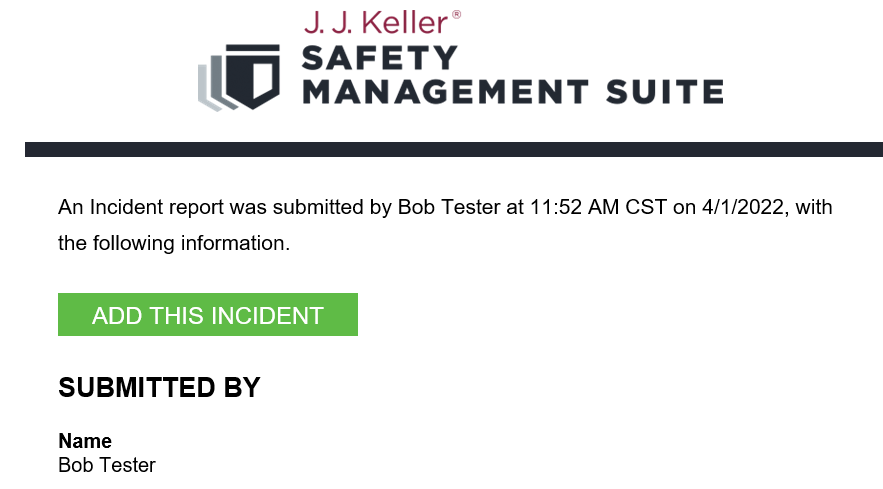
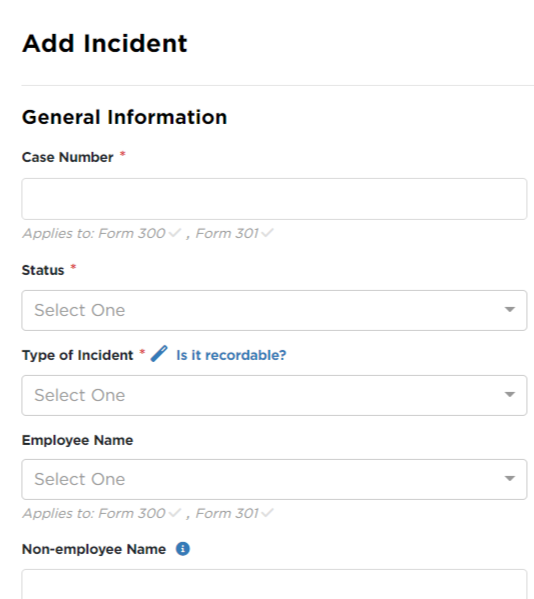
Once an intake form is saved and submitted by an employee, the SMS system admin/s (and the Supervisor, if a supervisor email was indicated in the Intake Form) will receive an email with the details of the incident and a button to Add This Incident to their incident list. When clicked, SMS will open to the Add Incident page with some fields pre-populated with the data from the intake form (ie. location, date, incident description, etc.). The SMS admin can then complete any other fields as needed and Save the incident.
