Work Areas
To update Work Areas, first click the Company Data tab in the left menu.

From the Company Data page, click Work Areas.

To add a new work area, click Add New.

Enter the name of the work area, and click Save.

The new work area will be displayed on the Work Areas screen. Continue this process until all necessary work areas have been added.

Edit Work Area
To edit the name of a Work Area, click edit.

To make a Work Area inactive, click Make Inactive.

To delete a Work Area, click Delete.

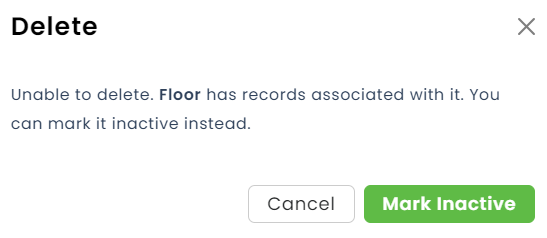
If there are records associated with the Work Area, it cannot be deleted. Instead, you can make it Inactive.