Audit Events
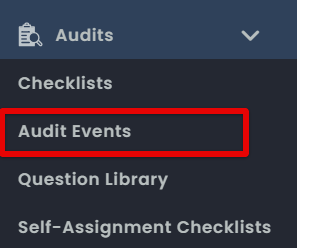
From the lefthand menu, go to Audits > Audit Events.
Adding a New Audit Event
Click + Schedule.

This opens the ‘Add Audit Schedule’ page. The information populated for the Schedule will apply to all Events in the series. Once created, you will have the ability to edit both the Schedule and the individual Audit Events if necessary.
Start by entering the General Information including which Checklist to use and how it will be scored.
Schedule Title - A title for the audit event
Checklist Title - Checklists are used to create an audit event. If you have not created or reviewed the checklists to select one for the event, see Checklists.
Scoring Method - Scoring method determines if the audit event will be scored and impact overall conformance.
Required Passing Percentage - For scored audits, this value is the minimum score for the overall result to be a pass (e.g. 100%)
Mandatory? - Toggle Yes or No

Recurring Audit Schedules use ‘Initial Due Date’, ‘Frequency’, and ‘End Date’ up to 5 years to determine the number of events to be created. This information is entered in the Frequency section. Note: to schedule a non-recurring, singular Audit Event, select ‘One time’ for the frequency.

Assignment information determines who will complete the audit review and for where/what. You can select either a user or an employee, or enter an email address for the ‘Assigned To’ field.

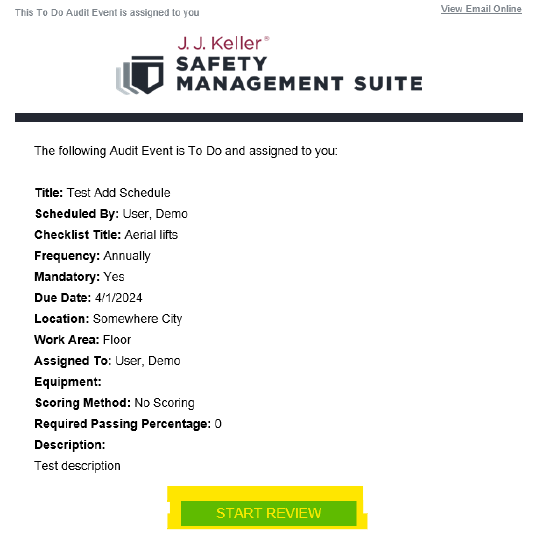
Notifications determine when emails will be sent to the Assignee containing a link to start the review. How early a notification can be sent is dependent on the frequency selected. You can also choose to send an immediate notification to the Assignee for the first event in the series. Text entered in the ‘Description’ field is included in the email sent to the Assignee.

Once you have entered the required information, click Save. A confirmation modal will appear showing the number of events to be created as part of the schedule based on your selections. Click Save again to confirm. Note: Future Audit Events will become visible in the Audit Events grid 3 months prior to their due date.
Example:

Saving will create the Audit Schedule and open the first event in the series.
Viewing The Audit Events List
A list of your Audit Events is displayed in the grid/table.
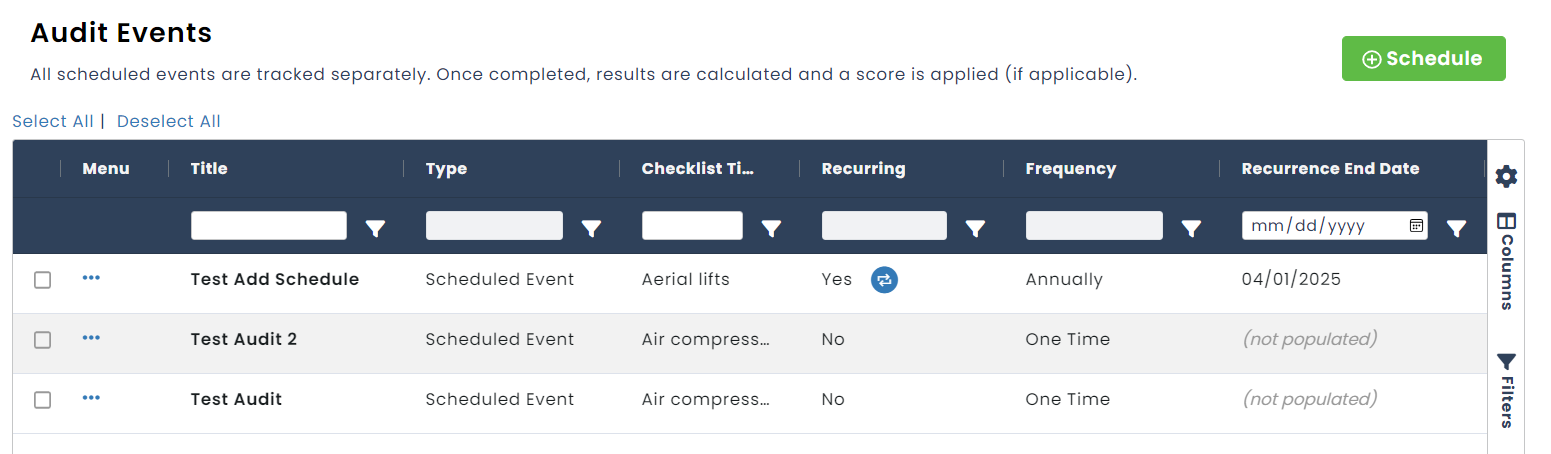
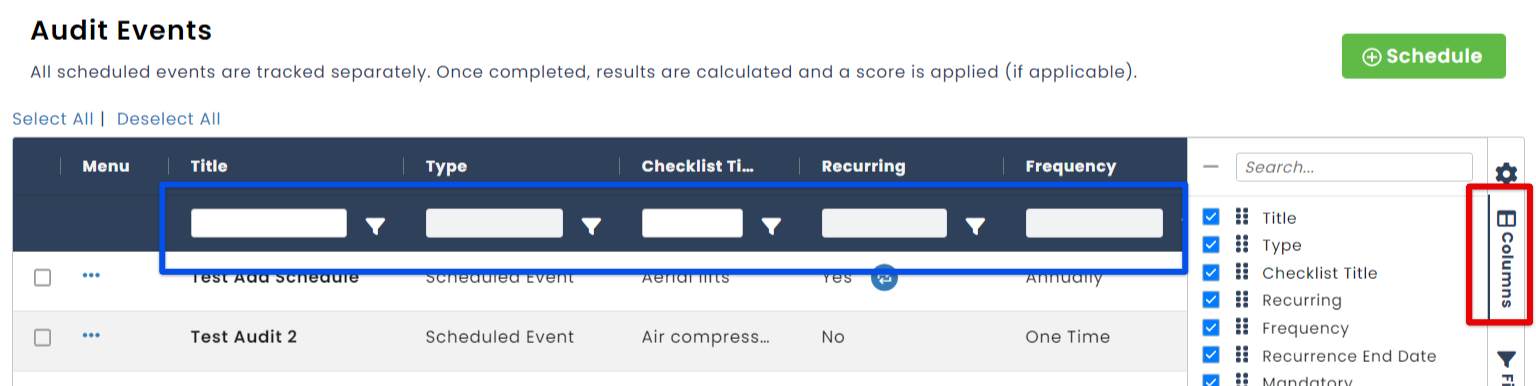
Use the filters to narrow down results. Or, add additional columns by selecting a specific category from the Columns button.
Managing Audit Schedules and Events
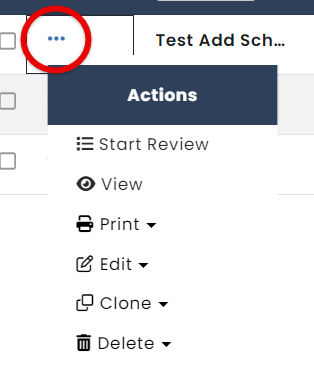
Once the Audit Schedule has been created, you can use the Actions menu to:
- Start the Checklist Review (if it hasn't already been completed)
- View the Event record
- Print the Checklist and Report (Complete Events only)
- Edit the overall Schedule. Changes will impact all future Audit Events and will overwrite any Event-specific edits.
- Note: Any Audit Event that is either past due or complete will not be edited.
- Edit the individual Audit Event without changing the overall schedule.
- Clone the Schedule to quickly create additional Schedules.
- Clone the individual Audit Event.
- Delete the individual Audit Event.
- End the Schedule. This action will quickly set the ‘End Date’ for the Schedule effective today.
Completing an Audit Event
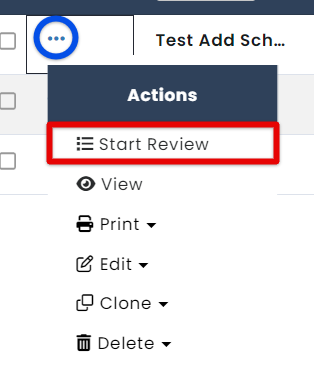
Click Start Review in the email received, or, in the list of events, click the ellipses and select Start Review.
Complete the checklist questions for each section. Sections are noted at the top as to which section these questions apply to. Comments or attachments (ie. photo or video) can be added to each question. Additionally, if corrective action is required, the question can be deferred to a task to be appropriately updated (see Tasks for more information about tasks). Click Save to complete this section and move to the next section.

Add Comment
When you click +Comment, a text box will appear. Enter any comments as needed as they relate to the specific question.

Add Photo/Video
To add an attachment like a photo or video, click +Photo/Video. Click Choose File and select the applicable file from your device. Save when finished.


Add Task
If corrective action is required, the question can be deferred to a task. Click + Task and fill out the appropriate information. (See Tasks for more information.)


Once all questions for all sections have been answered, click Save. Results will be displayed. Click Continue to close.


You will be brought to a page where you can see answers and where specifically the audit failed, if applicable.

Click Actions to perform various actions on the completed audit.

The Audit Event will then have a status of Complete on the Audit Events page.

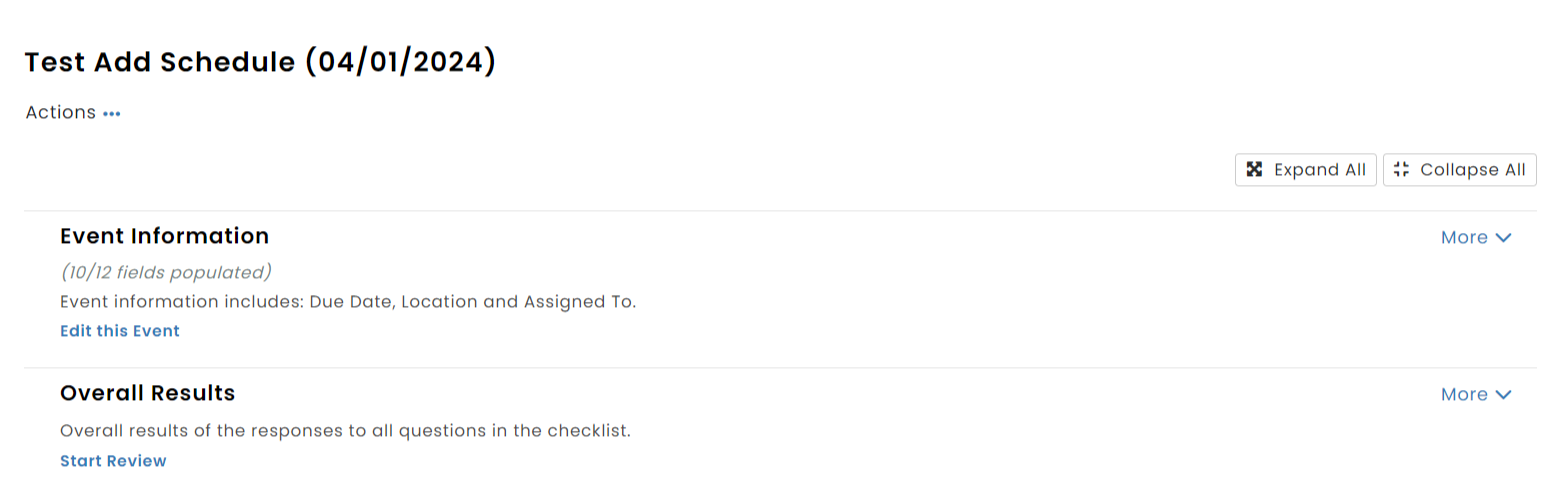
Viewing Audit Event Details/Results
Click the ellipses and View to open the Audit Event's details.
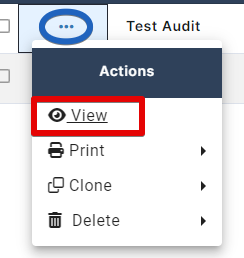
Here you can view results, audit details, what response/comment/attachment was given to a specific question, print, etc.
