Self-Assignment Checklists
The purpose of Self-Assignment Checklists is to allow for the posting and completion of company checklists by employees without the need for scheduling/assigning. Using a company-specific URL, employees can see all checklists made available to them and select from the list to start a review. Upon completion of the checklist, an audit event with the results is created for recordkeeping purposes. This feature is perfect for those checklists completed often by employees (e.g. daily forklift inspections).
Making a Checklist Available to Employees
To post a checklist to the self-assignment checklists page, first navigate to your Checklists page to find the desired checklist.
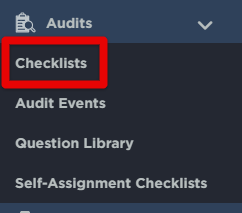
! Important Note: It will need to be a company-specific checklist, which are created either from scratch or by cloning a J. J. Keller checklist and saving your own version. (See Adding a New Checklist and/or Cloning Checklists for more information on adding/cloning checklists) Use the My Documents tab to view checklists created by you/your company.

Open the checklist by clicking on the checklist name or View.

Click + Self-Assignment underneath the title of the checklist. (The icon will change from a plus (+) to a minus (-). Click again to remove the checklist if necessary.) The checklist will now be available in the Self-Assignment Checklists page. Continue with the instructions below.

Accessing Self-Assignment Checklists
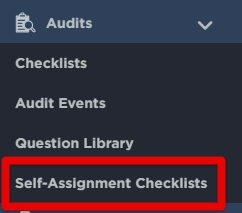
Navigate to the Self-Assignment Checklists page.
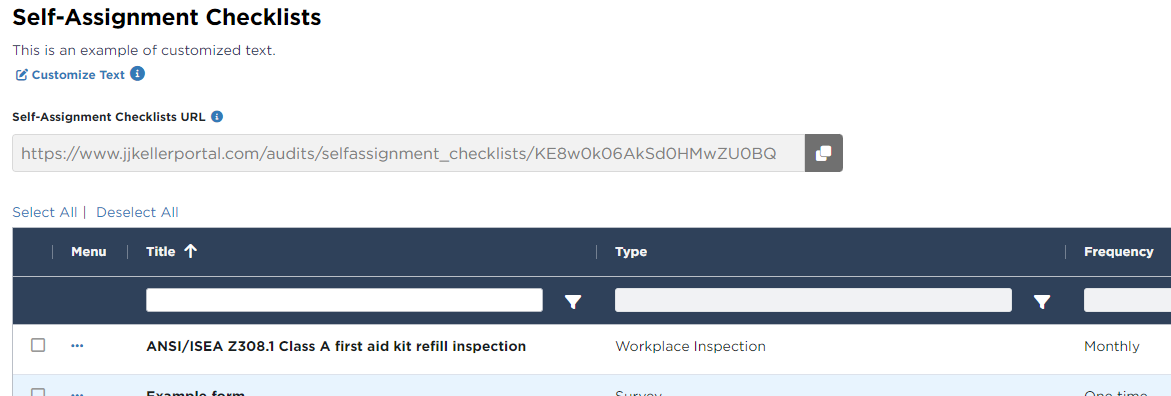
The list of checklists able to be completed/assigned by your employees will display.
On the right, you can select a specific location to view only its associated checklists and access a location-specific URL to share.

(Click the gray "x" in the Select Location dropdown to return to ALL locations checklists/URL.)
Customize Text on Self-Assignment Checklist Page
You can add text that appears at the top of the Self-Assignment Checklists page that your employees will see. (ie. You could provide direction on how and when to use these checklists.) Click the Customize Text button. (Note: Text can be customized for the entire company checklist page, or by individual location. Select a location from the dropdown on the right to customize only that location's text.)

Enter your message and Save. Or, you can toggle on the Default text.
 OR
OR 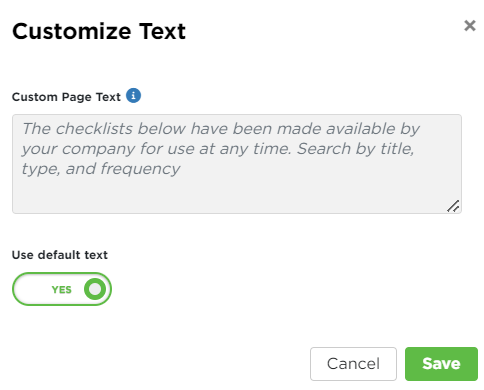
Your message will now display at the top.

Copy URL to Share Self-Assignment Checklists with Employees
Share the Self-Assignment Checklists URL with employees who would typically complete checklists. Click the Copy icon to copy the URL and post it wherever you see fit for your employees to access.
(Remember: You can share a specific location's self-assignment checklist URL by selecting a desired location in the dropdown on the right, and then copying the URL. Click the small "x" in the location dropdown to return to the entire company self-assignment checklist URL.)

Remove a Checklist from Self-Assignment List
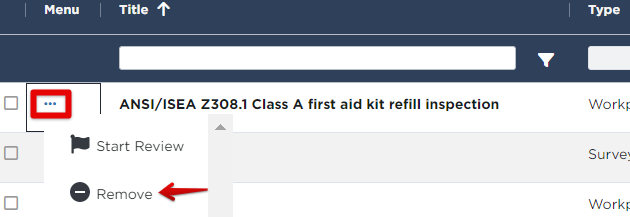
To remove a checklist from the Self-Assignment list, click the ellipses next to the desired checklist. Then, click Remove. (Only the admin can edit this list.)
Completing Self-Assignment Checklists
When the URL is accessed by employees, they will see a page very similar to the SMS admin's view.
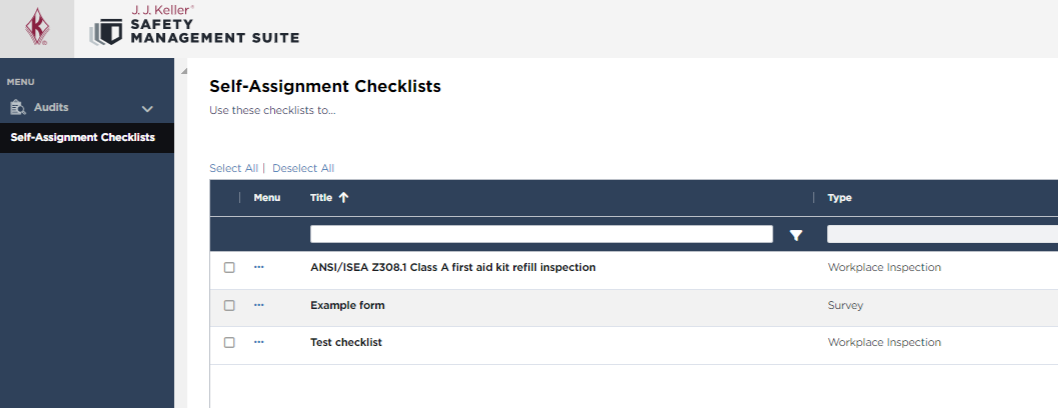
To complete a checklist, the employee will click the ellipses next to the desired checklist, and then click Start Review.

Enter basic information about what is being reviewed, where the review is occurring, and who is completing the review. This information will be saved back to SMS along with the results.

Proceed through each section, saving the responses until the full checklist is completed. All sections must be completed for the results of the review to be saved.
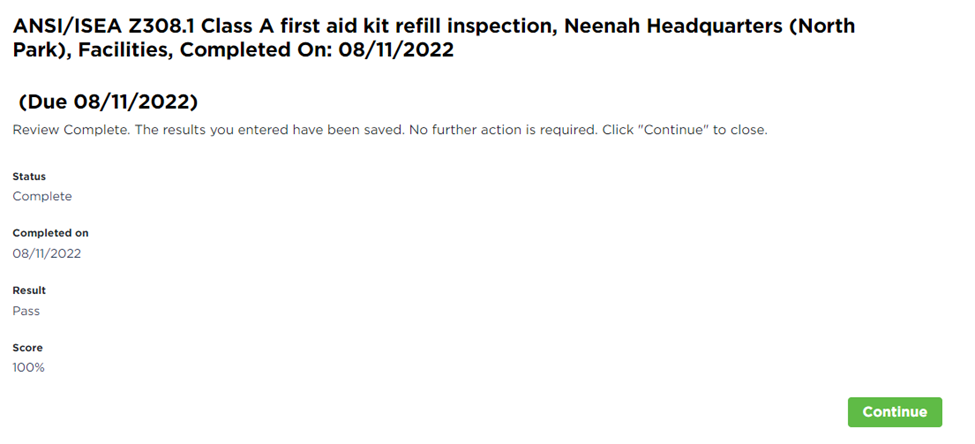
Once all sections have been saved, a final results page is presented. A completed Audit Event will be saved back to SMS. No further action is required. Clicking ‘Continue’ will return the employee to the Self-Assignment Checklist grid page.
