Moving an ELD from One Vehicle to Another
Before Removing the ELD from the Original Vehicle...
Log in to Encompass® ELD and connect to the ELD.
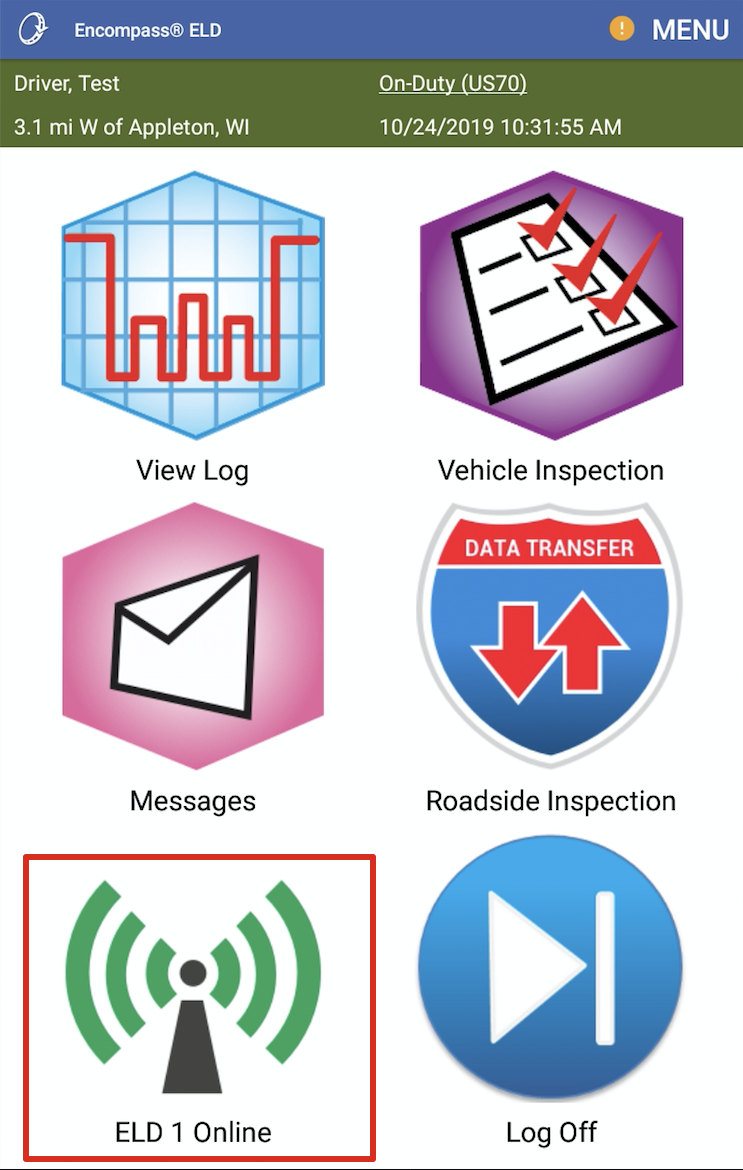
Ensure that the ELD connection status icon in the lower left hand corner of the Encompass® ELD dashboard shows green and says ELD OLDVEHICLE# Online.
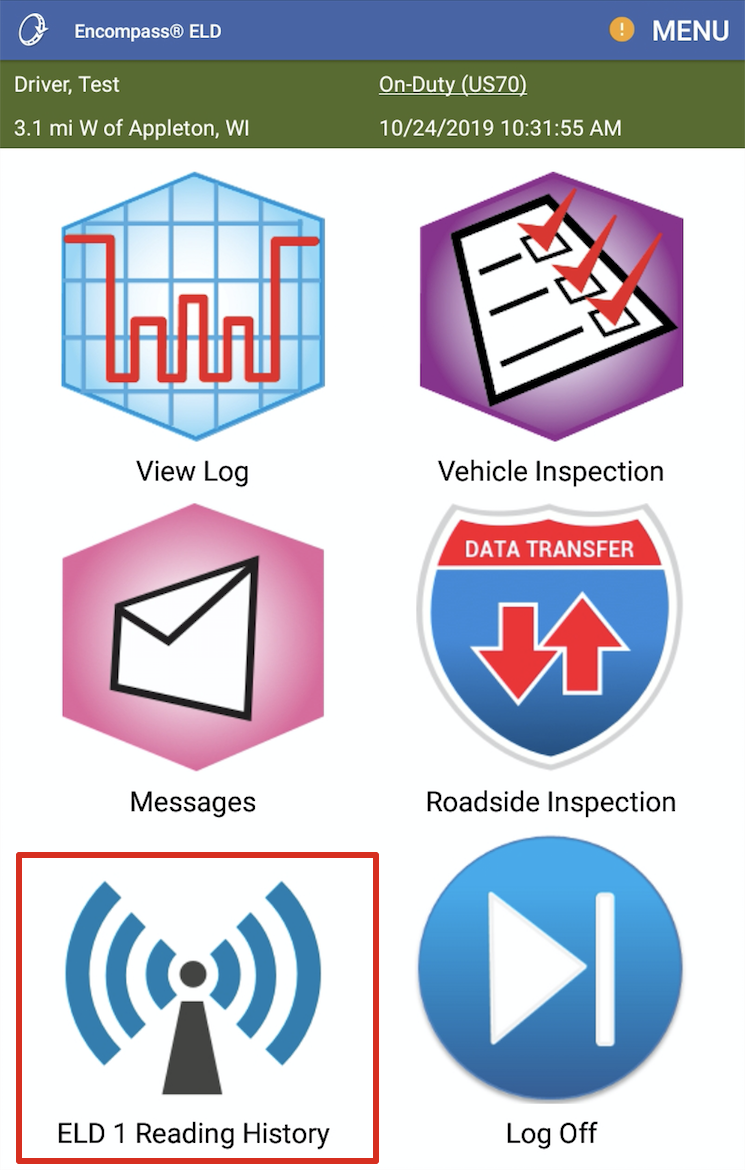
If the ELD connection status icon is blue and says Reading History, wait for that to finish and change to green with the status saying Online.
Once the ELD status icon shows green and Online, logout of the Encompas® ELD app and remove the ELD equipment from the old vehicle.
unassigning the eld In Encompass
Go to Settings > Vehicles tab > Encompass ELD Settings section > Connected Device List

Hover over the ELD in the list and click Unassign ELD.

Confirm that you would like to Unassign that ELD from that unit.

Now that it has been unassigned, make sure that the vehicle that the ELD is moving into has been added to Encompass. If the vehicle has not already been added, go to Vehicles > List > Add New. See Add a Unit/Vehicle for more information.
If the vehicle has already been added, ensure that it does not already have an ELD assigned to it.
Assign to New Unit
Assign the ELD to the new unit, as outlined above, except now by hovering and selecting Assign ELD.

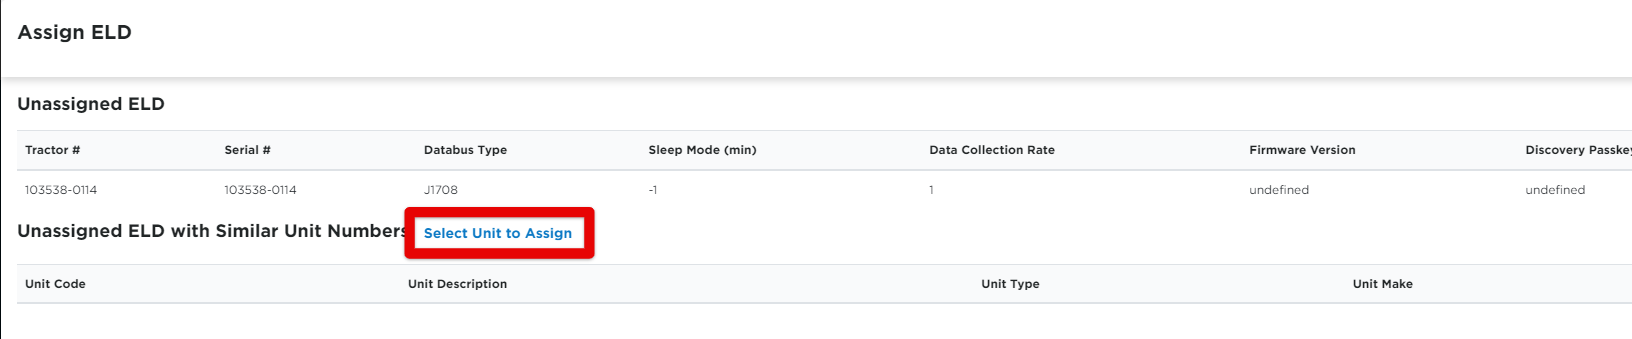
Click Select Unit to Assign.
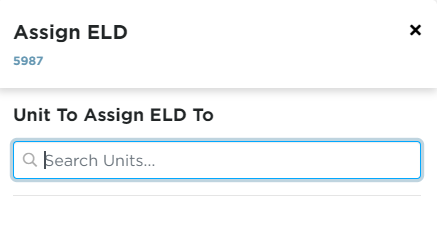
Search for and select the desired unit to assign the ELD to. Remember to click Assign ELD to Unit at the bottom of the screen when finished.
Install ELD in new Vehicle & Change the unit number
Once the ELD is installed in the new vehicle, turn on the engine and log in to Encompass® ELD on your handheld device.
Connect to the ELD. The old vehicle number will still display.
Once at the Encompass® ELD dashboard, make sure the ELD connection icon is green and says ELD OLDVEHICLE# Online.
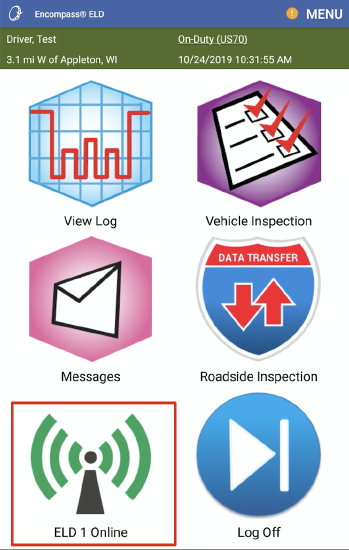
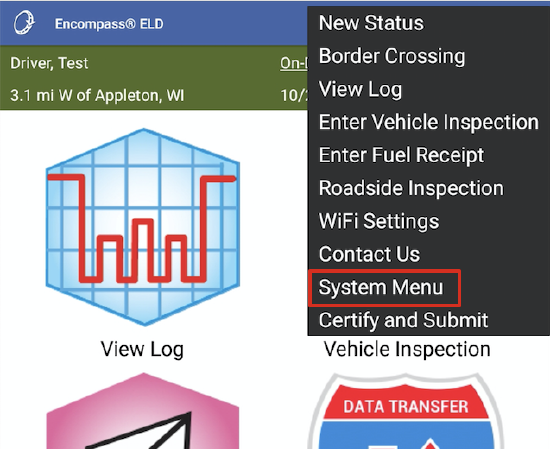
To configure the ELD to the new vehicle, go to Menu > System Menu.
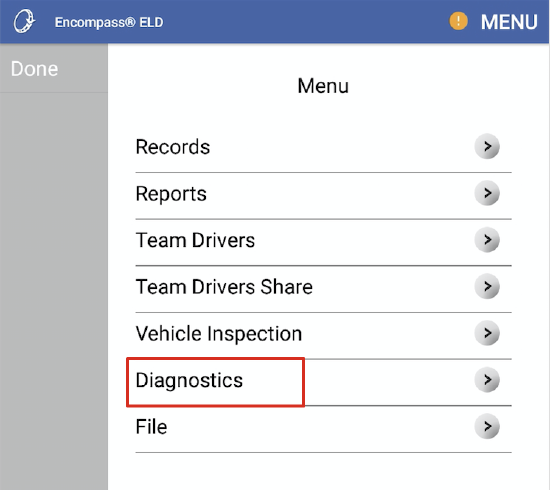
Select Diagnostics.
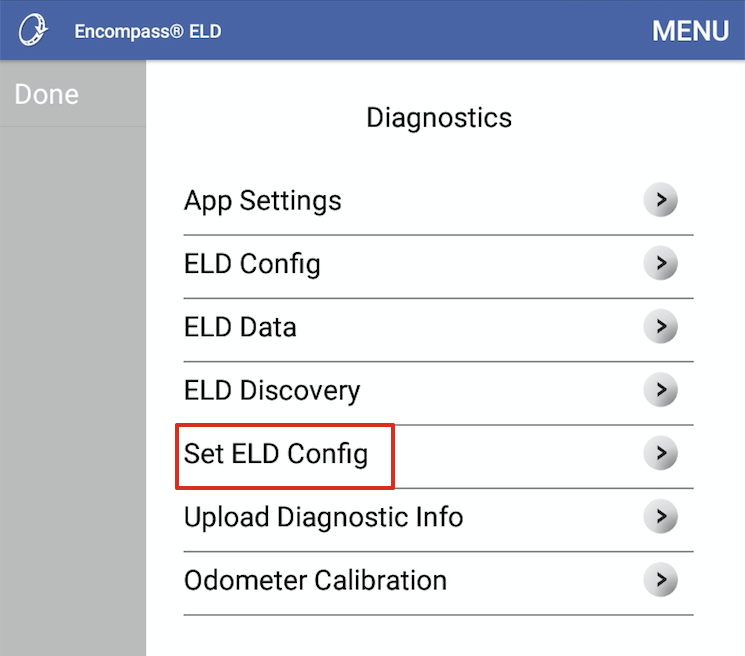
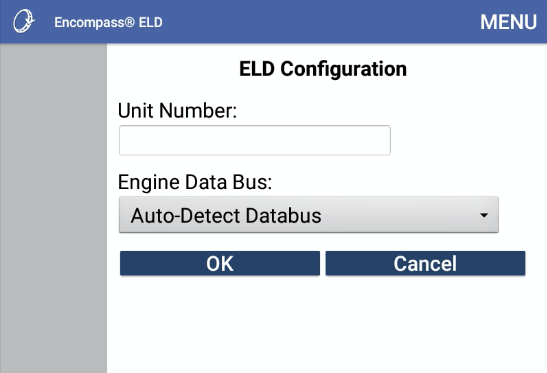
Select Set ELD Config.
Enter the new vehicle number, make sure that the Engine Data Bus is set to Auto-Detect Databus and press OK or Save.
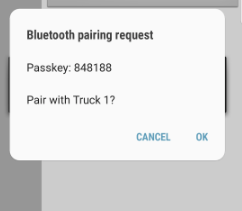
On Android™, answer Yes/Continue/Pair/OK to any Bluetooth pairing requests. On iPhone® or iPad®, the user will be prompted to turn bluetooth off and back on again. Leave the prompt on the screen and complete this in the settings by pressing the Home button on the front of the device to leave the app. Then return to the app and answer the prompt as shown below.
Android™ iPhone®/iPad®

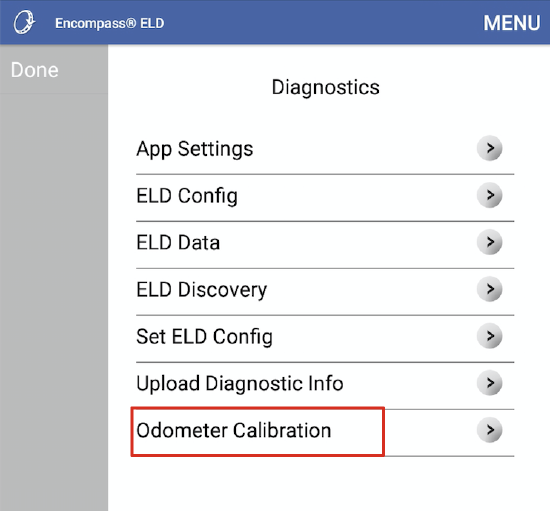
Once back at the Encompass® ELD dashboard, go back to Menu > System Menu > Diagnostics. On the Diagnostics screen, select Odometer Calibration.
Enter in the odometer reading as shown on the dashboard of the new vehicle and press OK.
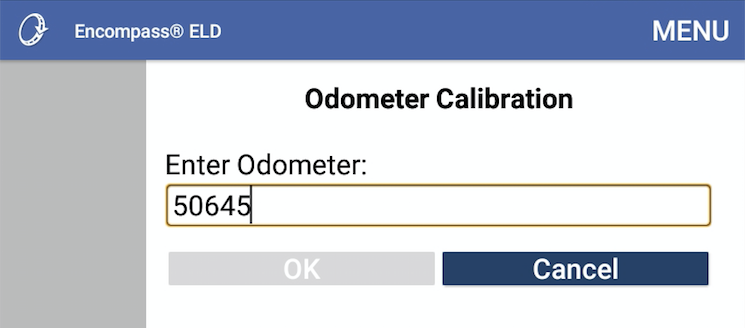
The user will be directed back to the Encompass® ELD dashboard.