User Roles (Permissions)
To edit Encompass users' roles and permissions, go to Settings in the dropdown next to your name.
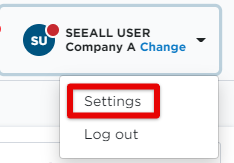
Click on Users.
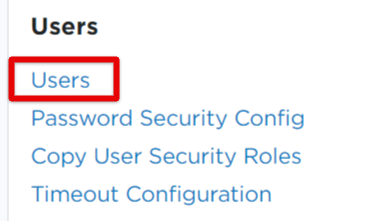
Hover over the user's name and click the "box with pencil" icon.

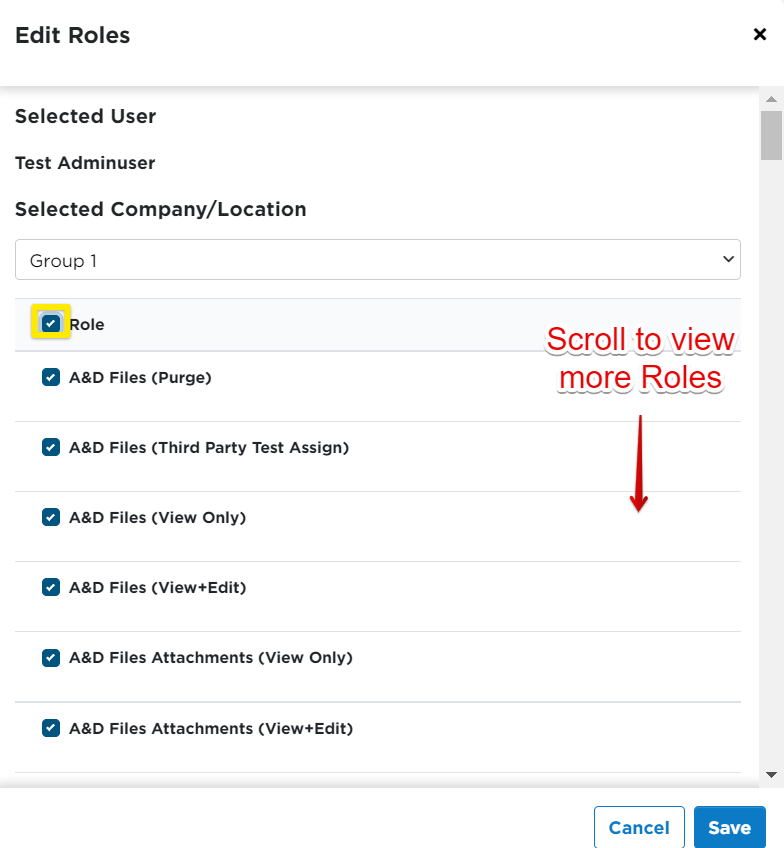
Select the appropriate roles by using the checkboxes. If this is a new Administrator being added, check the box next to Role to select all. (See yellow box in image below) Once the appropriate roles have been selected, click Save.
ABOUT THE ADMIN ROLES
There are some roles we recommend you NOT give users unless you really intend for them to be doing "administrative" tasks:
- Administrator
- Company Setup
- Default
- Purge (Anything) -- i.e., Employees (Purge), Log Files (Purge), etc.
- Encompass® ELD Admin - Grant if you expect the user to help with unassigned log events, assigning ELDs to vehicles, managing the Encompass® ELD Device listing, the ELD Device listing, and Encompass® ELD default settings.
- User Maintenance
Why limit these roles? The above roles play crucial roles in the way your system is setup and behaves. We've found too many administrators spoil the data (so to speak). We recommend you keep your administrator numbers down to minimum and coordinate as a team.