Adding a Part Vendor
This article explains how to add a Part Vendor in Encompass to streamline tracking and reporting in areas like Parts Inventory Transactions. Users navigate to Vehicle Management > Setup > Maintain Unit Maintenance Info > Part Vendor and click Add Part Vendor. Required fields and any additional information are entered, then saved using Save or Save & Add New to enter multiple vendors. Checking “Show in List?” ensures the vendor appears as an option throughout Encompass where vendors can be selected or associated. Proper setup of Part Vendors helps maintain accurate inventory and vendor tracking.
To add a Part Vendor, go to Vehicle Management > Setup > Maintain Unit Maintenance Info > Part Vendor.


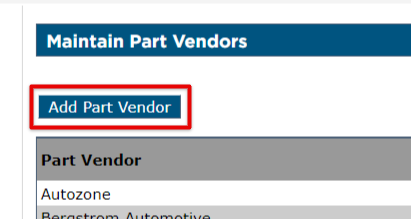
Click Add Part Vendor.
Enter in all required fields and any other additional information desired. Click Save to return to the Part Vendors maintenance page. Click Save & Add New to enter another Part Vendor.
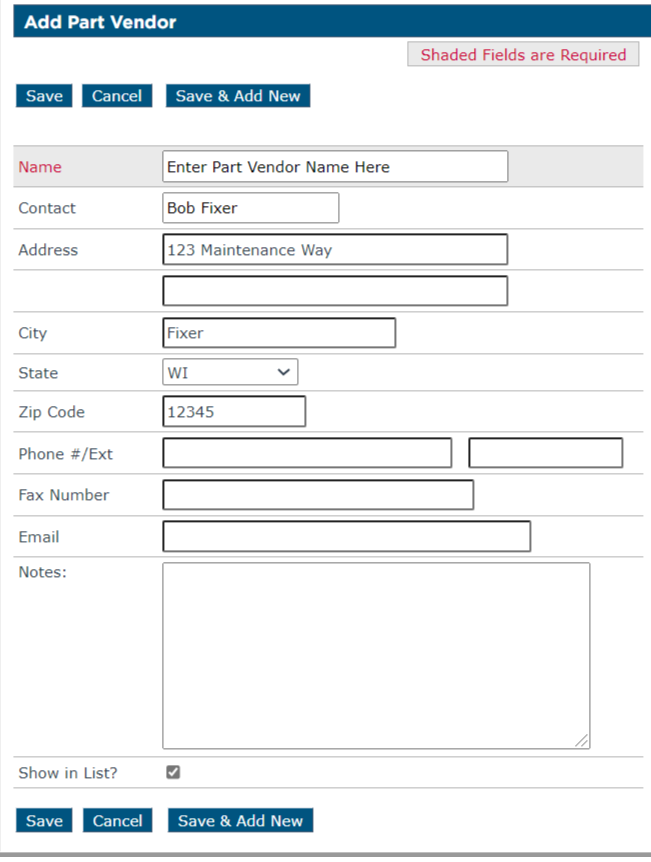
Checking "Show in List?" will allow the vendor to show up in the list of options throughout other areas of Encompass that have the ability to select/associate a part vendor. Not checking the box will not show the vendor.