DVIR Setup - 2. DVIR Categories
The purpose of DVIR categories is to allow a vehicle inspection to be split up into sections. This can help with the efficiency of completing an inspection, standardizes inspections, and helps break-down what may be a large task, into smaller ones.
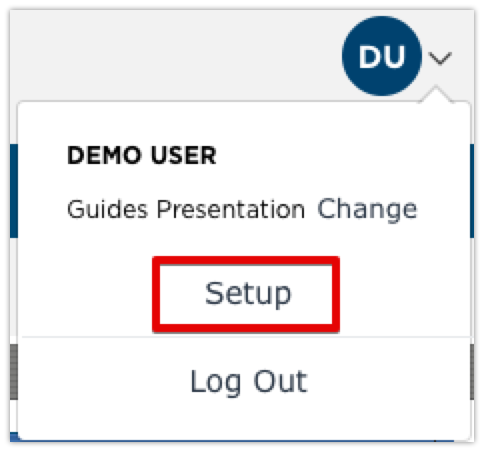
The individual inspection items can be categorized if desired. Categories are not required. By default, all vehicle inspection items, including new ones added, will fall under the General category if no other categories are created. To setup these categories, click on Setup in the drop-down menu in the upper right hand corner from the Vehicle Management tab.

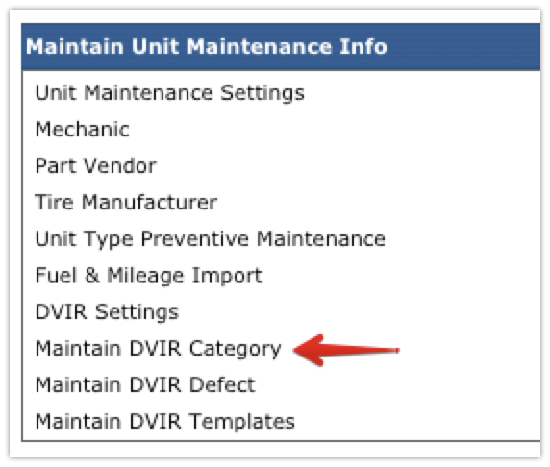
Scroll down to the Maintain Unit Maintenance Info box in the right column. Click on Maintain DVIR Category.

As mentioned, there is a default category called General which cannot be removed. New categories can be added by clicking Add DVIR Category Item at the top.

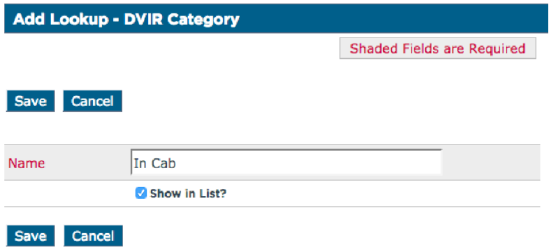
Type in the name that the category should be called, and click Save. Be sure that Show in List? is checked as this will determine if it is an available category or not.

After each category is saved, it will take the user back to the category list page, with a successful message displayed at the top. The new inspection category will then show at the bottom of the list.

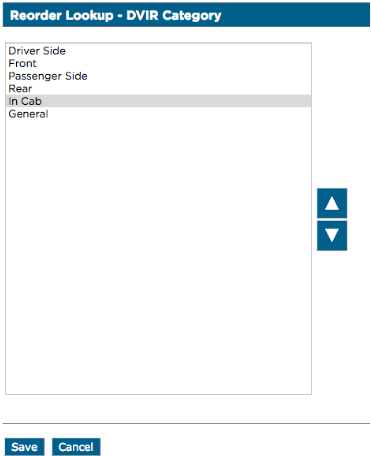
The order in which this list is displayed will also be displayed to the driver within the mobile applications. This list can be reorganized by clicking Reorder DVIR Category Items at the top of the list. Highlight the appropriate category and click the arrows to the right of the box to move the categories. Click Save once the categories are in the appropriate order.

Notes and Tips
- There is no limit to the number of categories that can be created. If there are different types of units that require different categories, they can all be created here.
- This section is simply creating the categories, not putting the inspection items into the categories.


