Geo-Fences
This article explains how to set up and use Geo-Fencing in Encompass to track when Vehicles cross defined boundaries using GPS data from the mobile app and ELD. To begin, a Landmark must be created in Encompass with details such as Name, Address or GPS Coordinates, and optional settings like Yard Designation or Map Icon. Once a Landmark is established, users can create a circular or polygonal Geo-Fence to define the monitored area. Geo-Fence activity can then be tracked through reports found in Vehicle Management, including Unit Geo-Fence Activity, Daily Activity, and Summary Reports. Proper setup enables accurate boundary monitoring and reporting for fleet management.
Setup
Before a geo-fence can be setup, a landmark, or base will need to be established to determine what area the geo-fence needs to cover.
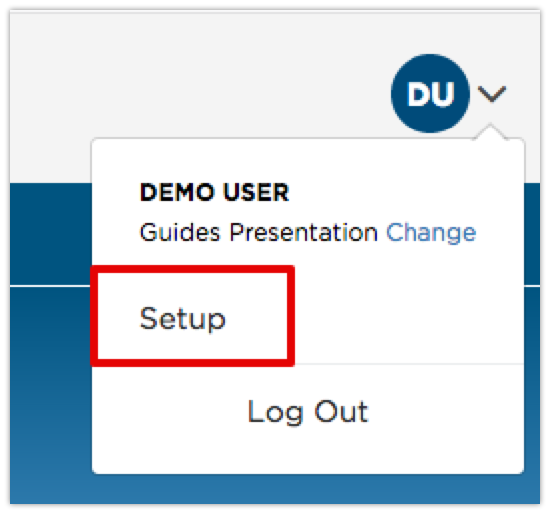
To do this, go to Setup in the drop-down menu in the upper right hand corner.
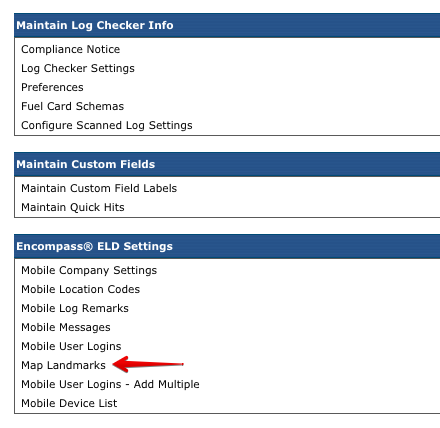
Scroll down to the Encompass® ELD Settings box and click on Map Landmarks.
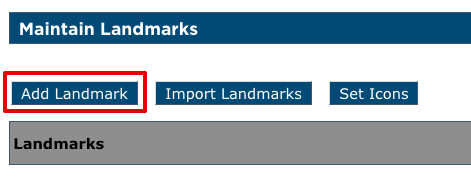
Click Add Landmark.
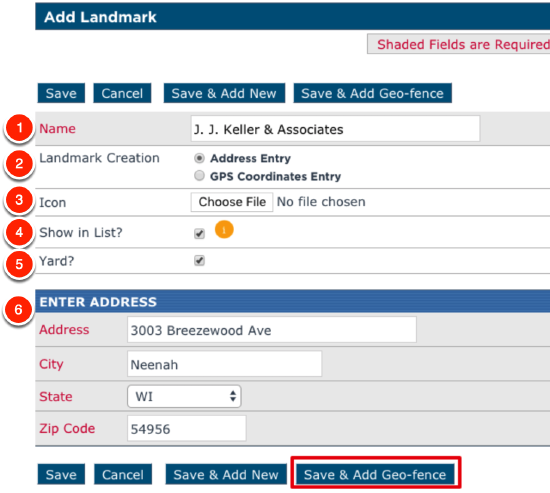
On the Add Landmark screen, enter the necessary information:
1. Name: Enter a name for the landmark. This could be the name of the location (example: Corporate Headquarters).
2. Landmark Creation: Indicate how Encompass should find the location on the map to create the landmark. If GPS Coordinates Entry is selected, the Enter Address area will change to allow for latitude and longitude to be entered.
3. Icon: If there is an image that should be used to denote this landmark on a map, it can be uploaded here.
4. Show in List?: Having this checked will ensure that this location is included in any geo-fencing reports.
5. Yard?: Check this box to indicate if this location is a yard that vehicles move freely in. This is important when utilizing SmartAssign™ for unassigned events and yard moves are automatically processed. Click here for more information on SmartAssign™ Technology.
6. Enter Address/GPS Coordinates: Based on the selection made for Landmark Creation, enter the address or the gps coordinates for the location.
Click Save & Add Geo-Fence.
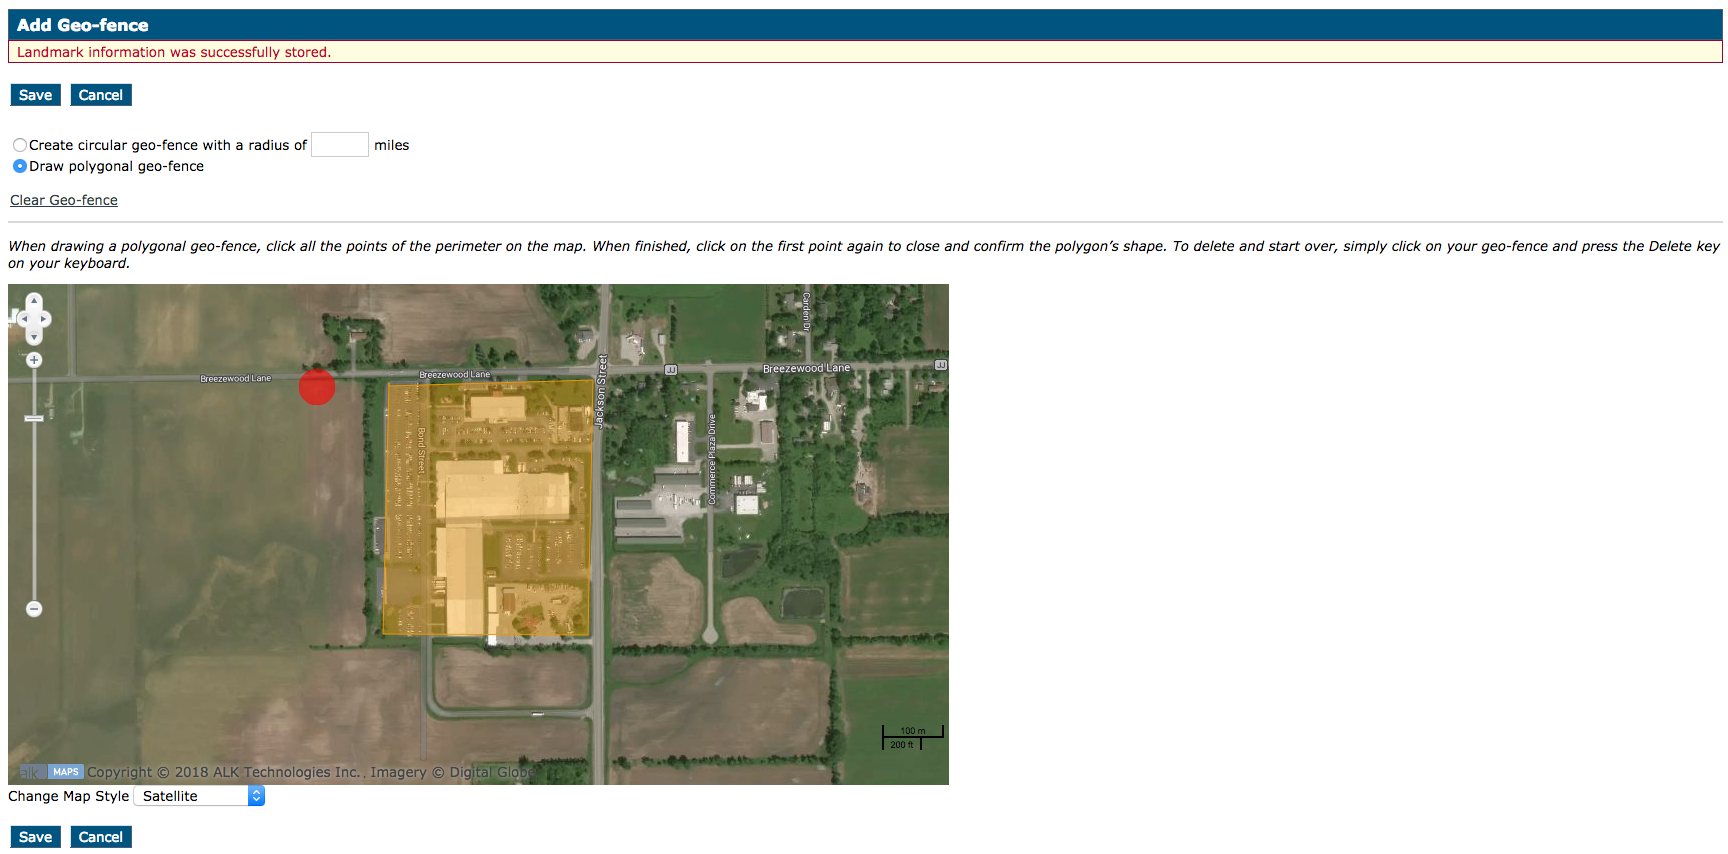
Creating the Geo-Fence
Once the landmark is created, the Geo-Fence can then be added. After clicking Save & Add Geo-Fence on the Add Landmark screen, the user will be taken to a map with the location of the landmark.
They can select a circular or polygonal Geo-fence.
- If circular is selected, enter in the appropriate radius.
- If polygonal is selected, change the map style to Satellite directly below the map and then zoom in to see the yard. Follow the instructions on this page to click around the yard and create the polygonal Geo-Fence.
Once the Geo-Fence is created, click Save to store it.
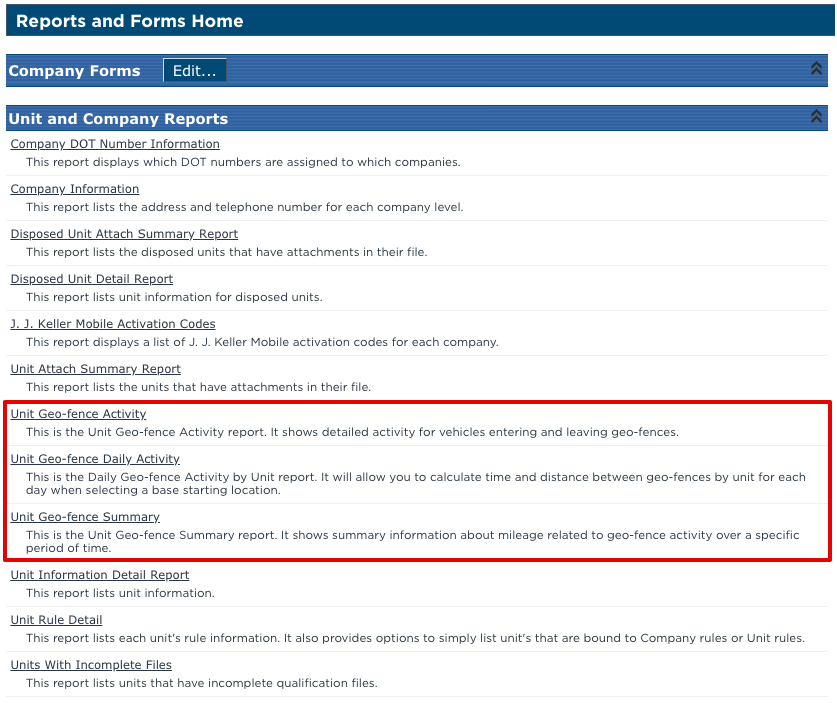
Geo-Fence Reporting
Geo-Fence reporting is found by going to Vehicle Management > Reports & Forms.

There are three reports that can be run and they are found under the Unit and Company Reports.
- Unit Geo-fence Activity
- Unit Geo-fence Daily Activity
- Unit Geo-fence Summary