Add or Edit Vehicles
This article outlines how to manage Vehicles in the VideoProtects system, which is required for Video Events to display properly. Users can add a new Vehicle by entering its details and optionally assigning a Driver, edit existing Vehicle Information through the Vehicle Details page, or permanently delete Vehicles when needed. Deleting a Vehicle also removes all associated Records, Video Events, and Device Pairings. These steps ensure that fleets maintain accurate and up-to-date Vehicle Records within the system.
Adding a new vehicle
To add a new vehicle, select the Vehicles option on the left menu and then Vehicles.

Select Add Vehicle at the top right.

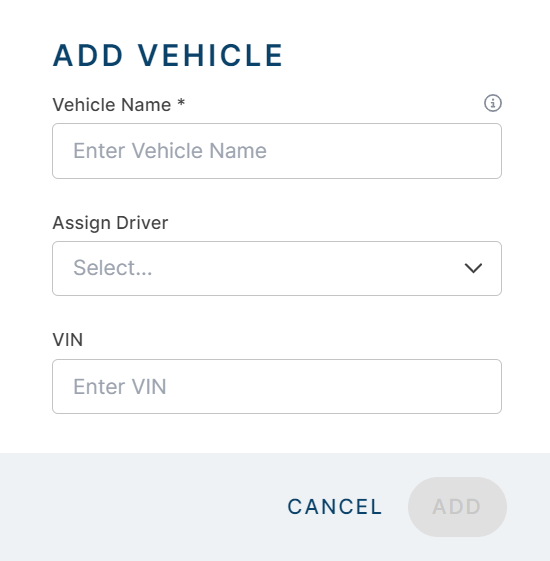
Enter the vehicle's information and if the Vehicle is to be paired/assigned to a Driver (Click +Add New Driver in the Assign Driver dropdown, or see Adding a Driver for more information.) Click Add when finished.
Editing a vehicle
On the Vehicles roster, you can click on the vehicle name or use the ellipsis> View Details.


Click Edit Details. Edit any information needed, including the Assigned Driver. Select Save to return to the Vehicle Details.


Delete a Vehicle
There are a few ways to delete a vehicle entirely from your system:
- Check the box next to the vehicle name and then click the trash can located near the top right:

- Click the ellipsis next to the vehicle name, and then click Delete Vehicle.

- Click on the vehicle name to open its details. Then, click Delete.


Confirm your decision to delete the vehicle from the system. Note: All vehicle records, video events, and device pairings relating to this vehicle will also be deleted permanently.
