Create a Curriculum in TMC
Curriculums are a way of combining several courses/training into one, larger program. This makes it easier to assign a list of courses all at the same time instead of each individually. You can create your own curriculums based on company needs or you can use one of the J.J. Keller preset curriculums that break up large quantities of training materials into more bite-sized training pieces to be consumed individually. This article walks you through creating your own curriculum.
Use the table of contents on the right, or click these links to jump to that applicable section of this article.
Create Your Own Curriculum | Enroll Learners in a Curriculum | View Learner Status | Edit a Curriculum
Create Your Own Curriculum
To create your own curriculum, go to Catalog > Curriculums. Or, you can click Curriculums from the Quick Links on the TMC dashboard.

OR

Click the + New Curriculum button.

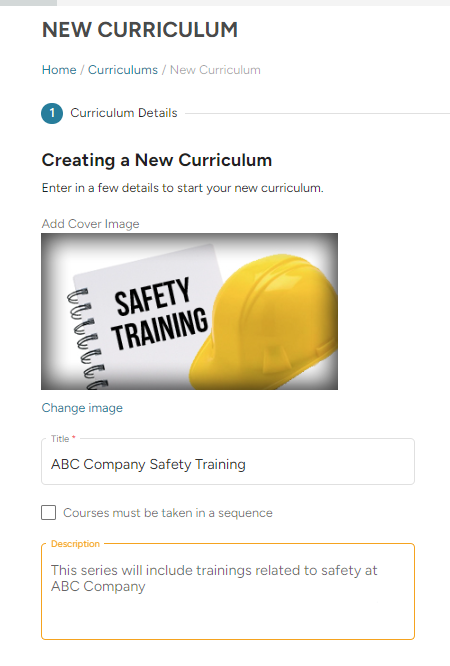
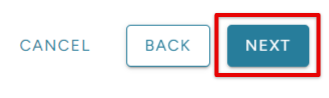
You can add your own Cover Image. Set a Title for the curriculum. Decide if you would like to require that the courses in the curriculum are taken sequentially (a learner must take the courses in the determined order). And, if desired, type in a description for the curriculum. Click Next near the bottom right when finished.

Next, you will add courses to the curriculum. Check the box/es next to the course/s you would like to include in the curriculum.
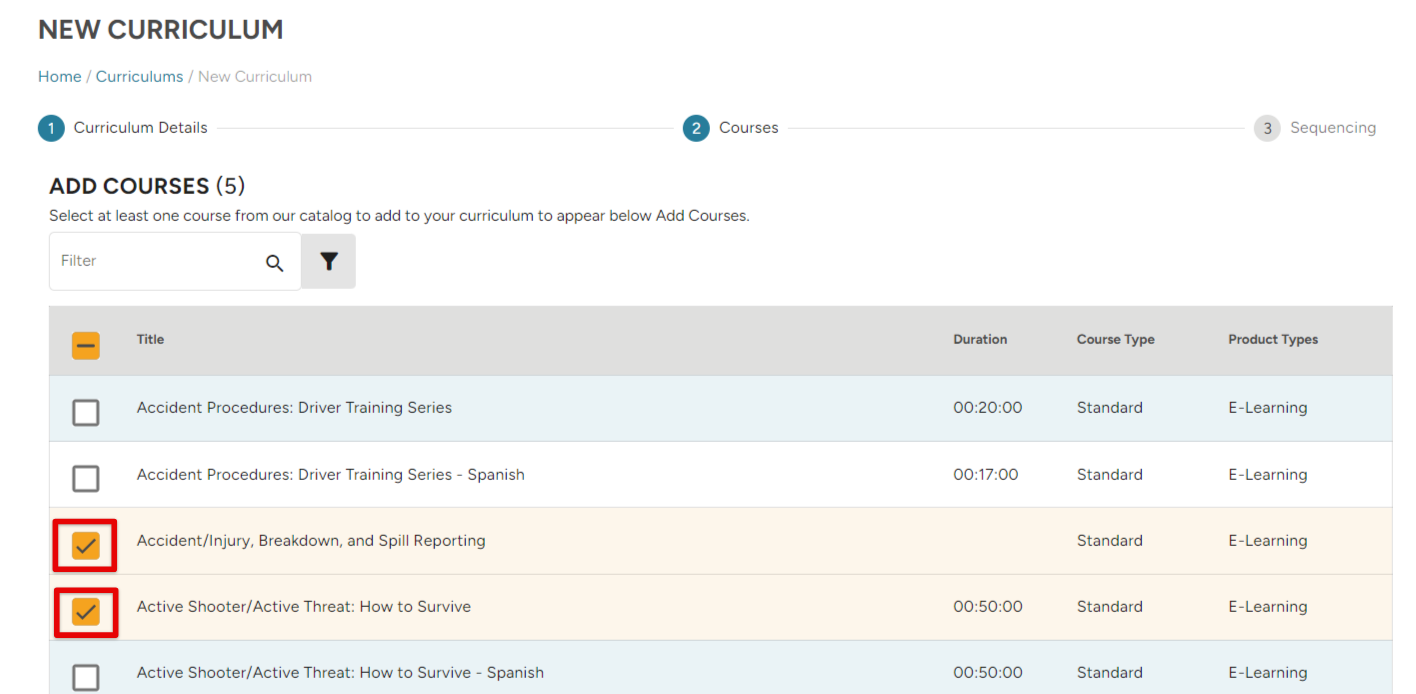
! Tip: Use the pagination feature at the bottom of the table to display more courses per page, or to navigate through all pages of the course list.
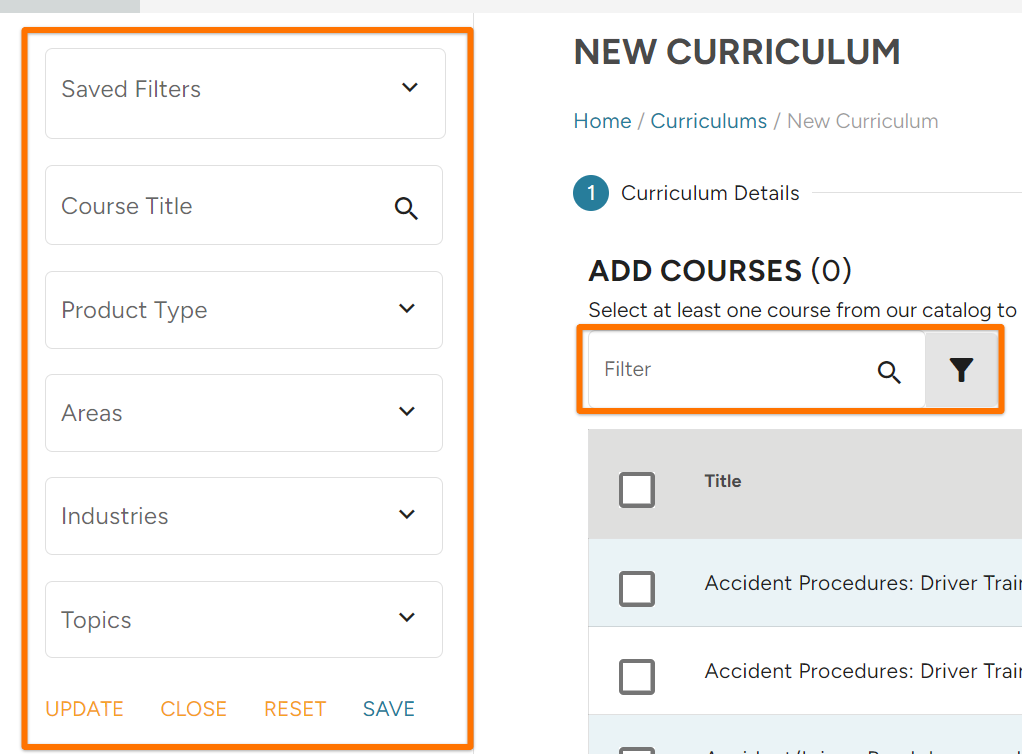
Additionally, it may be helpful to use the Filters on the lefthand side to search for and narrow down course results.

When you are finished selecting courses, and dependent upon your selection/non-selection of the "Courses must be taken in sequence" box on the setup page, you will either click Next or Create.
- If you did not check the box requiring learners to take the courses in a specific sequence, you will click Create
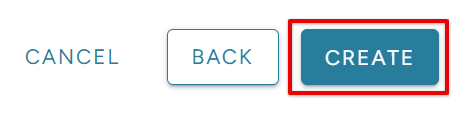
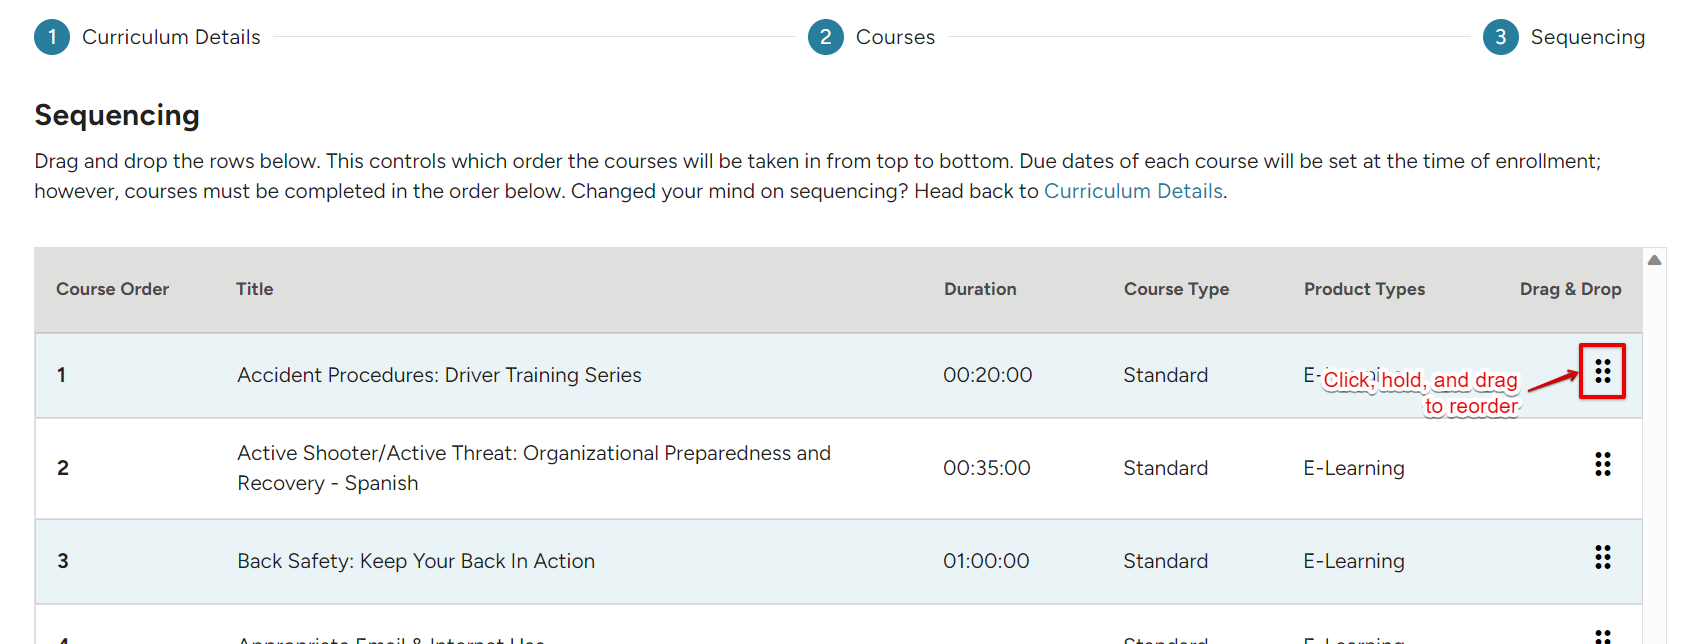
- If you did check the Courses must be taken in sequence box, you will click Next. Then, on the Sequencing page, drag and drop the courses into your desired order. Click Create when finished.
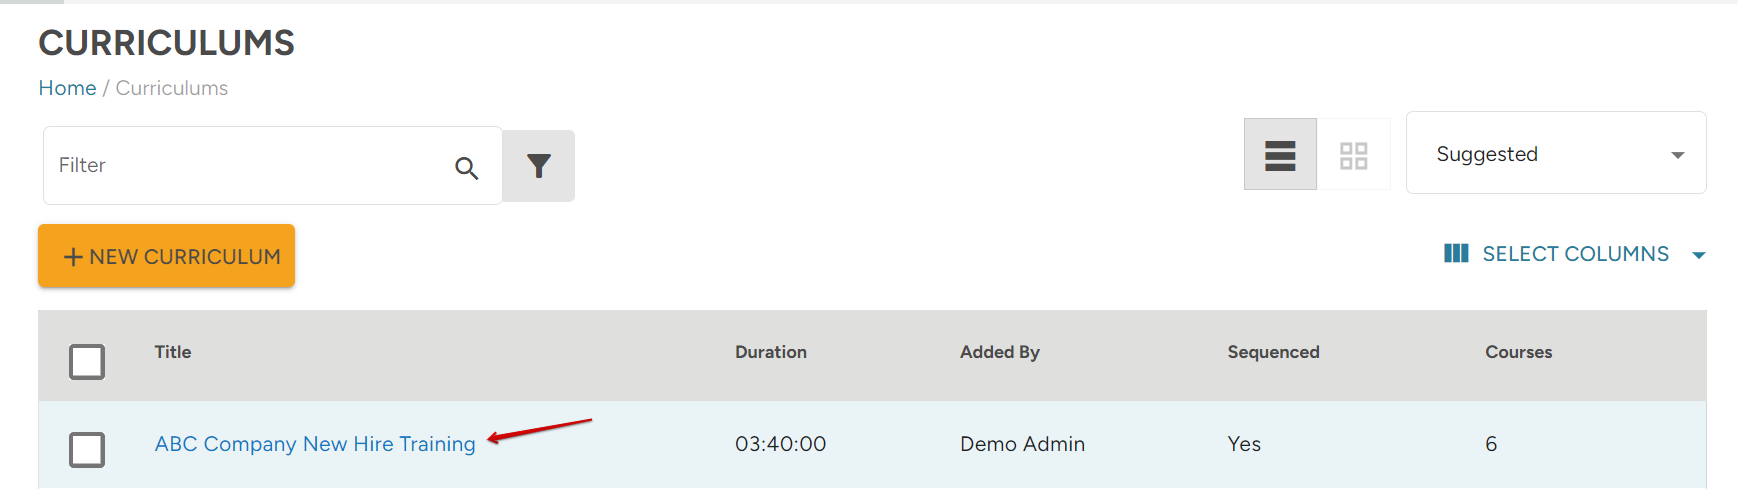
Now, the curriculum you just created will be displayed on the main Curriculums page. Here you can see the duration of the full program, who the curriculum was added by, if the program is to be taken in sequence or not, and how many courses are included in the curriculum.
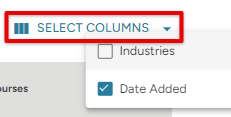
*You can also click the Select Columns drop down to include Industries and Date Added columns to the curriculums list.
Enroll Learners in a Curriculum
To enroll learners in a curriculum, click on the title of the curriculum.

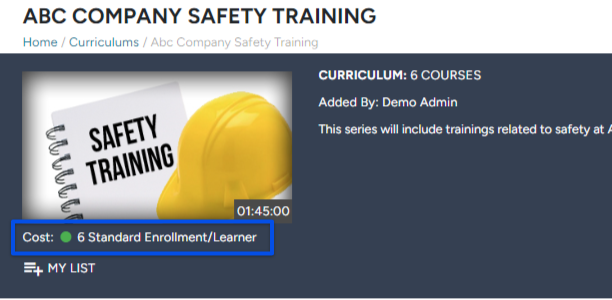
Note: The cost is indicated in the blue box above. In this example, since there are 6 courses in this curriculum, the cost is 6 enrollments per learner. (ie. if you are enrolling 5 learners in this curriculum, this will 'cost' 30 enrollments.)
Click +Enroll Learners.

You will be taken to the Shopping Cart. Click Select Learners (or Add Learners on the right).

Check the box next to the learner/s you would like to enroll in this curriculum. Click Save when finished.
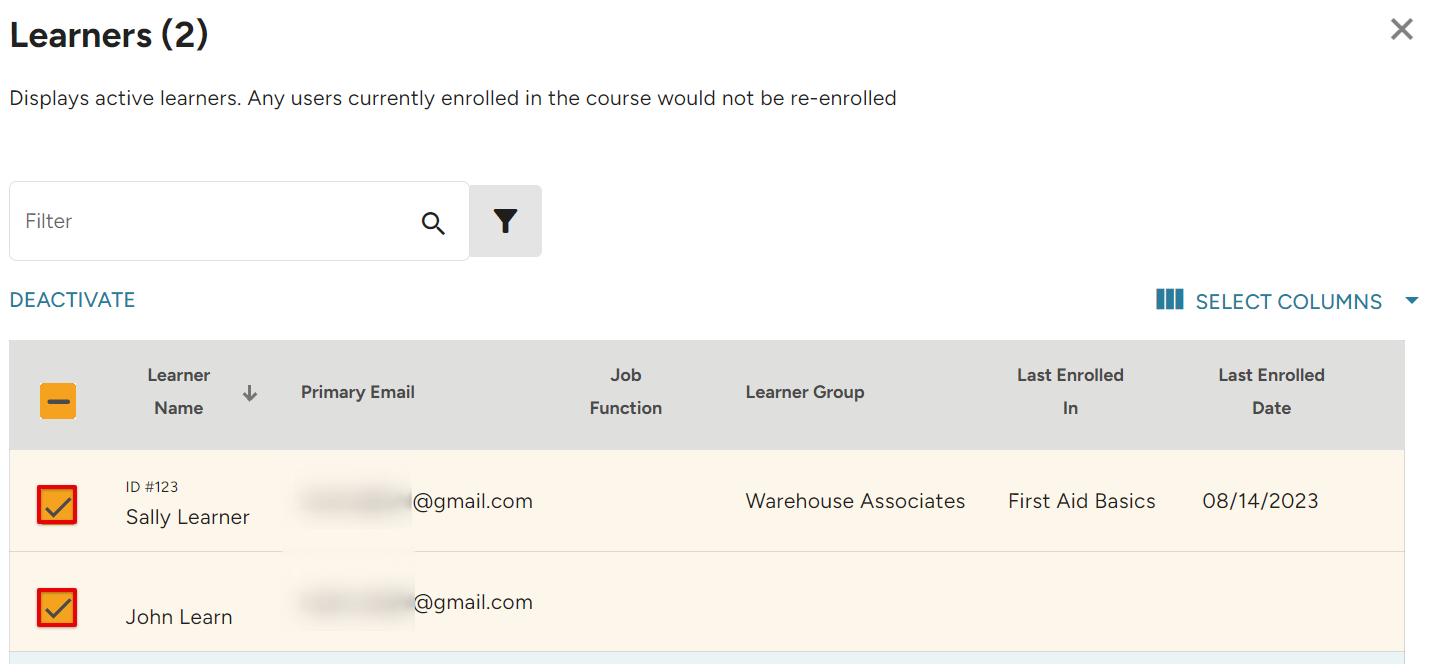
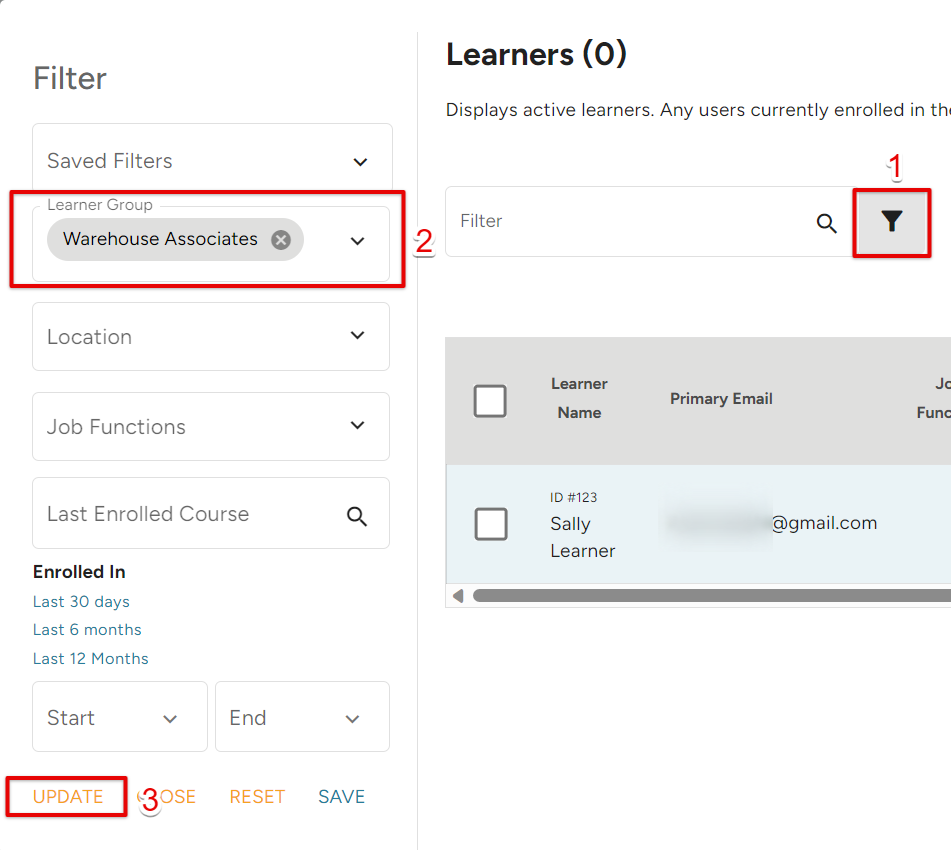
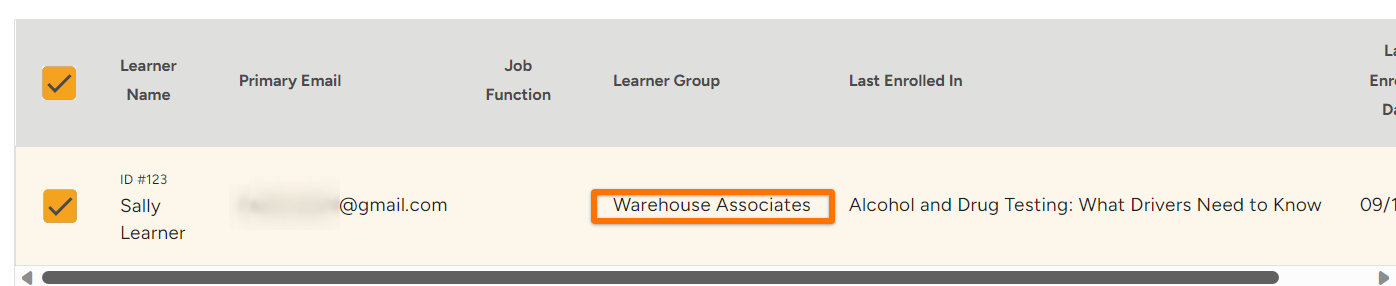
! Tip: To enroll an entire Learner Group, click the filter button and select your desired group from the Learner Groups dropdown. Click Update; learners in that specific group will display. Check the box next to all desired learners.
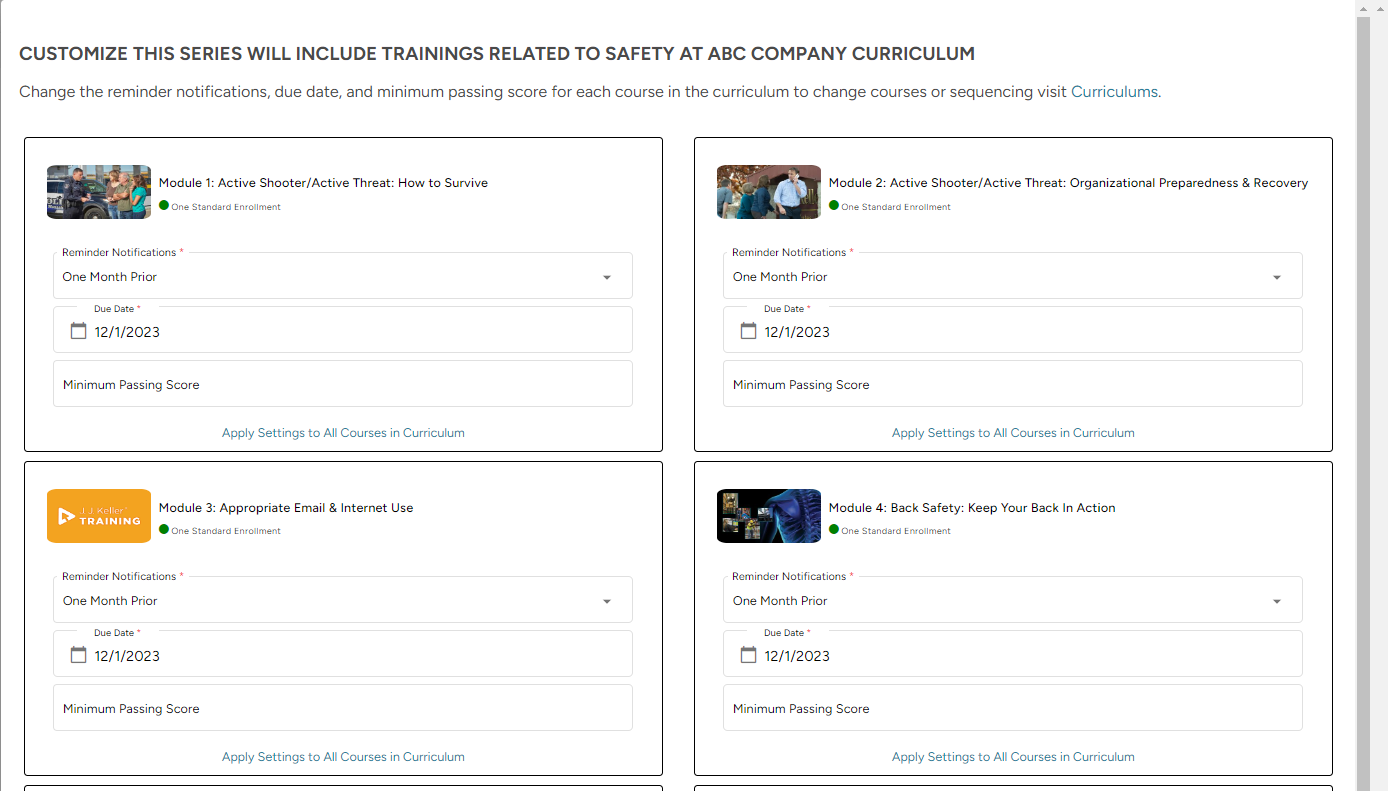
Next, set a reminder notification timeframe and due date. The Minimum Passing Score is optional. If desired, check the box if you want to Allow Certification Printing.

Note: These settings will apply to ALL courses in the curriculum. To customize due dates/notifications for each course, click Customize Each Course. You can then change the settings per course. Make sure to click Save when you're finished updating the settings.

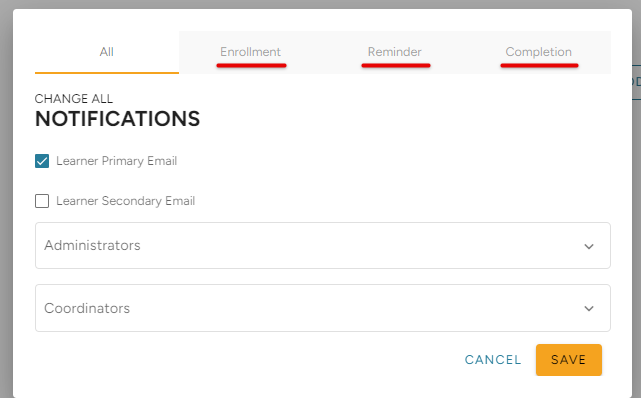
Click Notification Settings to change where/who to send any notifications to, if desired. You can send the notifications to a learner's primary and/or secondary email and notify selected admin/coordinators. The ALL tab will set the same notifications for all enrollment, reminder, and completion notifications. To customize Enrollment/Reminder/Completion notification settings, click each tab to change as you see fit.

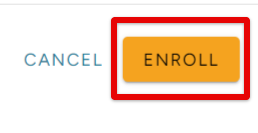
When you are finished selecting your learners and setting up due dates, etc., you will see your cart reflect the number of learners + courses in the curriculum. In this example, two (2) learners are being enrolled. The curriculum itself 'costs' six (6) enrollments per learner, as indicated in the Curriculum's information page. Therefore, 2 learners at 6 enrollments each will cost 12 total enrollments.

Click Enroll.
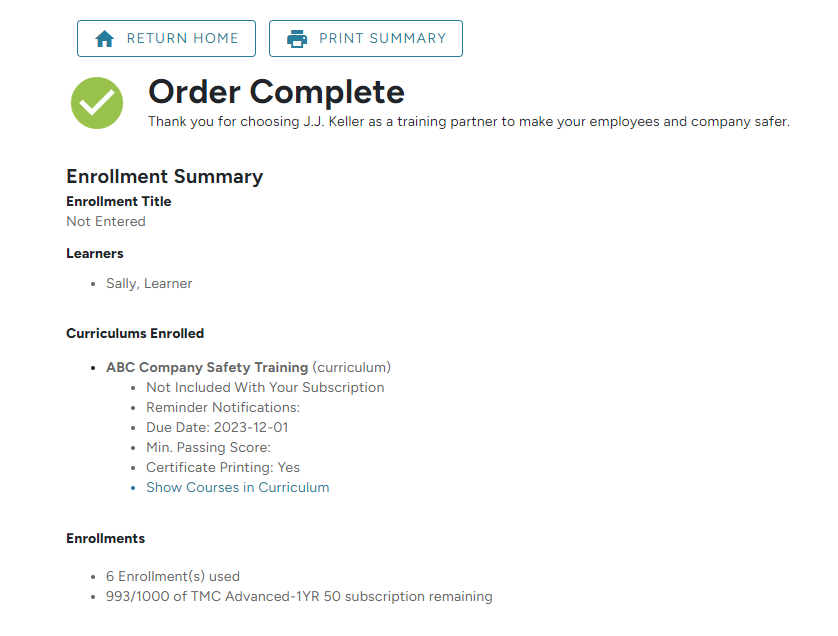
An Order Summary page will display.
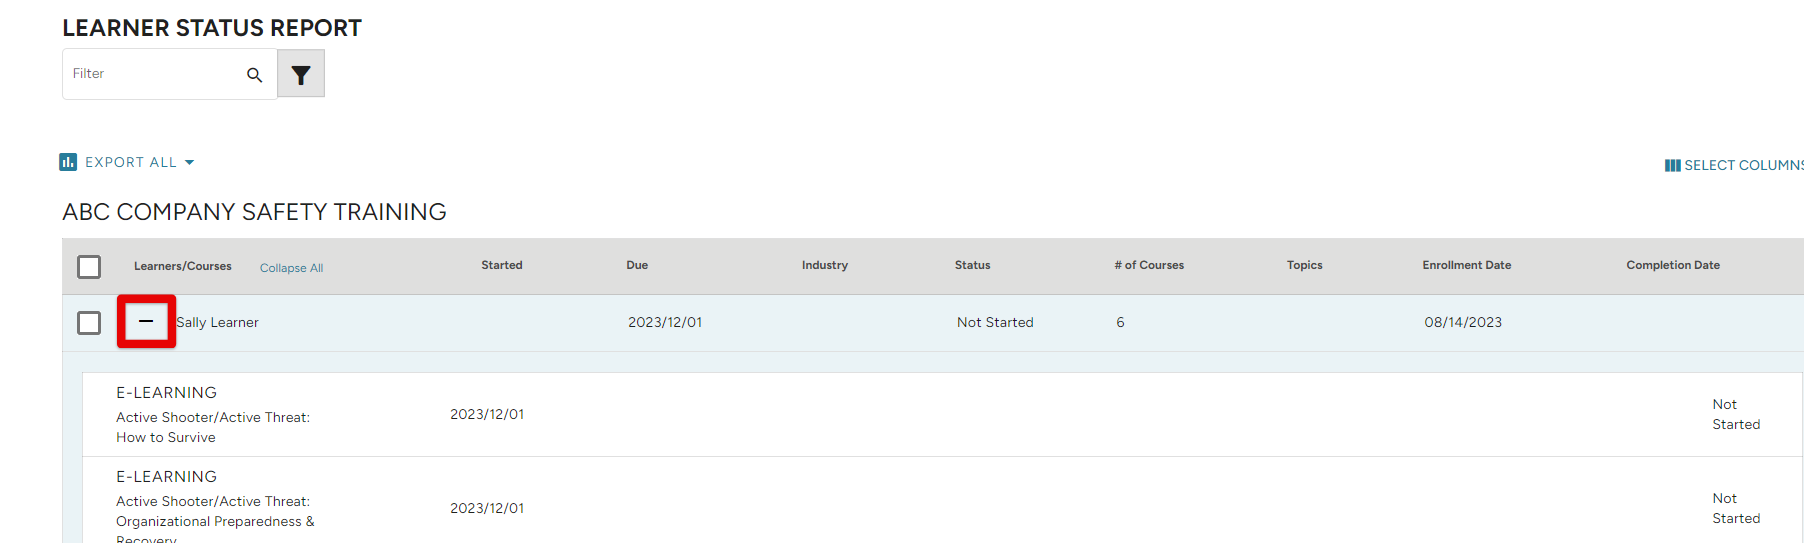
View Learner Status
To see where a learner is at in the curriculum, you can view a learner status report. On the Curriculums page, check the box next to the curriculum in question. Then, click View Learner Status.


You will be taken to the Learner Status Report. Click the +/- to expand the details of the learner's curriculum progression.
Edit a Curriculum
To edit the title/image/description and course selection for a curriculum, first go to the Curriculums page.

Click the title of the curriculum to open its details. Then click Edit Curriculum.

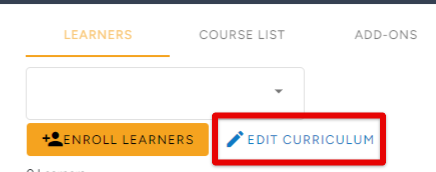
Note: Admin cannot "edit" the Curriculum if there are current or past enrolled Learners into the Curriculum.
To delete a curriculum, check the box next to the title and click Delete.
