Parts Inventory Transactions
This article outlines how to add Parts Inventory Transactions in Encompass® to manage inventory updates such as adding stock after reorders, adjusting quantities, or recording part transfers. Transactions can be added when creating a new part, from the Part’s File under the Inventory Locations tab, or directly from the Parts List using the dollar sign ($) icon. For each Transaction, users must provide at least the Inventory Location, Transaction Date, Quantity, and Action before saving. These tools help maintain accurate and up-to-date inventory records across all Locations.
Transactions are used to add inventory after (re)ordering, adjusting quantities on hand, or to track part transfers between locations.
There are a few ways you can add a transaction:
- Add transactions when adding a new part by clicking Save & Add Transaction.
- Go to Vehicles > Maintenance > Parts and click on the Part Number to open up the part file.
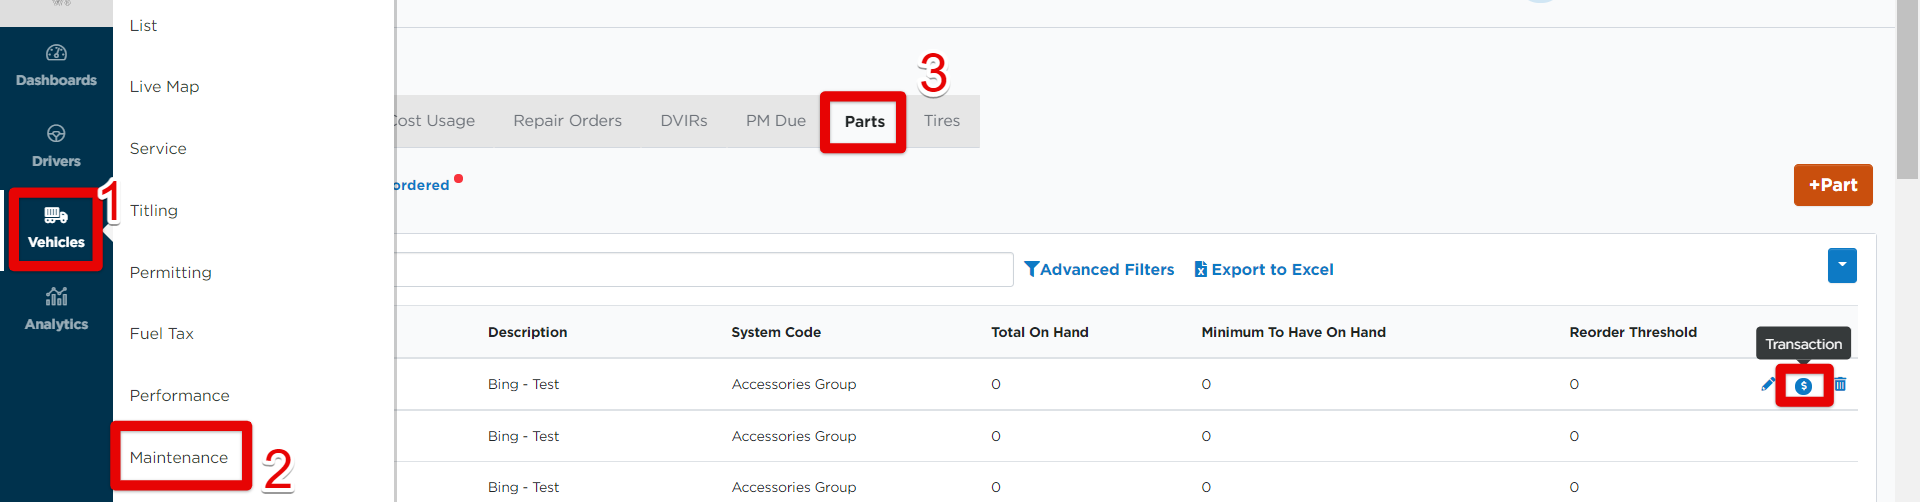
- Go to Vehicles > Maintenance > Parts and click the $ icon next to the part, as shown in red below. Click to jump to this section.
Adding Transaction From Part File
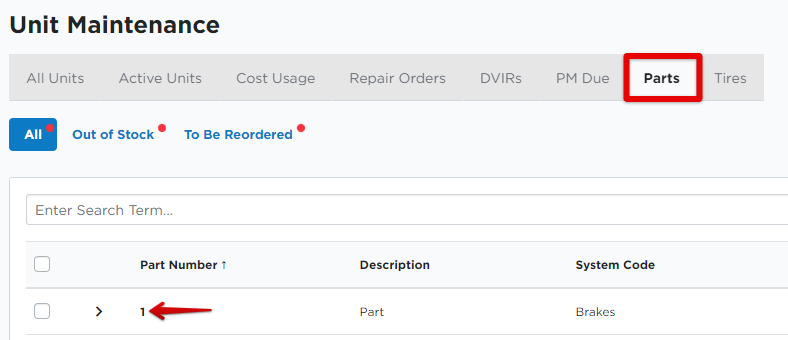
Click on the part number that a transaction needs to be completed for.
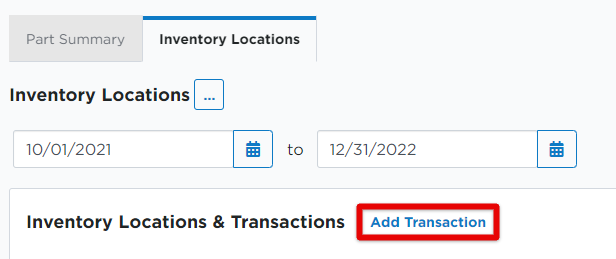
From the Inventory Locations tab, click Add Transaction.
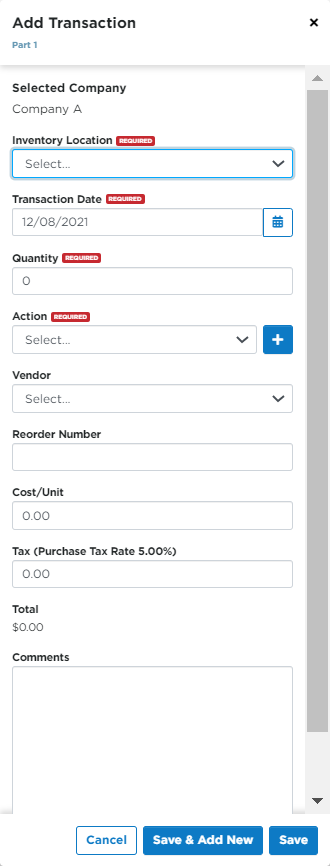
Enter at least the Inventory Location, Transaction Date, Quantity, and Action. Click Save when finished.
Adding Transaction From Parts List
Enter at least the Inventory Location, Transaction Date, Quantity, and Action. Click Save when finished.