Manually Adding a Log
If a company is using Encompass® ELD, most of the logs will populate in Encompass® automatically. There may be times, however, where logs need to be manually added. The information below covers the steps to accomplish manually adding a log.
Steps to Enter a Grid Log Manually
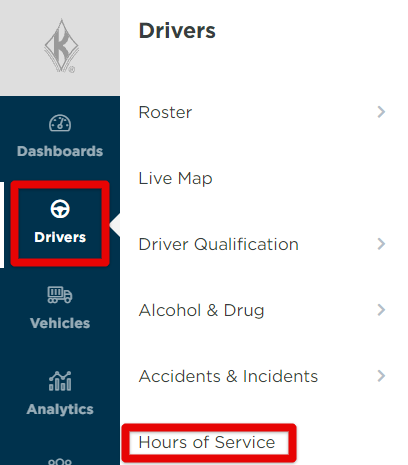
Go to Drivers > Hours of Service.
There are a few ways you can go about adding a log:
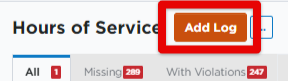
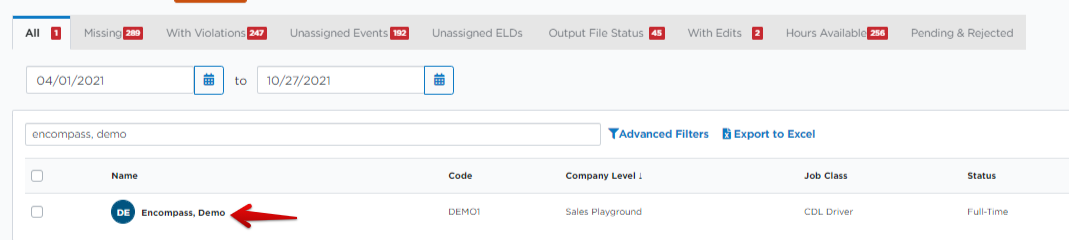
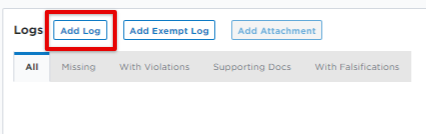
1) By clicking the Add Log button at the top of the Hours of Service page. Then, search for the driver needing the log added. Enter the log information, as outlined further below.
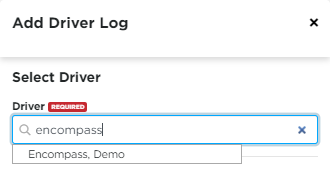
2) By finding the employee via the list that populates on the Hours of Service page, or by using the search function to find the specific employee. Then, click the Add Log button on the next screen.
Fill in the Log Information section:
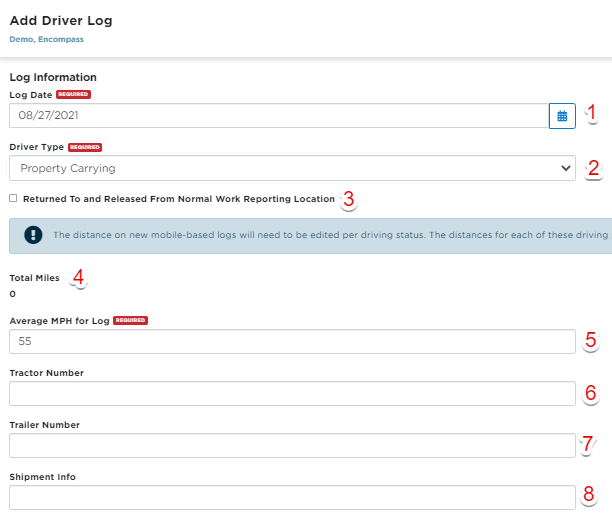
- Log Date: Enter the Date (must be in YYYY format)
- Driver Type: Was the driver Property Carrying or Passenger Carrying? (System defaults to Property Carrying.)
- To/From Work Location: This will be off initially; if the driver was returned to and released from reporting location, check this on. It will affect whether the system honors the 100-mile exemption and extra hours (if exemption is used).
- Total Miles: This will be blank to start. The message above explains that miles will display (and increase) as you enter "Driving" events to the log.
- Average MPH: It will default to the rule set. But you can change if needed.
- Tractor Number: Enter the tractor number (or numbers with a comma) the driver used with the log.
- Trailer Number: Enter the trailer number (or numbers with a comma) the driver used with the log.
- Shipment Info: Enter shipment information for the log.
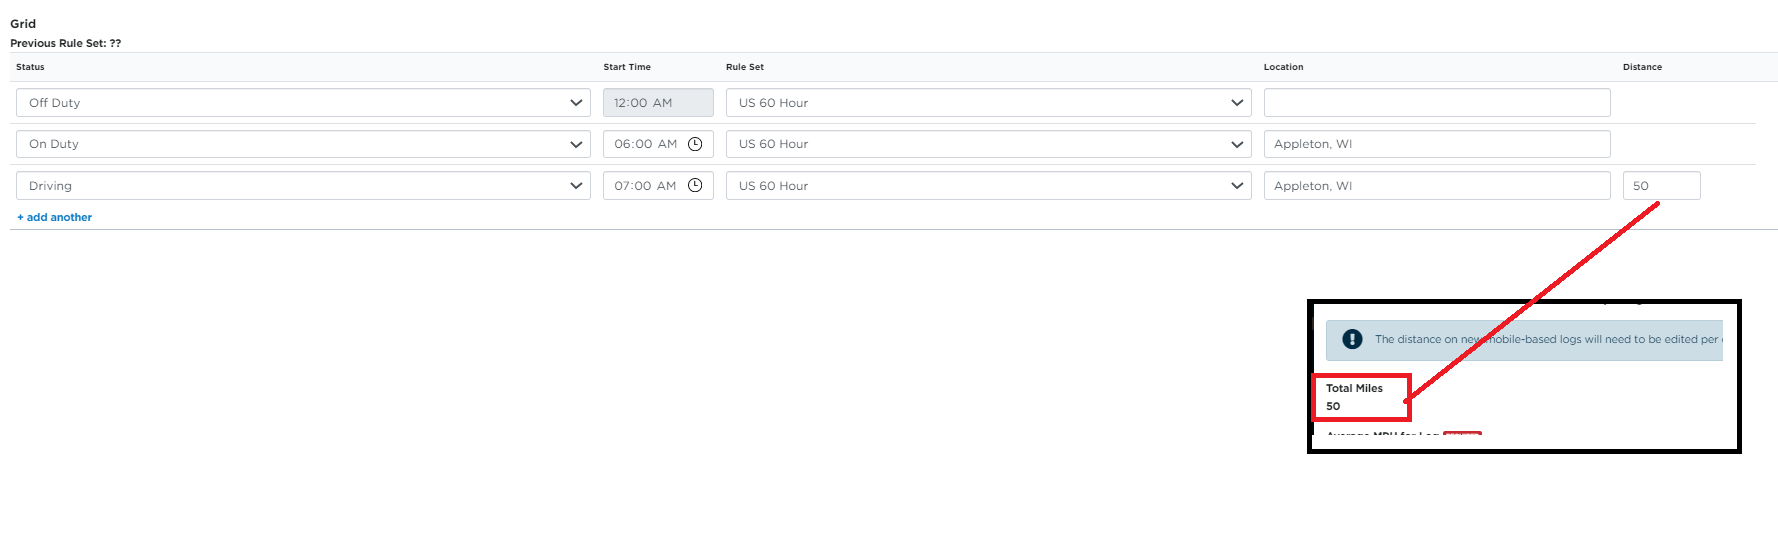
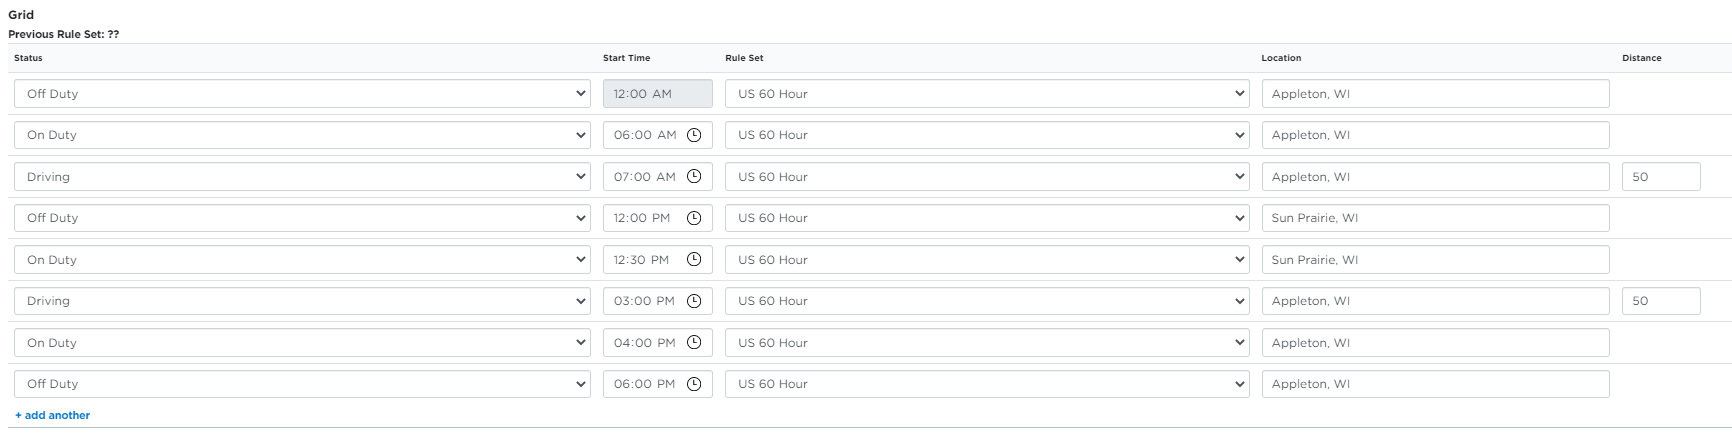
Scroll to begin filling in the log, event by event:

- Select Status: This will be (1) Off-Duty, (2) Sleeper, (3) Driving or (4) On-Duty. These correspond to the numbers of a keyboard for 10-key entry.
- Enter the Start Time for the event.
- Select the Rule Set. This will indicate that last rule set used.
- Enter the Location
If there is a Driving Event, a new field will display to enter the Distance for the driving segment. These distances are then totaled by the system to calculate the Total Miles in the log information above.
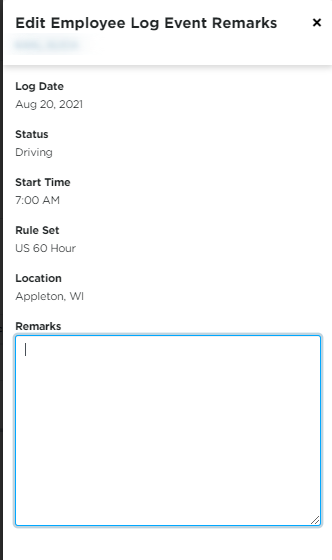
To add remarks or delete a specific event, hover over the right side of the event's row to reveal a "Remarks" (comment bubble) and "Delete" (trash can) button.

Remarks:
Enter remarks, as needed, for each line. Be sure to click save at the bottom of the pop out when finished with entering remarks.
Delete:
When clicking the "Delete" button, the system automatically deletes the event without another prompt. Be mindful of which event you are deleting, so as to not affect the rest of your order of events.
When all events are entered, the edit screen may look like this:
Note: Be sure to enter the "Off Duty" status at the end of the log; otherwise, the driver is stuck in the status last entered (i.e., On-Duty).
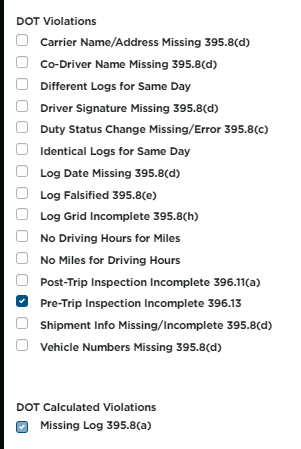
Go to the Violations section and check any Form & Manner violations that need to be included. Note that some violations are calculated for the user.
Scroll down to enter any Notes that may be needed.
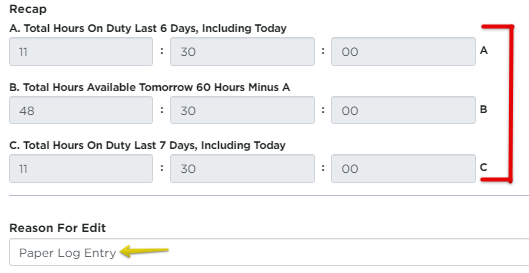
The next area covers Recap information for the driver. Enter a reason why this log was added/edited in the system. Note: When customers have the ELD Mandate solution, the system will automatically enter Paper Log Entry.
Saving options:

- Click Save to save the log and return to the employee's log profile.
- Click Save & Add New to save the log and immediately open another "Add Driver Log" screen for the same employee.
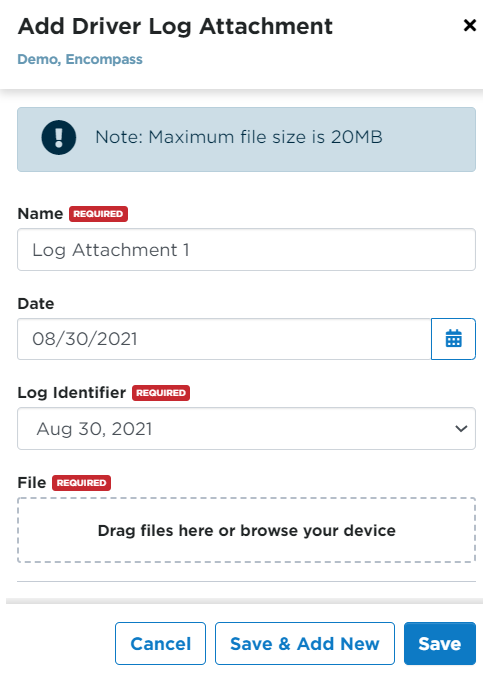
- Save & Add Attachment: Saves the entered log information and allows you to add any attachments. Click save after adding all required attachment information. See screenshot below.
If there were any calculated violations, they will show up after the log is saved and accepted by the driver.
What Happens Next...
When an ELD log is manually added, some information may look a bit strange.
To start, when viewing the list of logs for the driver, it seems to show that the log is only 24 hours of off duty time, even though numerous duty statuses were added to the log. Click on the log date to view more log information.

When viewing the log, the grid is blank with no duty status changes that the user had added for the log. The log looks this way because the driver has to accept the changes made to their log before it will show on their log in Encompass. When a back office admin enters a log on the driver's behalf, the ELD Mandate states the driver must approve all changes. This includes paper logs entries.
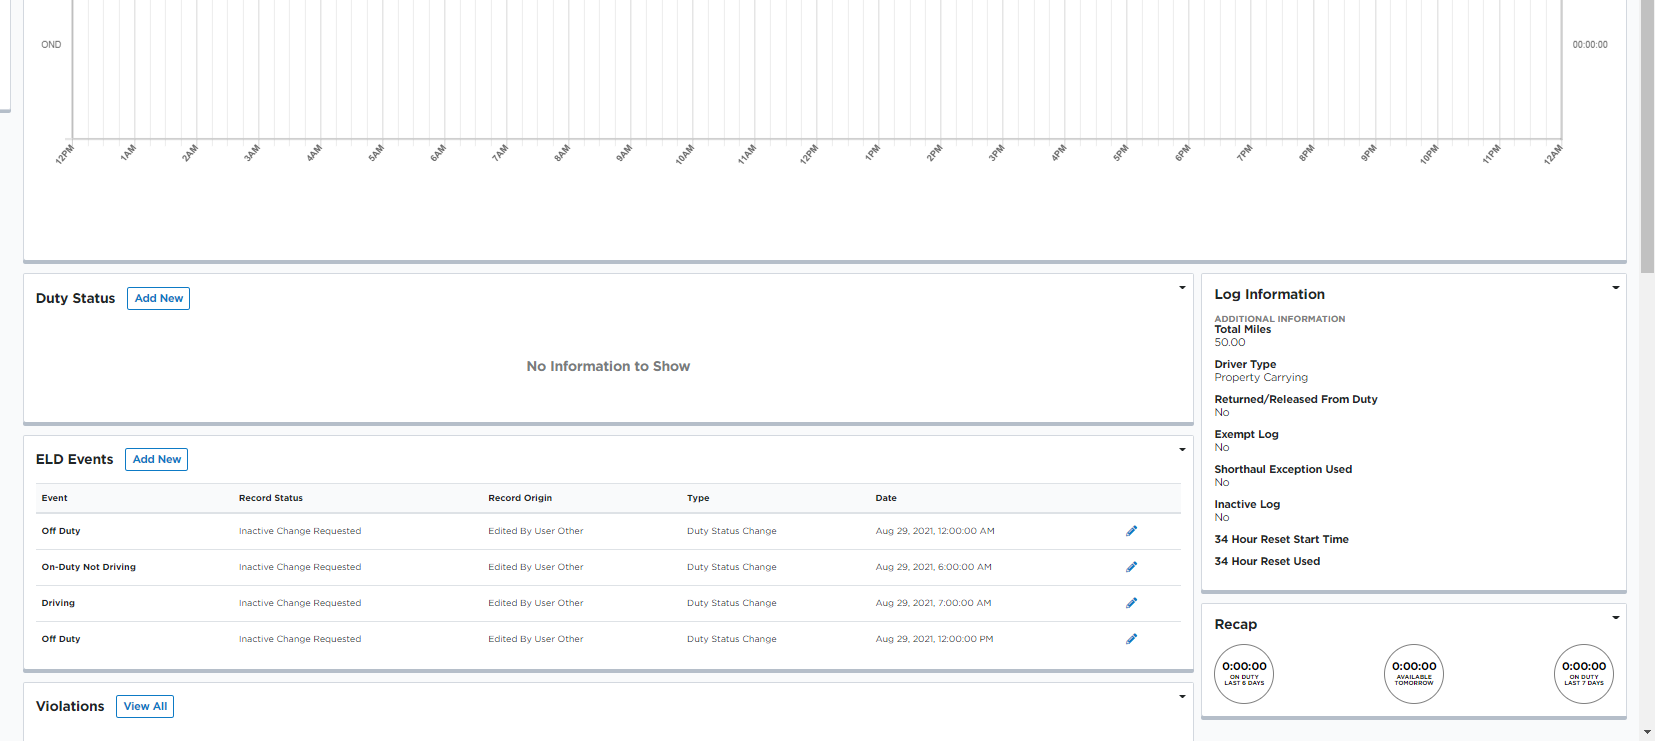
All of the duty status changes that the Encompass user added will be shown with an Event Record Status of Inactive - Change Requested which means it is awaiting driver acceptance.
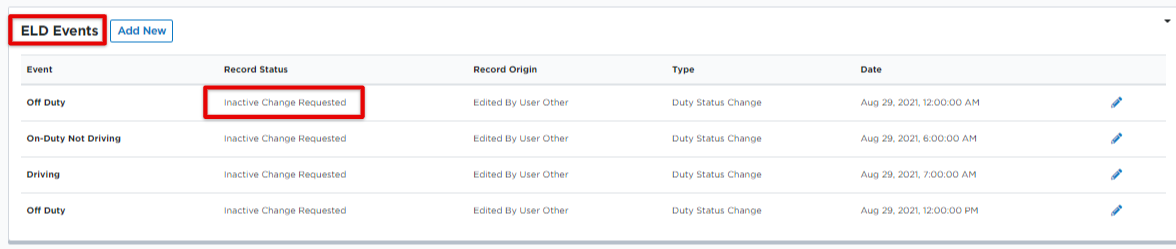
Reminder: The log will look incomplete until the driver accepts the log additions/edits.
The Alert
To help admins handle the Log Event Edit process, admins can refer to the Alerts button/tab. The Alerts menu item (in red below) brings you to the Alert Center; the "bell" button near the top of your screen shows a quick list of Alerts or notifications (in orange below) where you can scroll to find pending and rejected log edits.
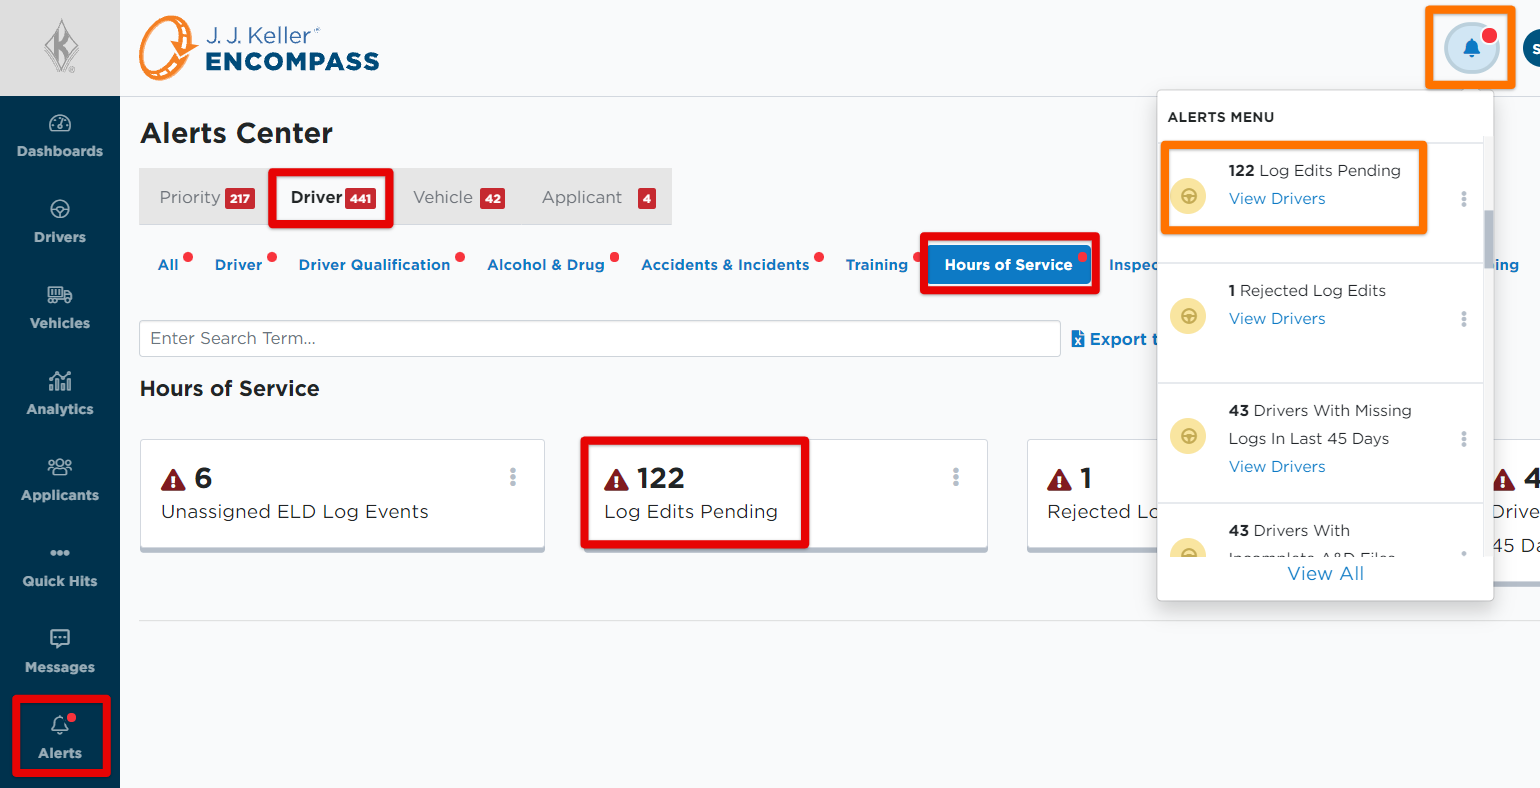
Clicking on these Alerts brings you directly to the Pending & Rejected tab on the Hours of Service main page, another area you can directly reference to view pending/rejected log edits.

The next time the driver logs into Encompass® ELD, they will have a notification to review Log Edits. The driver will either confirm or reject the edits reviewed. If the driver accepts the edits, the alert will clear from the Pending/Rejected tab. The Edit Status columns shows whether the event is still pending acceptance or if it was rejected.

Users can also view the Revision History or Clear the Alert themselves for individual log edits.