Import Employees in Encompass
This article provides step-by-step instructions for importing new employees or updating existing employee information in Encompass without manual data entry. The process involves accessing Settings > Drivers > Import Existing Employees, downloading and completing the provided Excel template, and ensuring all required fields match existing Encompass Settings for Job Classes, Employment Statuses, and License Classes. Users then select the Company Level, upload the file, optionally enable the Overwrite All Fields feature, and provide an email for import completion notifications. A preview of the data is shown before finalizing the import, after which the updated Roster will reflect the new or modified Employee Records.
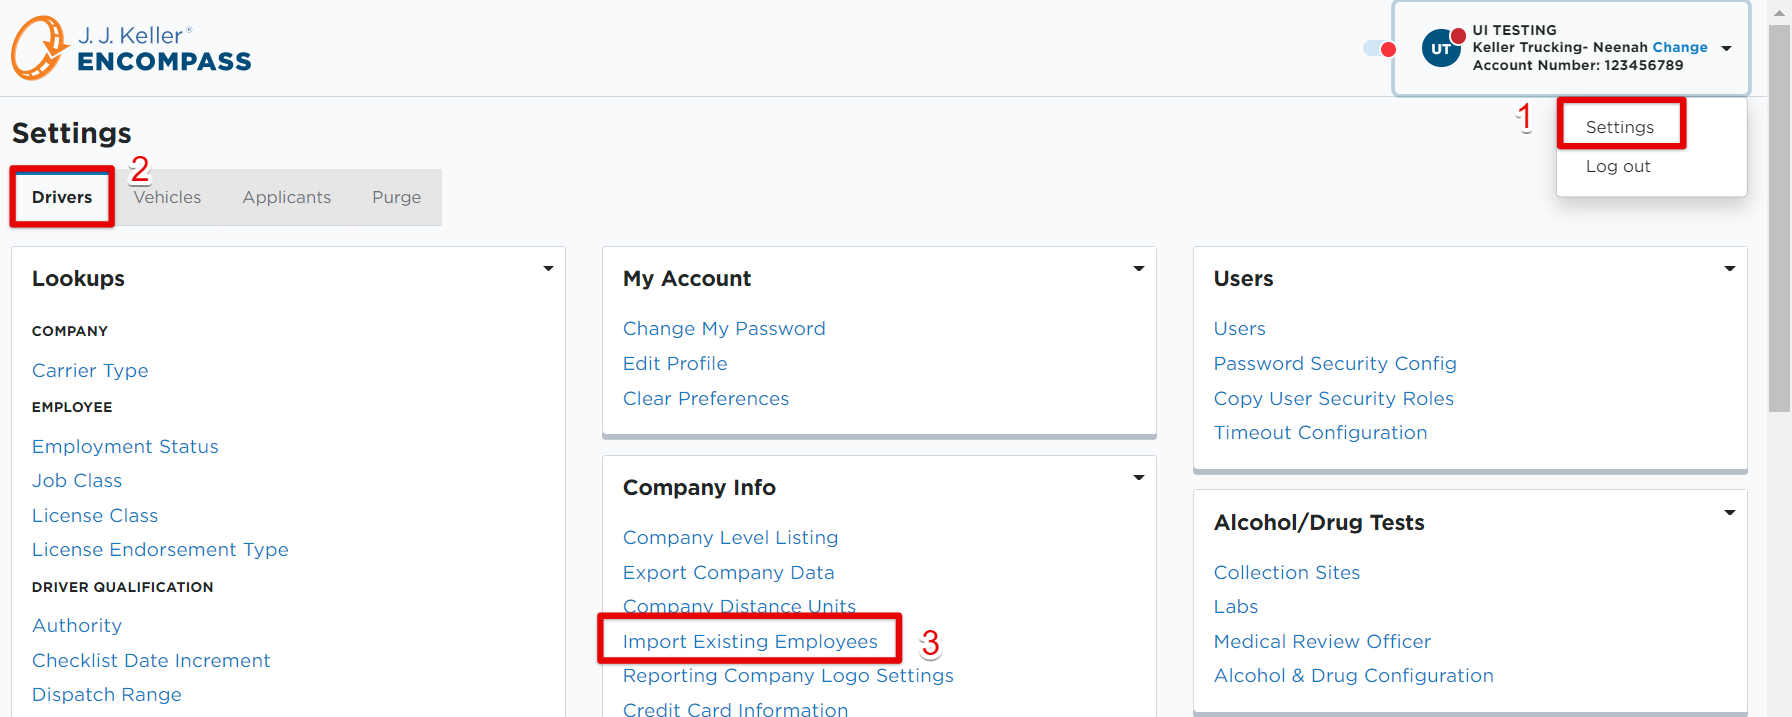
Go to Settings > Drivers and locate the Company Info section. Then, select Import Existing Employees.
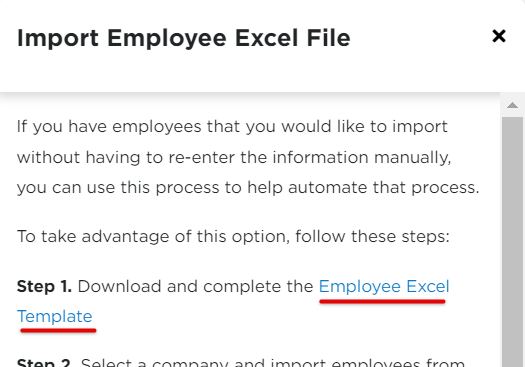
Download and complete the Employee Excel Template that is linked in the Import Employee tool. Make sure any required fields of the spreadsheet template are filled out, at the least.
*You'll also want to make sure you've set up your Job Classes, Employment Statuses, and License Classes in your Encompass Settings. What you put in the import template must match exactly what is in Encompass.

Then, back in the Import Employees tool in Encompass, select a Company Level to import the employees into. Upload your completed spreadsheet/template file using the upload tool.
Note: When Overwrite All Fields is toggled on, any data put into the spreadsheet template will override any information currently in Encompass if an employee already exists in the system and is being re-added/imported.

Enter an email address for the 'results' to be sent to. This notifies when the import is completed.

Then, Upload & Preview Import File.

A preview of the information to be uploaded will display. Click Import Uploaded File.


The designated email will receive a message indicating that the import has been completed. Your newly added employees will now display in your rosters.