Timesheets
Timesheet functionality has been added to the DVIR mobile application which allows the user to clock in and clock out during the day to track their working time. This is not associated with any Hours of Service rules.
Enabling Timesheets
To utilize timesheets, they must be enabled for your company. Note: This options is enabled or disabled per the entire company, not per individual driver.
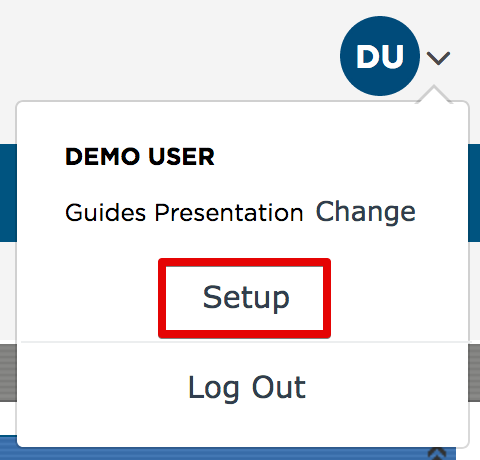
Go to Setup in the drop-down in the upper right hand corner.
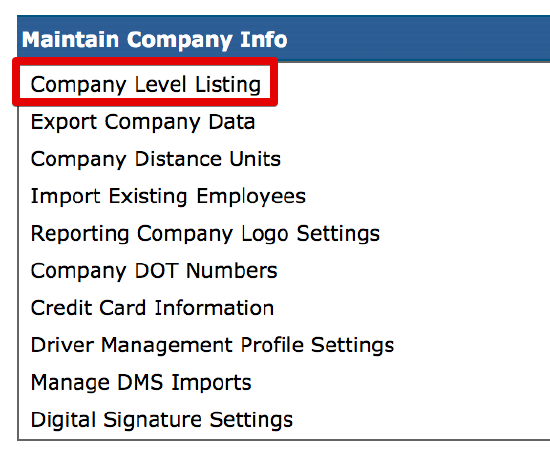
Select Company Level Listing in the Maintain Company Info box.
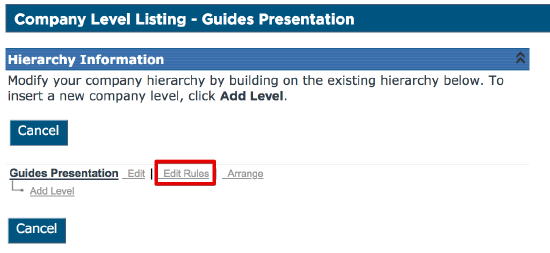
Select Edit Rules.
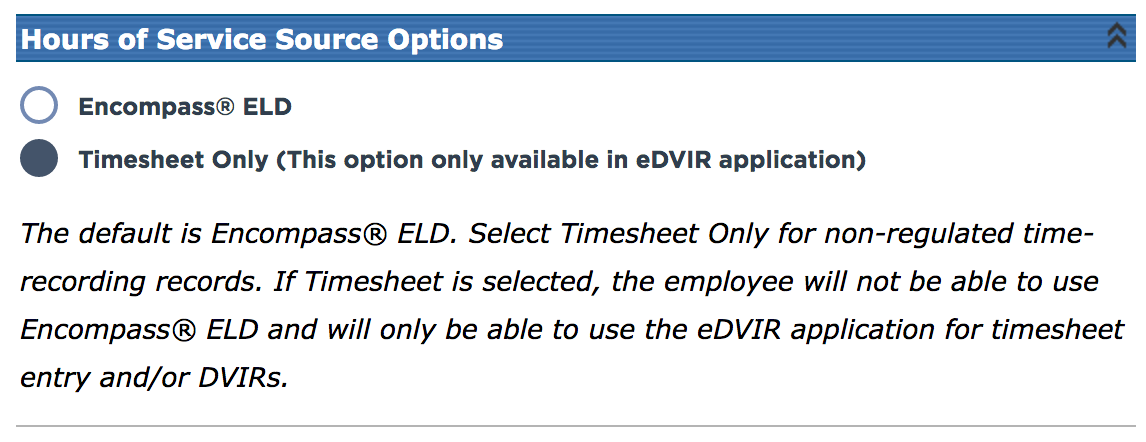
Scroll down to the Hours of Service Source Options section and select Timesheet Only. Click Save at the top or bottom of the page.
Clocking in/Out and Submitting Timesheets
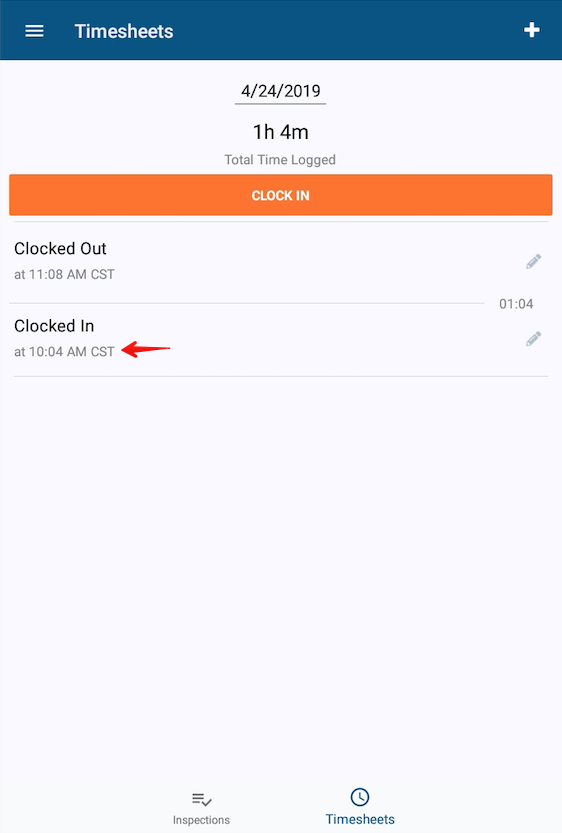
To utilize the timesheet, tap on the icon at the bottom called Timesheets. To view prior days, tap the date at the top to change the date. Tap Clock In to go on duty.
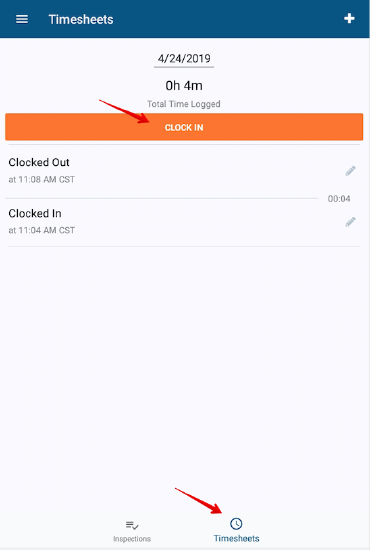
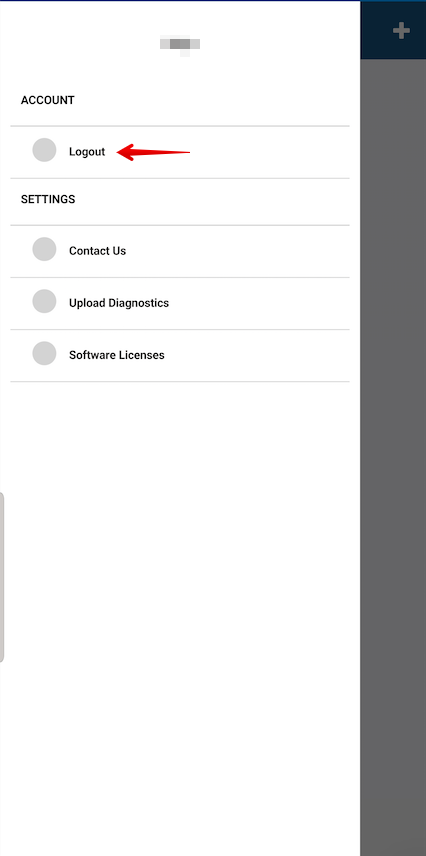
To stop tracking working time, tap Clock Out. Duty status changes for the day will be listed below the Clock In/Clock Out button. The Clock Ins and Clock Outs update in Encompass as they occur in the application, as long as the mobile user has network connection. At the end of the day, the user can log out of the application. Tap the menu in the upper left hand corner and select Logout.
Editing Timesheets in Application
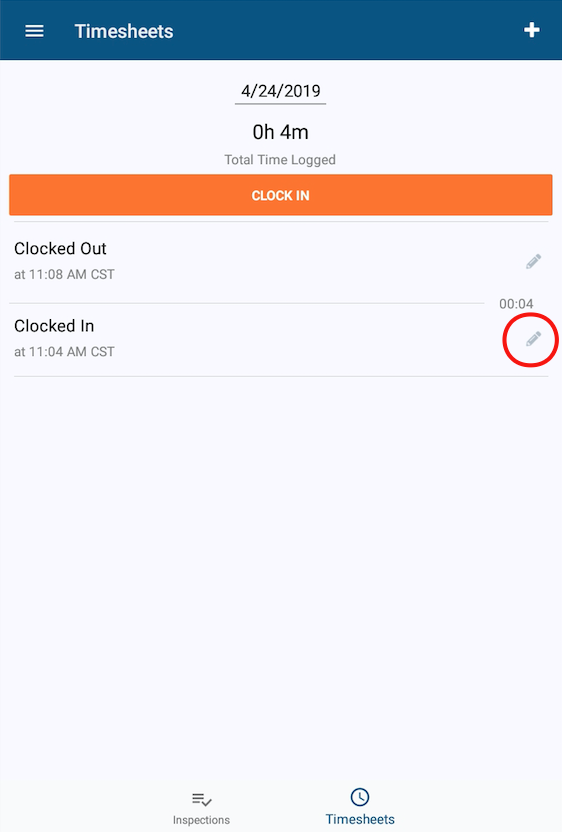
When viewing the clock in and clock out events, there is a pencil icon to the right of each event. Tap on the pencil to edit the event.
Tap on the time to edit it.
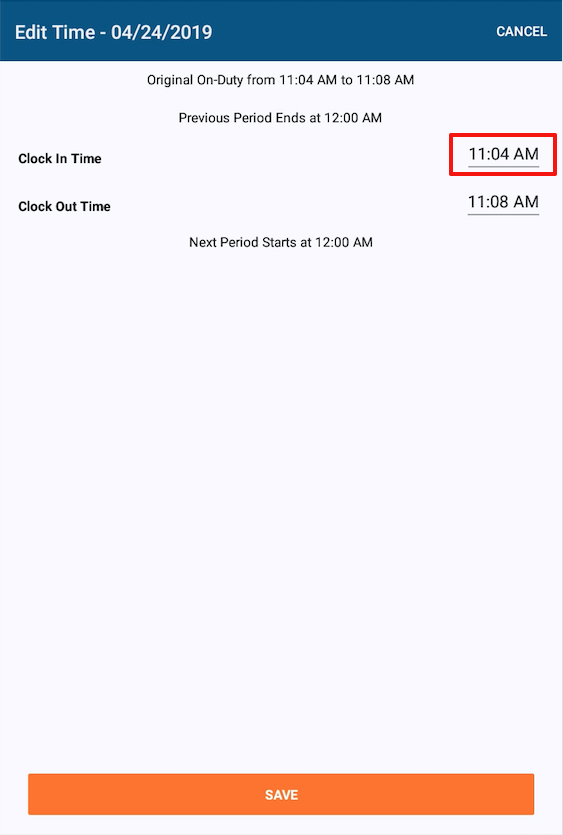
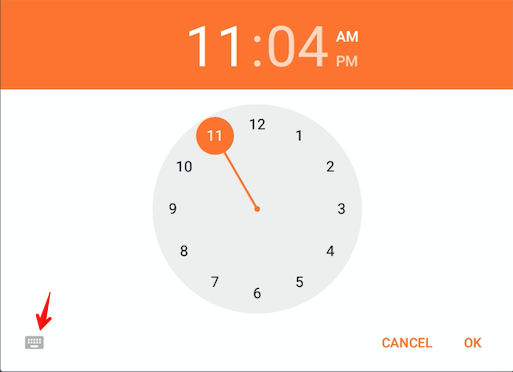
Change the time by using the analog clock or the keyboard. The icon in the lower left hand corner allows the user to toggle between the analog entry and keyboard. Be sure to change AM/PM if necessary. Once the time is set, tap OK.
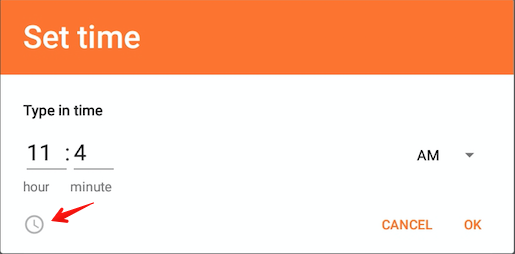
Once the times are set appropriately, tap Save at the bottom.
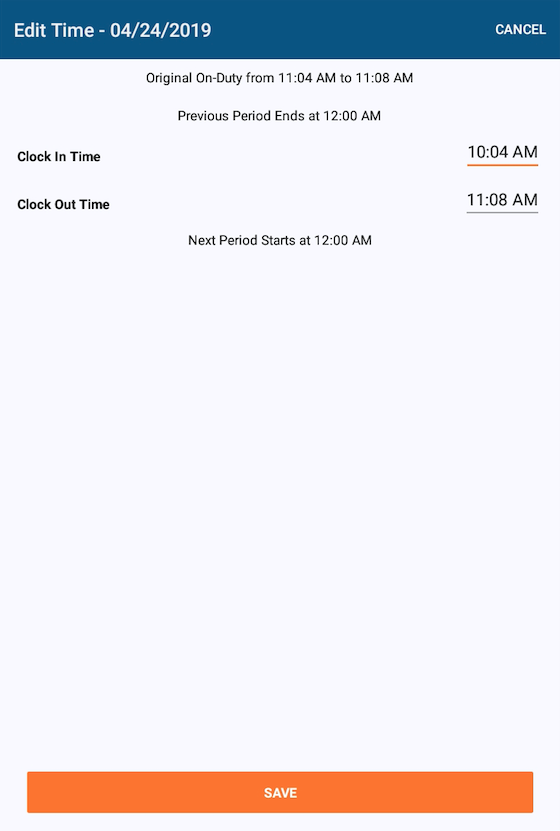
The new times will be reflected accordingly.
Timesheet View/Edit in Encompass
When a user logs out of the DVIR application and submits their timesheet, it will submit to Encompass as an Exempt Log. Go to Driver Management > Hours of Service and search for the driver by either using the search box on the left, or by selecting All Active Employees under Common Views.

When the employee is found, click on their name to view their list of logs, then click on the date of the log to be viewed. The log will show each individual clock in and clock out along with the total on duty and off duty hours.

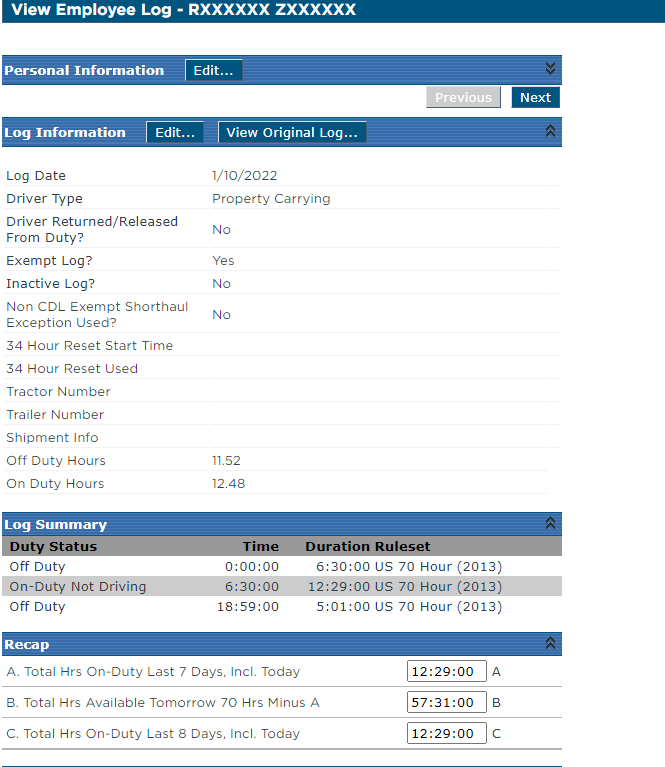
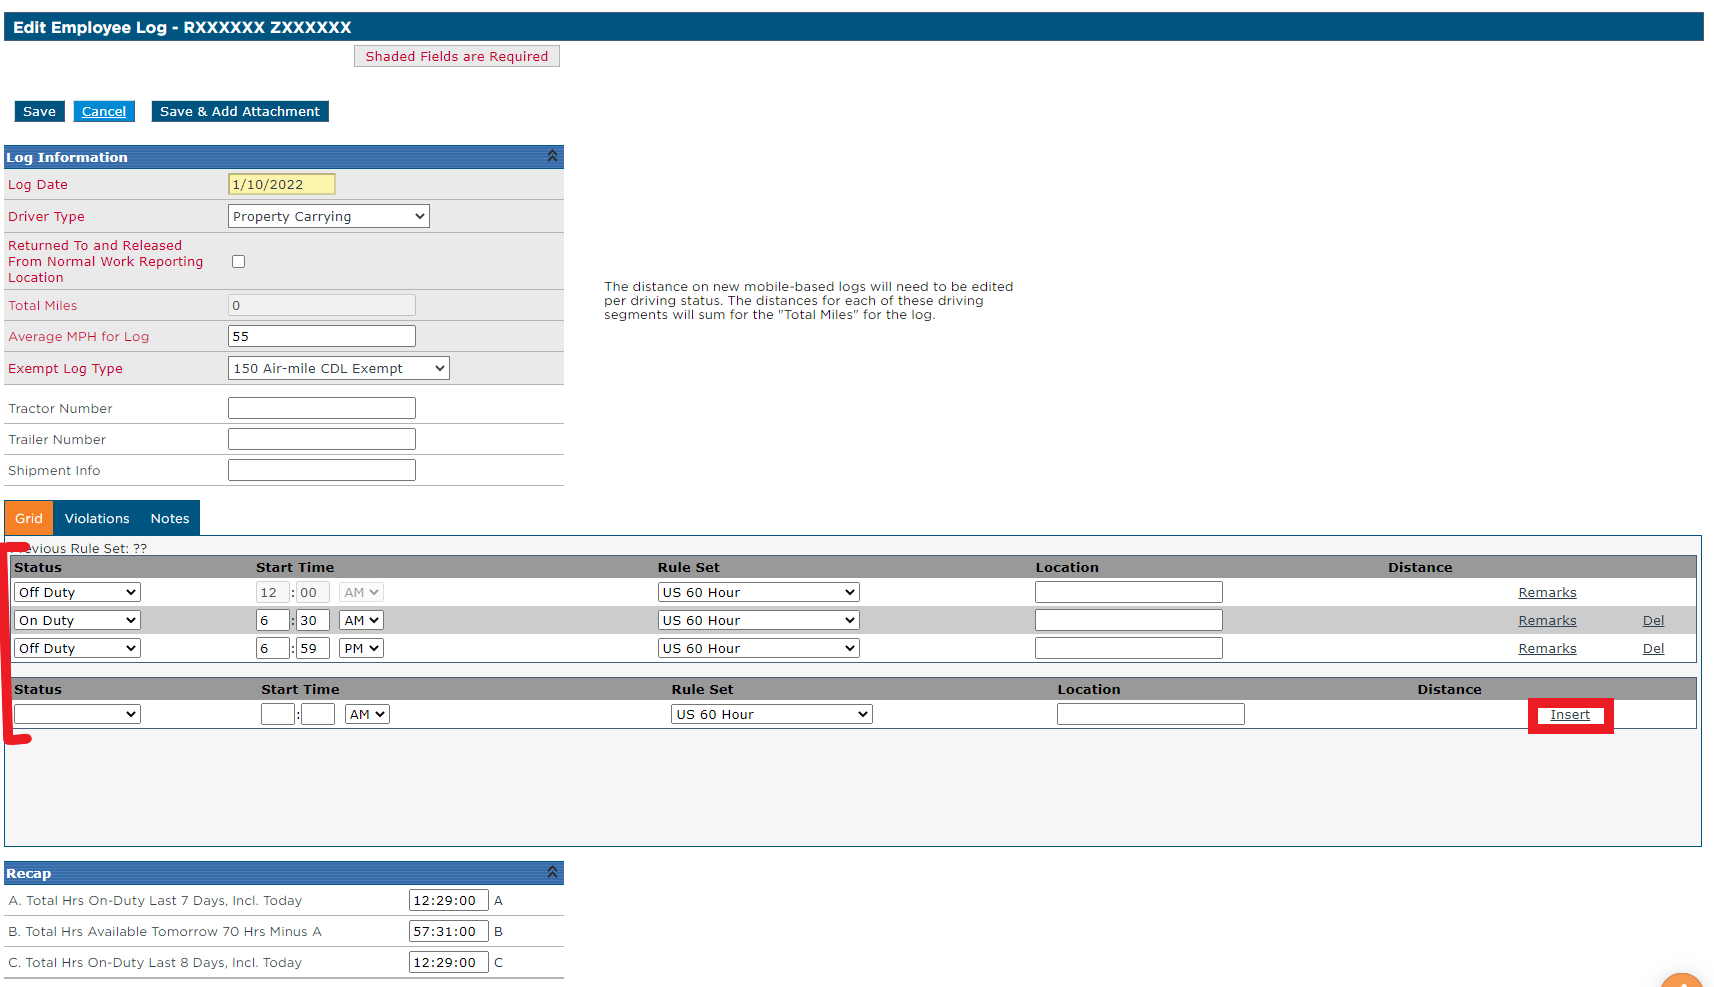
Click Edit next to Log Information near the top to make any corrections. On the next screen, you can update the times or duty statuses by using the dropdown options, or insert duty statuses by using the line at the bottom, and pressing Insert on the right. Click Save at the top or the bottom of the screen to save the edits made.

