VideoProtects: Installer Web App
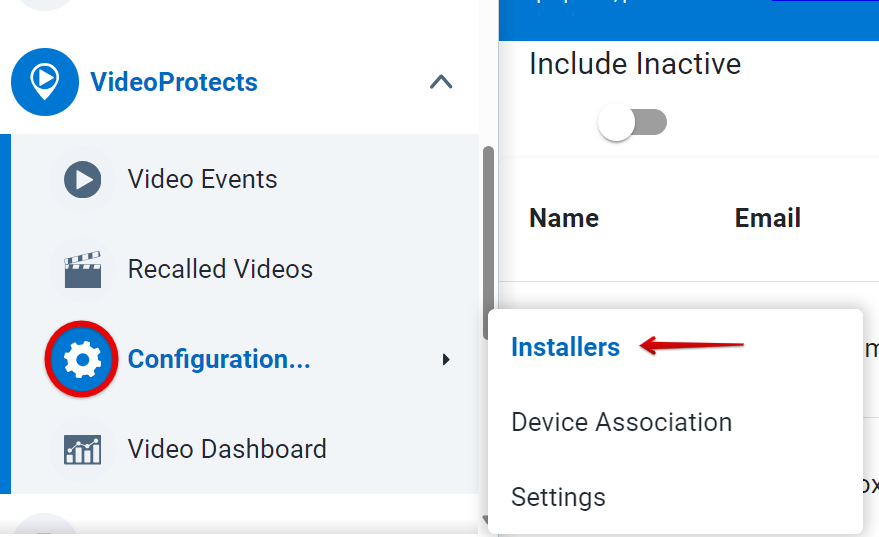
Installers are authorized personnel who will be installing the video systems in your vehicles. Go to VideoProtects > Configuration > Installers.
Add a New Installer
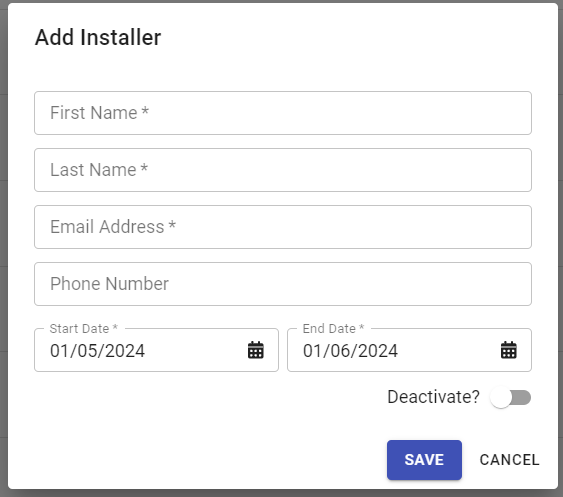
To add a new installer to your system, click the Add button, found in the top right.

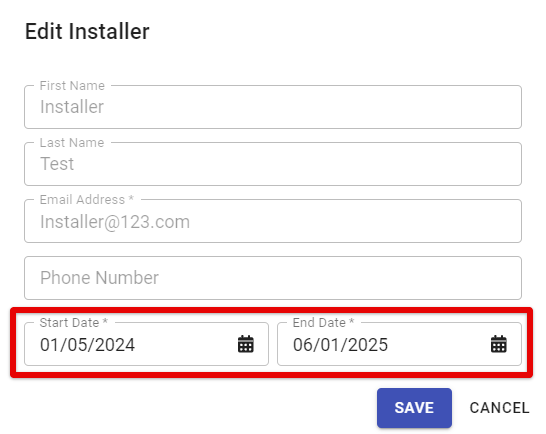
Enter the new Installer’s details in each field and click Save. Note: The Start Date and End Date fields define the time period that the Installer will be active in your system.
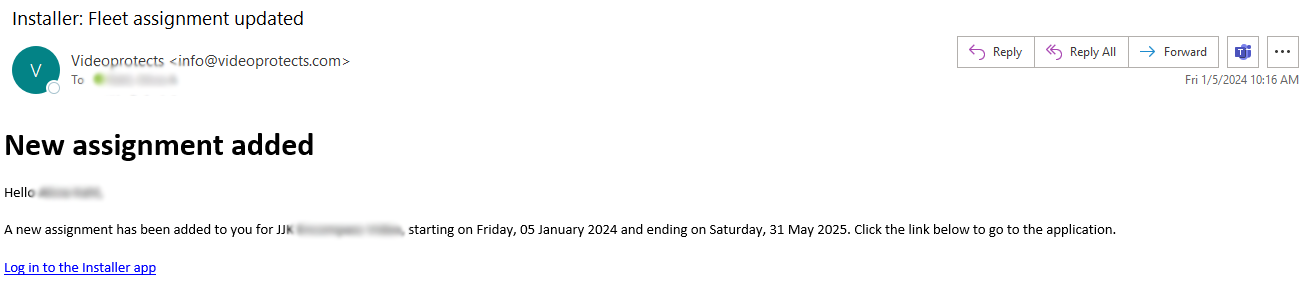
An email will be sent to the new Installer notifying them that they’ve been added to the system and a new account has been created in the Installer web application. The Installer will need to verify their account from the email to set up a password and verify their email address.
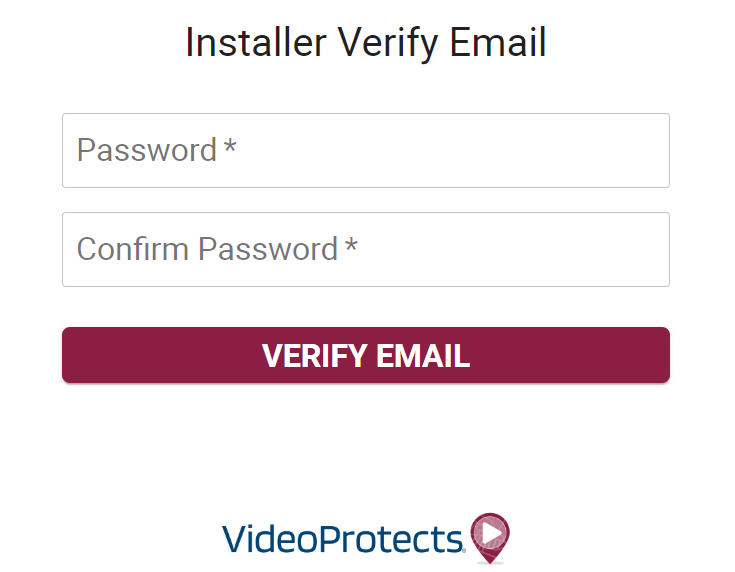
Note: Password must be at least eight characters with:
- at least one lowercase character
- at least one uppercase character
- at least one number
- at least one special character
Editing Installers
The ellipsis (three dots) next to an Installer allows you to make changes. Click the button, and then select Edit.


RESEND INSTALLER EMAIL
To resend the Installer another email (as shown above) informing them they’ve been added as an “Active Installer”, click the ellipsis (three dots) and select Send Email. This button is useful if the Installer did not receive an initial email.

DEACTIVATE/REACTIVATE INSTALLERS
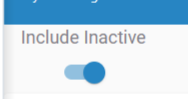
To view currently inactive installers in your system, toggle Include Inactive on.
To reactivate an installer: Click the Edit pencil next to the inactive installer and select new start and end dates. Click Save.
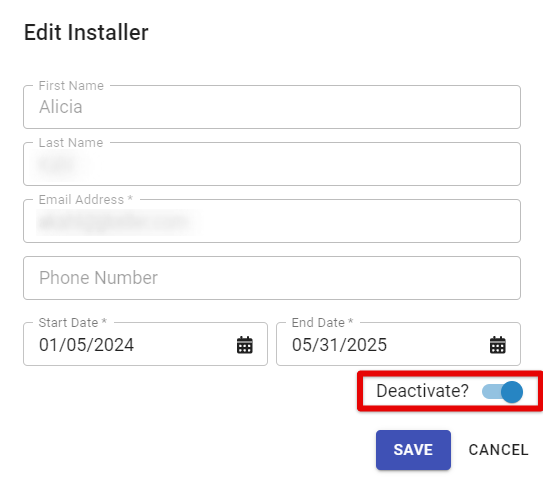
To deactivate an installer: Click the Edit pencil next to the active installer and turn the Deactivate toggle on. Click Save.
PAIRING CAMERAS AS AN INSTALLER
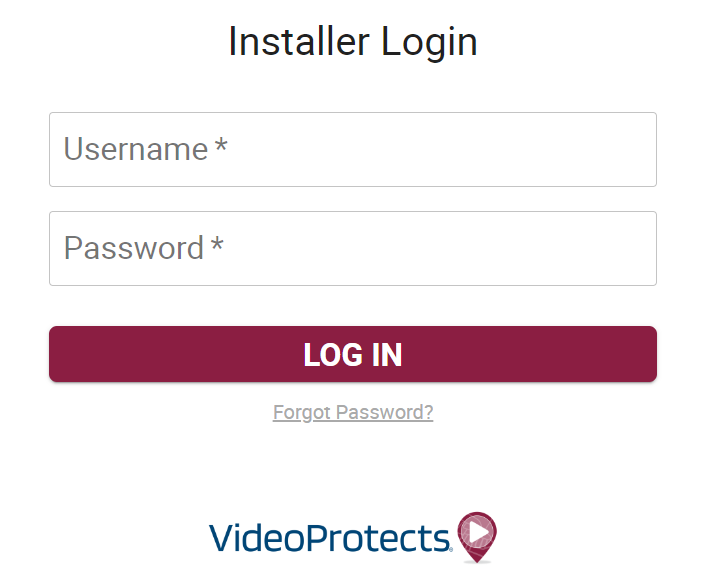
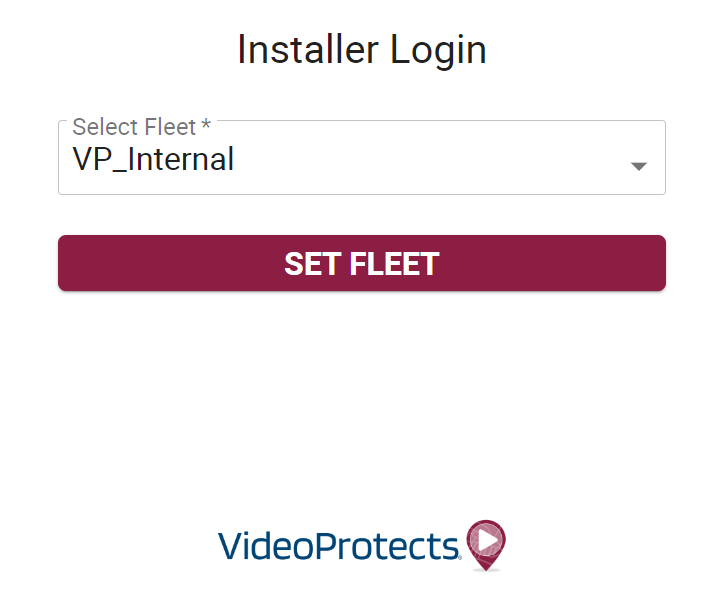
The Installer will log into the system using the link from their initial email. Upon login, they will choose what fleet they intend to work with, unless they have already
been assigned a fleet by the Fleet Administrator.
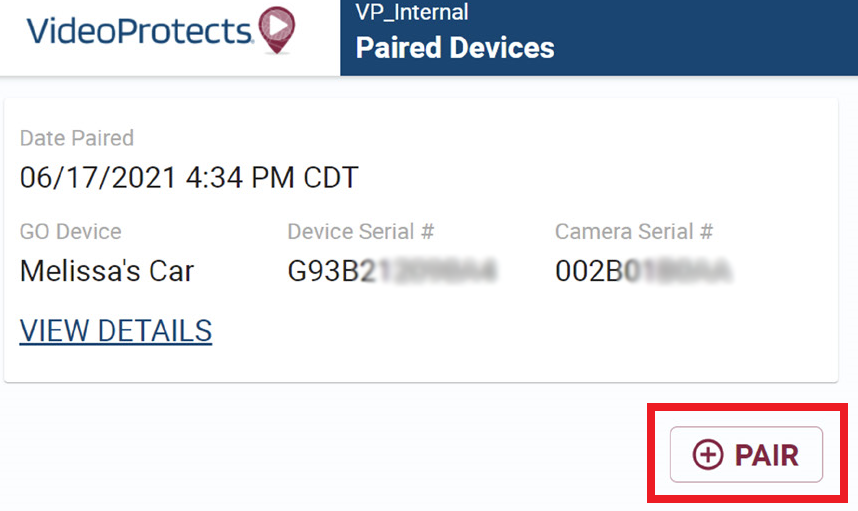
Once they are logged in, the Installer will be able to see which cameras have already been paired. Click on the +PAIR button to see the list of cameras available for pairing.
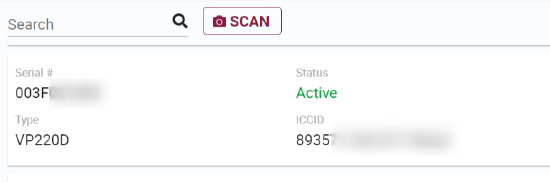
You can Search for a camera, click Scan to scan in its serial number with your device, or choose a camera from the list by clicking on it to select it. Then, click NEXT in the lower right corner.

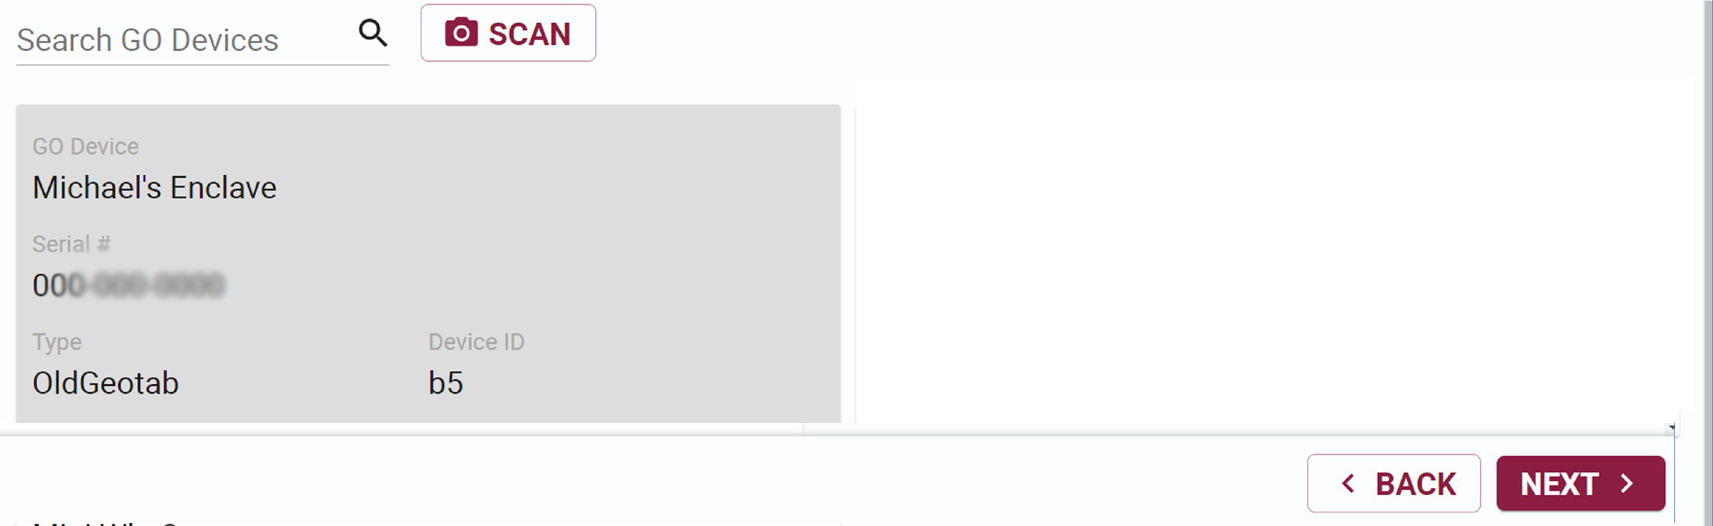
Next, you can Search for an available GO device, Scan in its serial number, or select from the list on the screen. Click NEXT.
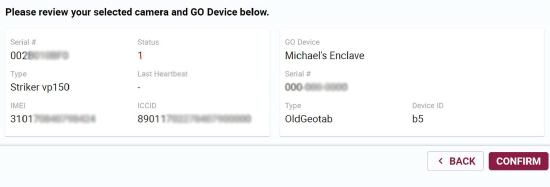
Verify you have selected the correct camera and GO device you wish to pair and click CONFIRM.
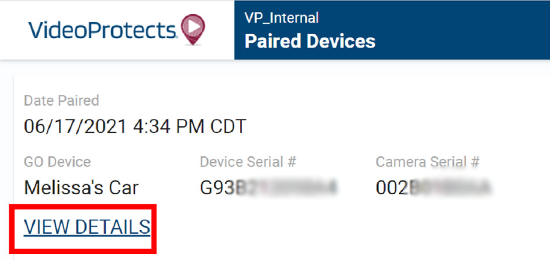
To view details of a paired device, click VIEW DETAILS under the paired device listing.
The Installer can test the system by ensuring that the vehicle ignition is on, the GO device and camera are powered on, and by clicking Request New Video.

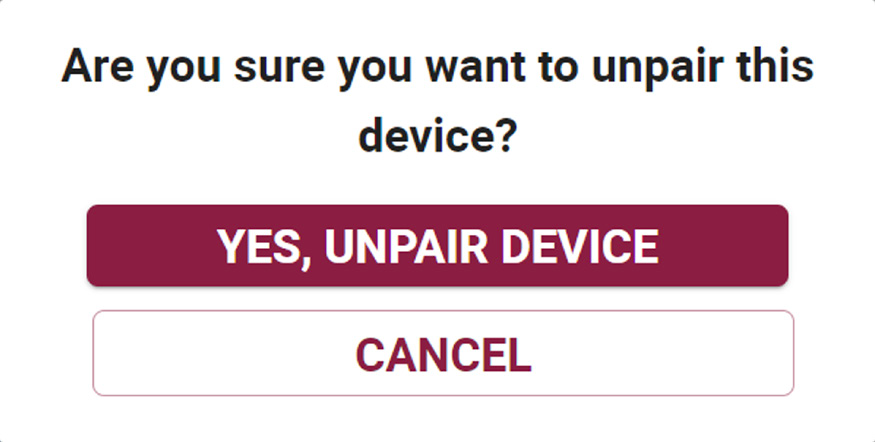
The Installer can also unpair a camera and GO device if needed. Click the UNPAIR button and confirm your selection by clicking YES, UNPAIR DEVICE.