VideoProtects: Device Associations/Pairing
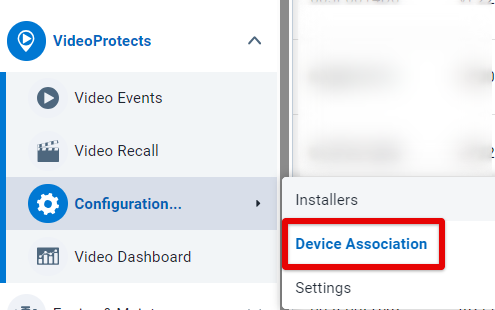
To view the currently paired GO devices and cameras, go to VideoProtects > Configuration > Device Association.
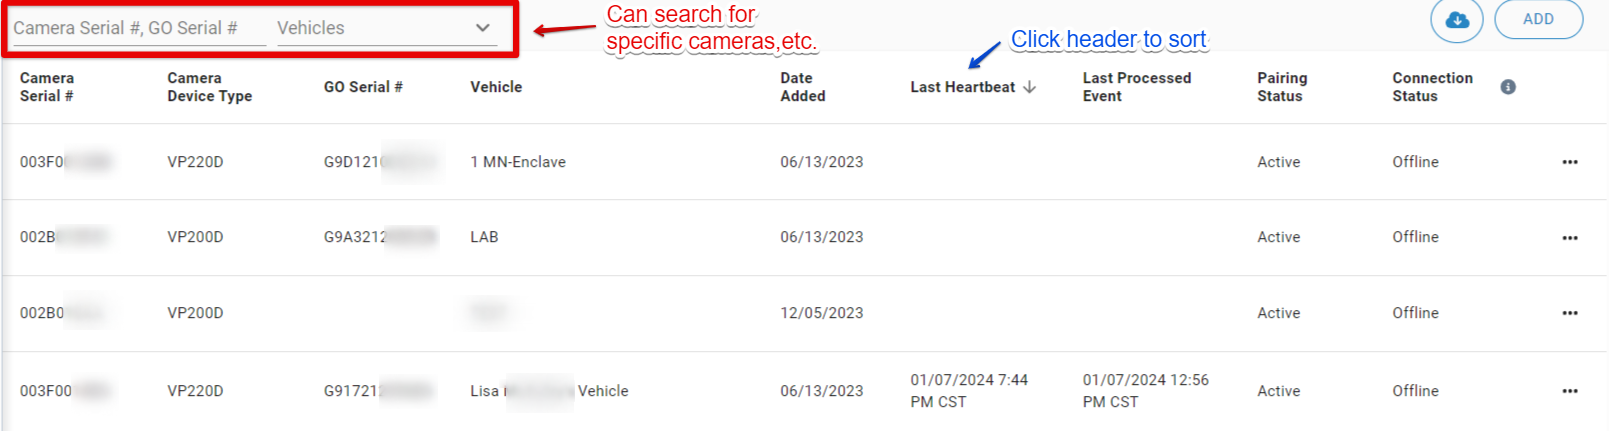
A list of paired cameras will be displayed, along with additional information about the camera. Results can further be filtered by the specific camera/GO serial number, or by the vehicle name. You can also sort each column by clicking on the column header/s.
WHAT EACH COLUMN MEANS
|
• Camera Serial #: The serial number associated with that specific camera • Camera Device Type: The type of camera it is • GO Serial #: The serial number of the Go Device associated/paired with the camera • Vehicle: Which vehicle in your company the camera is currently paired with • Date Added: The date on which the camera was paired to the vehicle • Last Heartbeat: The last time the camera was showing active and online |
• Last Processed: Indicates the last time a video was processed or pulled from the camera memory card • Pairing Status: Indicates that the camera is paired • Connection Status: Indicates if there is/is no power going to the camera
|
Add a New Device/Pairing
To pair a camera and a GO device, click ADD in the top right corner.

Find and select the Camera and GO Device in their respective dropdown lists and click ADD at the bottom.


Edit a Pairing
To change the GO Device in which the camera is assigned to, first click the three dots next to the desired camera information. Then, select Edit Pairing.


Choose a different GO Device from the dropdown. Save.

Delete a Pairing
To delete a pairing, click the three dots next to the camera information and then click Remove Pairing. Confirm the removal of this pairing.

Request/Recall a Video
If needed, a video can be requested/recalled from a camera on the Device Associations page. Locate the camera you would like to request a video from. Click the three dots and then Request Video. Note: The camera must be Online for the request to succeed.
For detailed information on Video Recall, visit VideoProtects Video Recall.

Select the date of the video event, the time the event occurred, and the duration desired. (A combined total of 2 minutes of video from the selected time is available for recall.) Click Request Video at the bottom when all details have been entered. Your request will be available in the Video Recall area of Geotab once processed.

Download Device Associations List
To download a spreadsheet (.csv) file of your device information, click the file button in the top right. All information on this page will be displayed in the spreadsheet.

