How to Run Reports
This article explains how to access, run, and manage Reports in Encompass® across various tabs such as Driver Management and Vehicle Management. Users can view all Reports by selecting the Reports & Forms subtab and expand descriptions to understand Report content. Running a Report involves selecting the Report, setting filters and parameters, and clicking Run Report, after which the Report opens in a new window. Reports can be printed, emailed, or exported to Word or Excel, and users can save Report Settings for future use, either personally or for all Encompass Administrators. The article emphasizes careful parameter selection to ensure Reports generate for the correct employees or units.

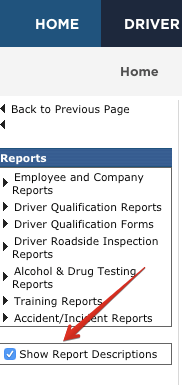
The checkbox on the right for Show Report Descriptions can be clicked to expand each report to include a brief description of what the report contains.
There are three main steps when running reports:
- Select the report to run by clicking on the report link
- Set parameters and filters for the report. Additional settings -- like date range or print options -- vary from report to report
- Run the report
Running a common report
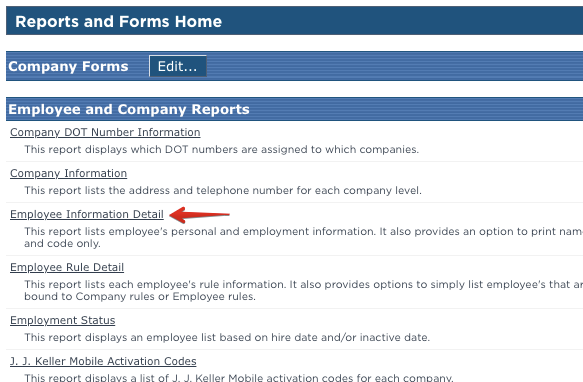
From the Reports & Forms tab, click on the report name.
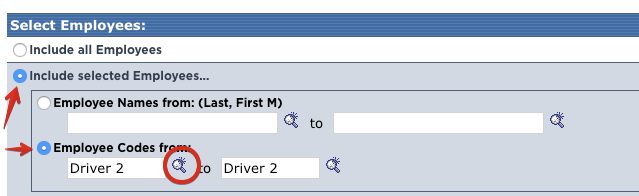
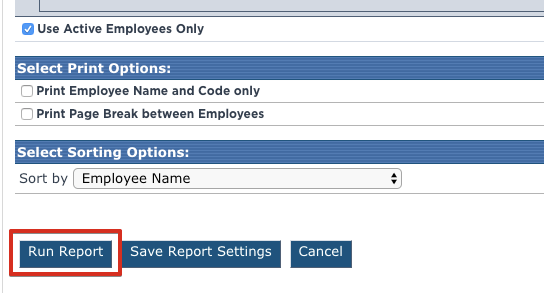
Go through the different filters and parameters to determine who the report or form should be run for. By default, it is set to run for All Active Employees.
Note: These parameter and filter options my differ slightly from report to report.
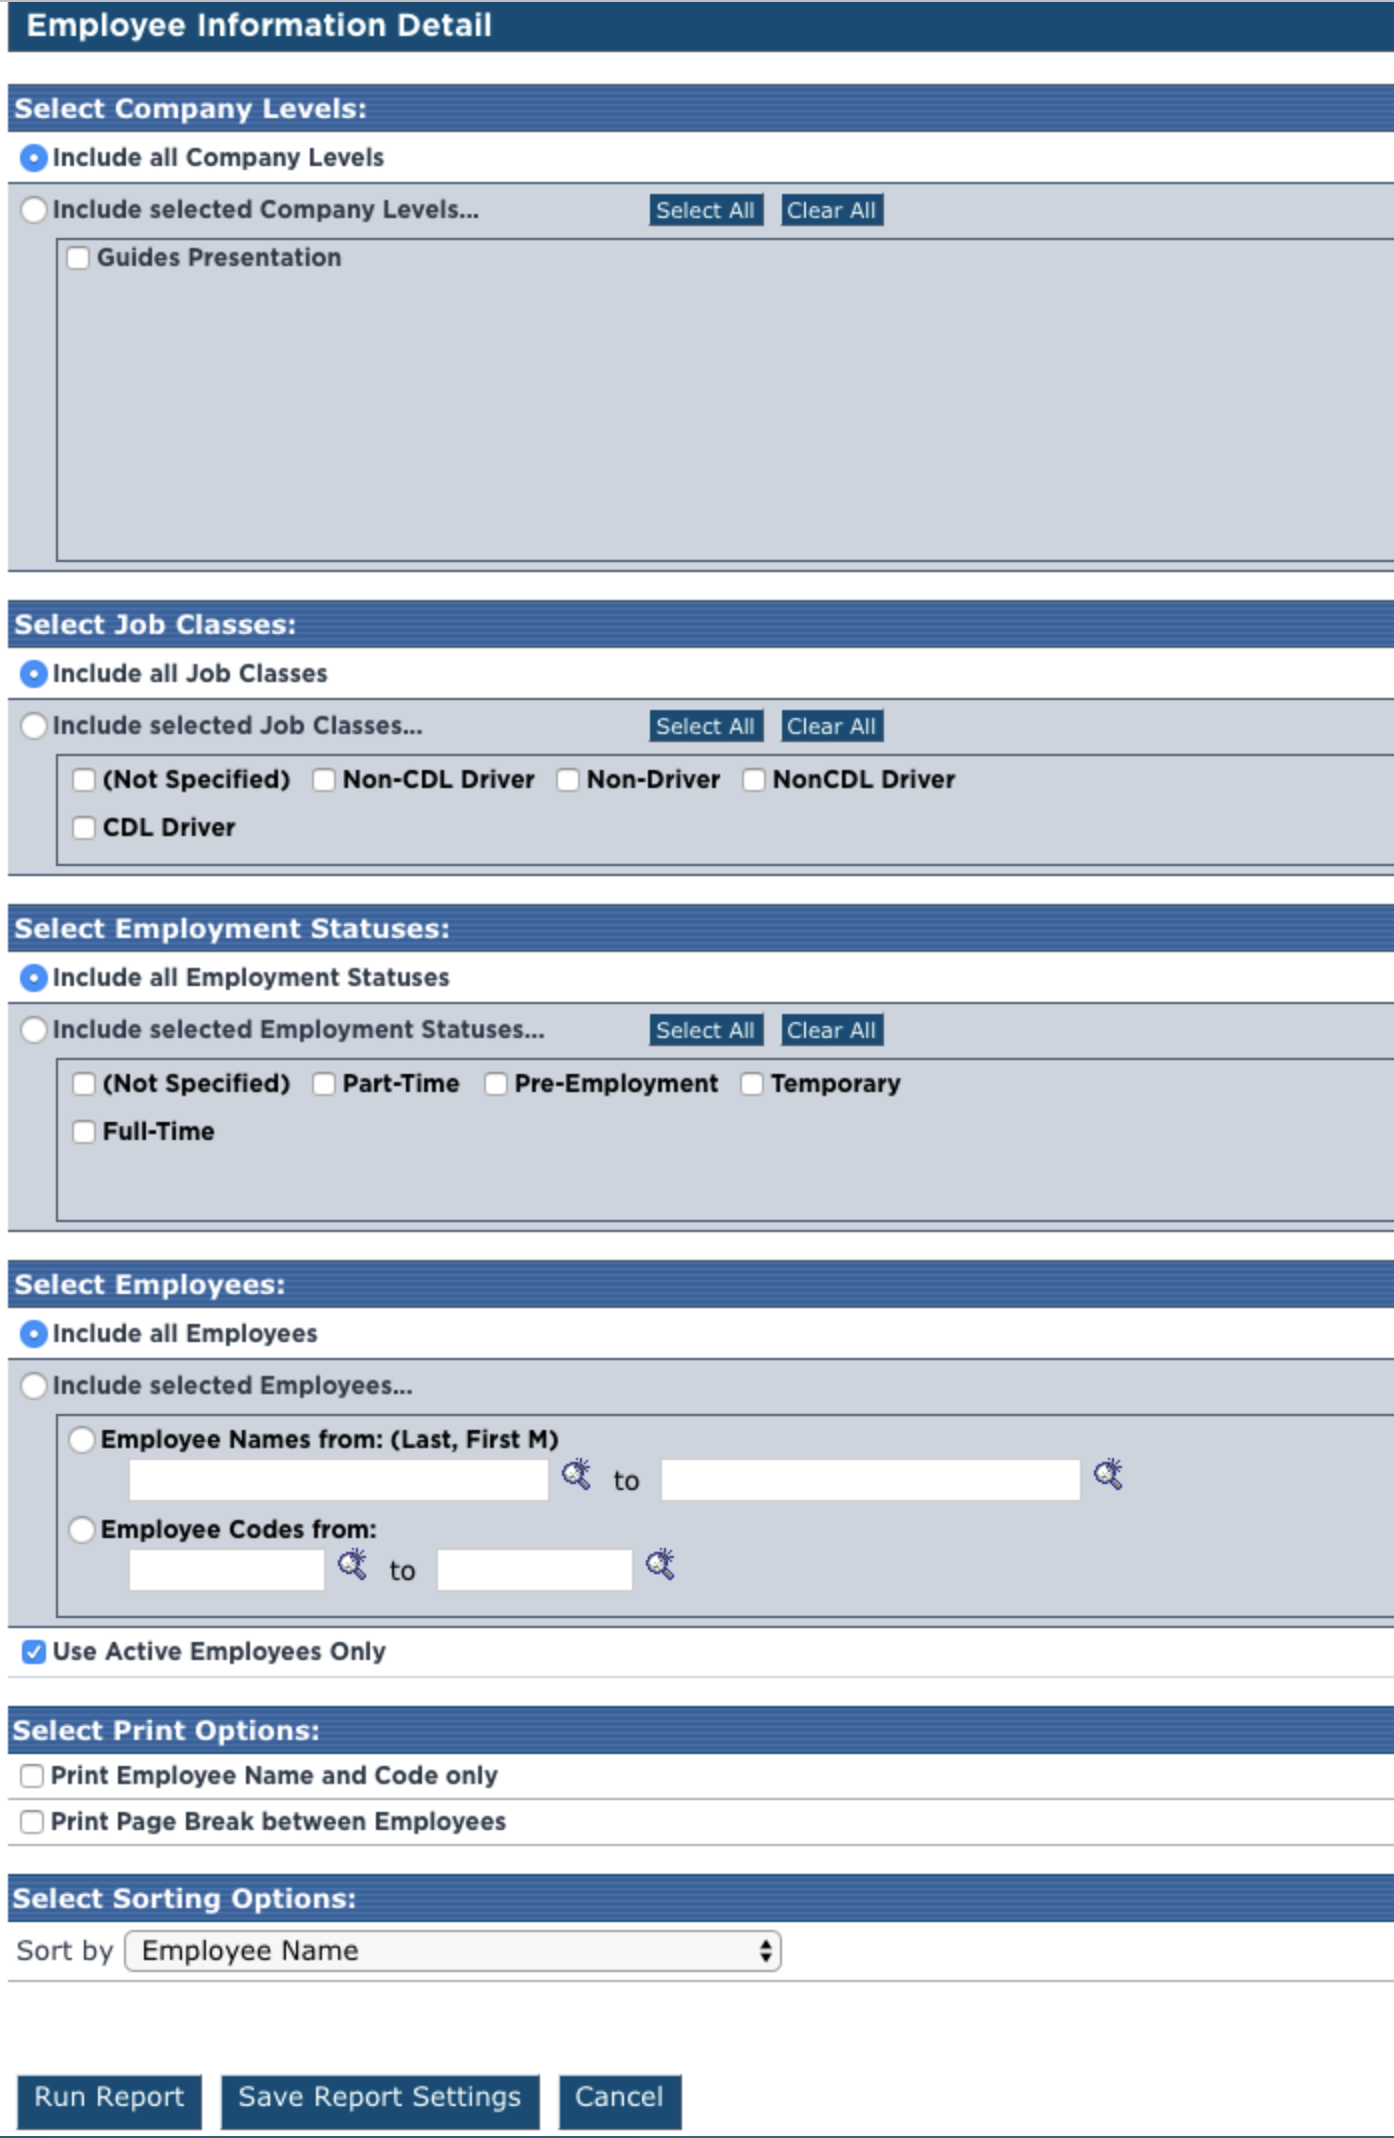
Tip: When NOT using the Include All... choice for a parameter, the bubble for Include selected... must be chosen, even if the bubbles and details within the include selected... section are filled. Additionally, when attempting to filter for a single employee, their name or employee code must be entered in both boxes (like the example shown below). Otherwise, the report will run for all employees. If the employee code is unknown or the user is unsure of the correct format for the parameter, use the magnifying glass next to the field to select the employee.
Once all parameters and filters have been chosen, click Run Report at the bottom of the page.
The report will be generated in a new window.
Note: if the new window does not open, and instead, the report parameters page just flashes, this is a good indicator that a pop-up blocker is enabled. Make sure that any pop-up blockers are disabled for Encompass.
From this page, the report can be printed, e-mailed, or exported.
To Email
Locate the Email To field at the top of the page and enter the recipient's email address. Click Send.
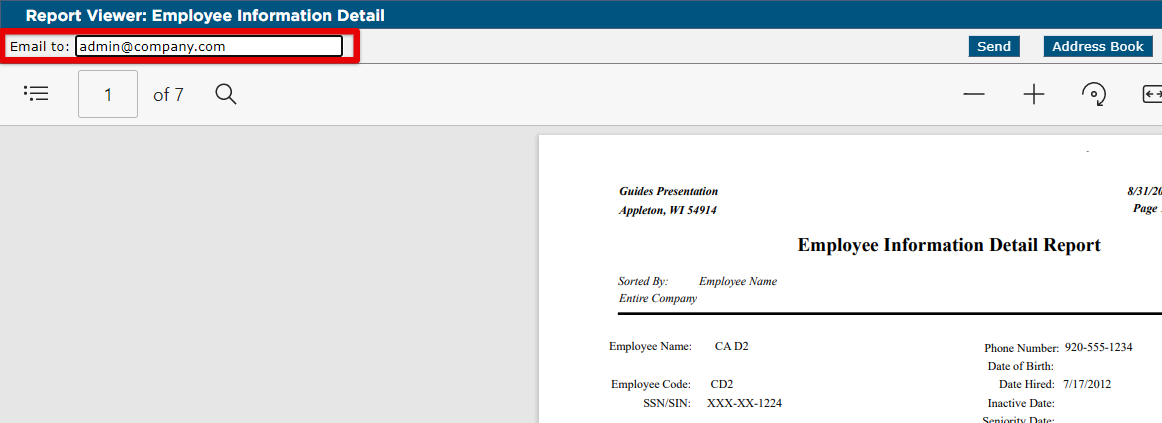
The report will then be sent as an attachment to the recipient.
Note: While reports can be emailed to recipients from the system, Encompass does not record that the report was sent. If this needs to be tracked, the user can email the report to themselves, and then forward it to whomever needs it.
Export report to word or excel
From the report viewer page, click Export to RTF or Export to Excel at the top.
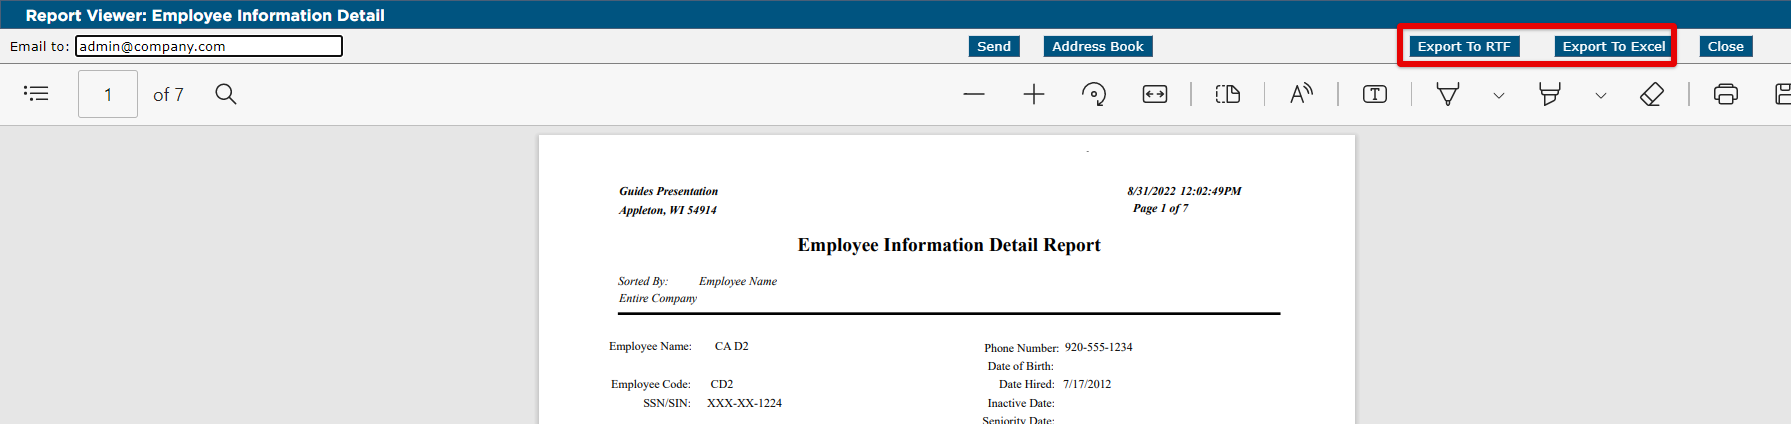
The system will automatically download the attachment to the user's download folder on their computer.
Note: These exports are not columnar, data-friendly exports. They are true exports of the PDF file.
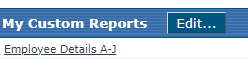
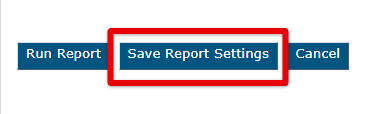
Save Report Settings
If you would like to save the currently-set filters and report settings for easier access at a later time, click Save Report Settings.
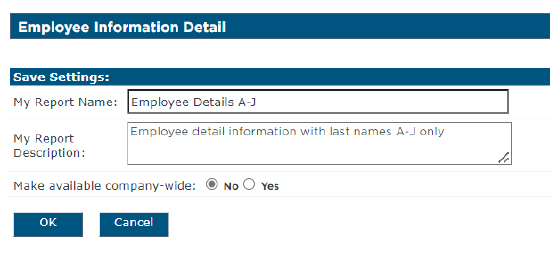
Name the report and include a description of the report (if desired). You can also choose to have this saved report visible to the all Encompass admins, or just you. Click OK when finished.
The report will appear under My Custom Reports within the Reports/Forms tab that you saved the report settings under.