Employment Data for OSHA Reports
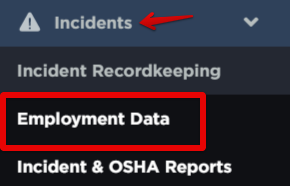
The Employment Data page provides annual employment calculations for all locations that are required to complete your OSHA Form 300A. From the Safety Management Suite dashboard, click the down arrow next to Incidents on the left-hand side. Then, select Employment Data.

There are a few ways to add employment data:
1. Locate the desired location and year to review. Click the "three dots" and select Add Data.

2. Locate the desired location and year to review. Click the "three dots" and select View. Then, click + Add Employment Data.


3. Locate the desired location and year to review. Click the "three dots" and select View. Scroll to the Months section and click the "three dots" next to the month you want to add data for. Click Edit. (This option would only be available if data for January has at least been entered. The months don't appear in the table until data has been entered.)

Next, you will enter employment data. To ensure monthly reporting is accurate, you must enter data for each month.
(If no data has been entered yet, this initial "Add New" record will start with January by default.)
Enter in the required fields, number of full-time employees for the month, total hours worked by all employees, and peak employee count. Additionally, if applicable, you can choose to switch the toggle on (YES) to "Apply this month's employment info to all months", or leave it toggled off (NO) to edit each month individually. Once information is entered, click Save, or Save and Edit Next Month to move on to enter the next month's data.

Once saved, you can view the data entered for the location + year. In the example below, you can see that 2024 still has a few months that have not had any data entered.

Importing Employment Data by Year or Month
By Year
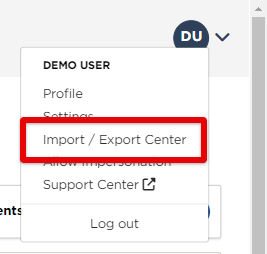
Navigate to the Import/Export Center. This is located under the drop-down next to your initials.
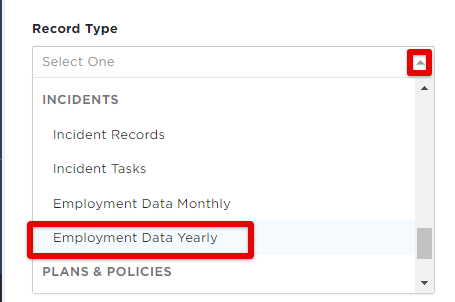
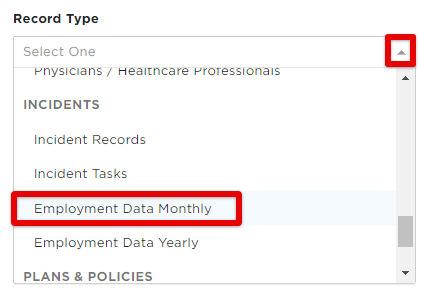
In the Record Type dropdown, select Employment Data Yearly.
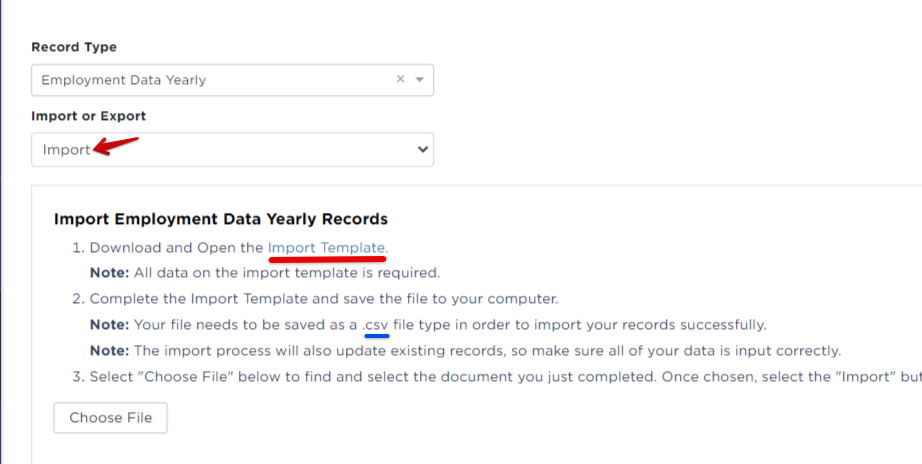
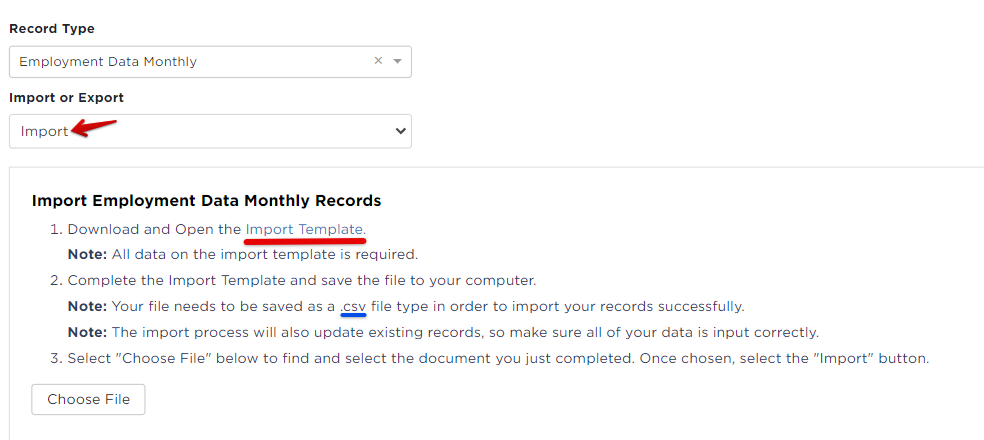
In the Import or Export dropdown, select Import.
- Download and open the Import Template.
- Complete the Template and save the file to your computer as a .csv file.
-Note: Location Name will need to match the exact Location name in SMS
-Note: Peak Employees should be a single number. Not a range of Values (1-19, 20-259)
-The import process will also update existing records, so make sure all of your data is input correctly. - Click Choose File and select the .csv file from your device.
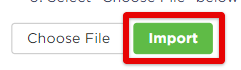
- Click Import. (The Import button will not display until you upload your .csv file.)
Import Template Instructions - Yearly
| DATA FIELD | REQUIRED? | MAX CHARACTERS | INSTRUCTIONS/FORMATTING |
| Location Name | Yes | 256 | Must be an existing Location Name |
| Annual Average Employees | Yes | -- | Number of full-time employees, numeric |
| Hours Worked By Employees | Yes | -- | Total hours worked, numeric |
| Peak Employees | Yes | -- | Max employees for the month, numeric |
| Year | Yes | 4 | YYYY |
By Month
If you have a location that did not have employees at it for the full year and need to enter "0" for the first couple of months, using the Import Center will be the best option for you.
In the Record Type dropdown, select Employment Data Monthly.
In the Import or Export dropdown, select Import.
- Download the Import Template.
- Complete the Template and save the file to your computer as a .csv file.
-This is where you can enter 0 for any months needed that didn't have employees at the location
-Location Name will have to match the exact Location name in SMS
-Peak Employees should be a single number. Not a range of Values (ie. 1-19, 20-259)
-The import process will also update existing records, so be sure all of your data is input correctly. - Click Choose File and select the .csv file from your device.
- Click Import. (The Import button will not display until you upload your .csv file.)
Import Template Instructions - Monthly
| DATA FIELD | REQUIRED? | MAX CHARACTERS | INSTRUCTIONS/FORMATTING |
| Location Name | Yes | 256 | Must be an existing Location Name |
| Month | Yes | 2 | 1-12 |
| Full Time Employees | Yes | -- | Number of full time employees, numeric |
| Total Hours Worked | Yes | -- | Total hours worked, numeric |
| Peak Employees | Yes | -- | Max employees for the month, numeric |
| Year | Yes | 4 | YYYY |
View Imported Data
To view the uploaded data, go to Incidents > Employment Data.
Locate the desired location + year to review. Click the "three dots" and select View.

You will now see any data that has been entered/submitted for that specific location and year.
