Manage Clients in Leave Manager
This article explains how to add, manage, and delete Clients in Leave Manager, which can be used to segment your organization or differentiate between separate business entities. Access the Locations tab and select Manage Clients to add a new client by clicking + Add Client, entering the name, and saving. Clients can also be added when creating a new Location. To update a Client, click its name to edit and save changes; to delete, use the trash can icon.
To add or manage Clients, go to the Locations tab. Then click Manage Clients.

Add a New Client
Click + Add Client.

Enter a Client Name and save.

Add Client When Adding Location
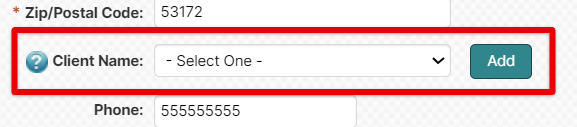
You can also add a Client when adding a Location. See Company Locations for more information.
Edit/Delete a Client
To edit a Client name, simply click on the Client to open. Make any necessary name changes. Save when finished.

To delete a Client, click the trash can on the right.
