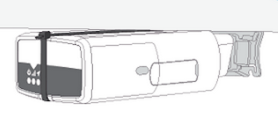
Installing Vehicle Tracking Hardware
Locate the vehicle’s diagnostic port which is typically found in the driver’s area on or below knee level.
Geotab® GO9™ Only Install
Connect the appropriate harness to the Geotab® GO9™0 and plug the harness into the diagnostic port of the vehicle.
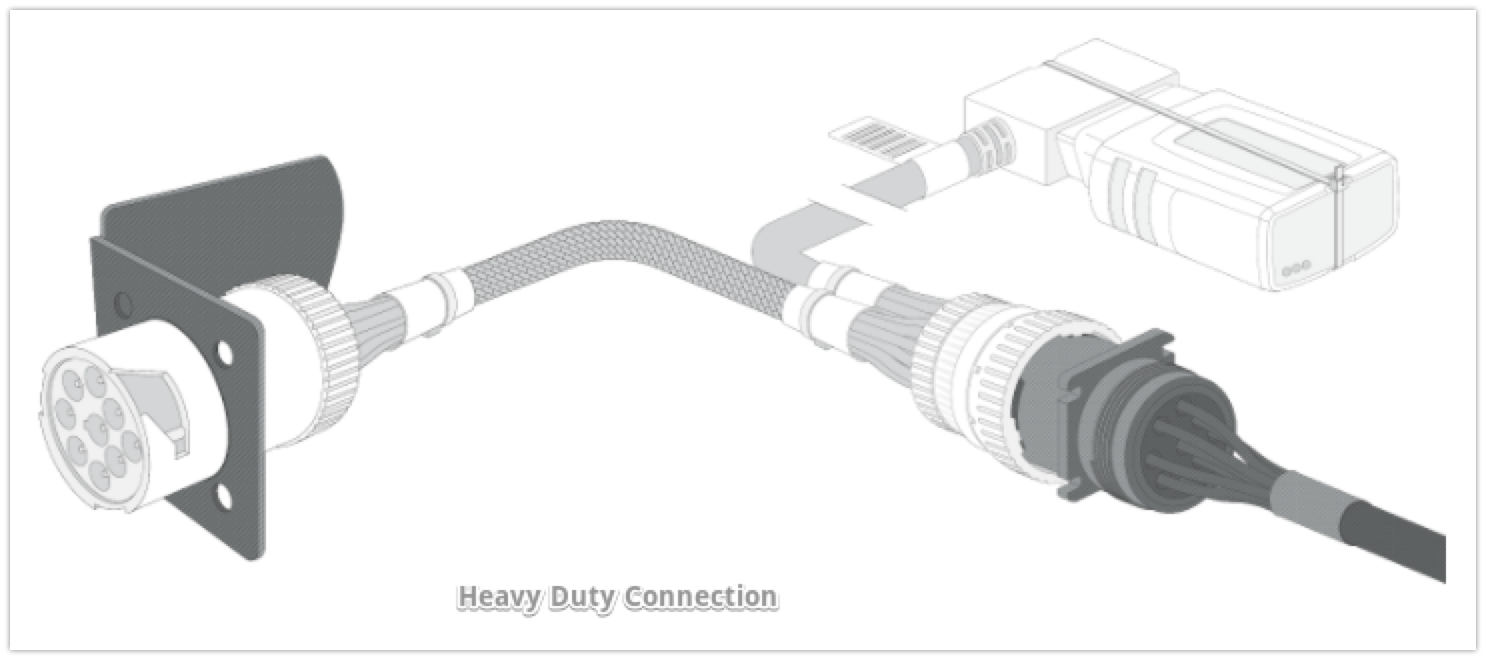
Geotab® GO9™ & J. J. Keller® Encompass® ELD Dual Setup
Install the Geotab® GO9™ as listed above. Use the free end of the Y-Cable to plug the J.J. Keller® harness into. Plug the other end into the J.J. Keller® ELD. Ensure adequate connection and that lights continuously display on the ELD (this indicates it is receiving power from the vehicle).
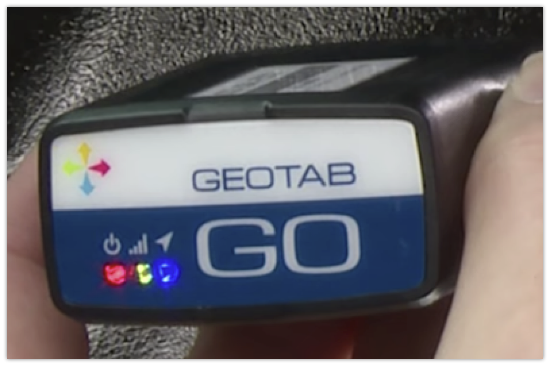
Ensure that the Geotab® GO9™ device is pushed into place fully – when the Geotab® GO9™ receives power, lights on the front of the device start blinking and then turn solid once completing the following actions:
Red = Device Configuration/Ignition Detected
Green = Cellular network connectivity
Blue = GPS network connectivity
The device emits two quick beeps every 60 seconds during set-up. Initial startup may take several minutes to complete.
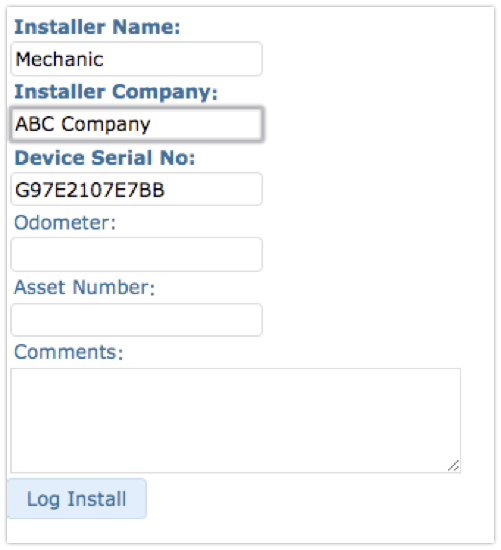
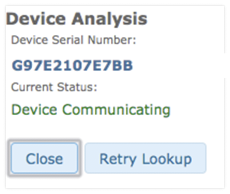
To verify that a GPS signal is being captured by the Geotab® GO9™, on any mobile device or desktop, browse to www.installmygps.com. Enter the Installer Name, Installer Company, and the Serial Number of the Geotab® GO9™. Click Log Install.
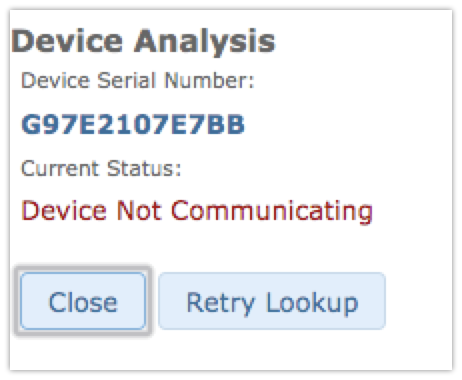
After it queries, the current status will either show Device Communicating or Device Not Communicating.
Troubleshooting: If the device is not communicating, ensure that the device is fully plugged in and lights are displaying on the Geotab® GO9™. Additionally, if this was installed while in a garage, move the vehicle outside to maximize GPS signal.
Once all three LEDs turn solid and you hear 10 quick beeps, secure the device using the provided cable tie.
Note: The device is considered installed when the Green and Blue lights turn solid.
