Dash Cam 220-3 (Auxiliary/Cargo) Installation Guide
The Dash Cam 220-3 (Interior Cargo/Utility Camera) provides fleets with a third video channel for indoor use that offers cargo, back-up, or in-cab views for trucks, trailer interiors, or passenger vehicles using a 6-pin connection. When an event is triggered by the primary dash cam, support footage from the auxiliary camera is also captured and shared to the back-office, providing a more comprehensive view of accidents or incidents.
Note: The Dash Cam 220-3 is an additional camera that is optional and requires the Dash Cam Pro220 and Premium/Plus features of Encompass/VideoProtects, depending what kind of customer you are. For more information, contact your J.J. Keller sales representative.
Camera Features
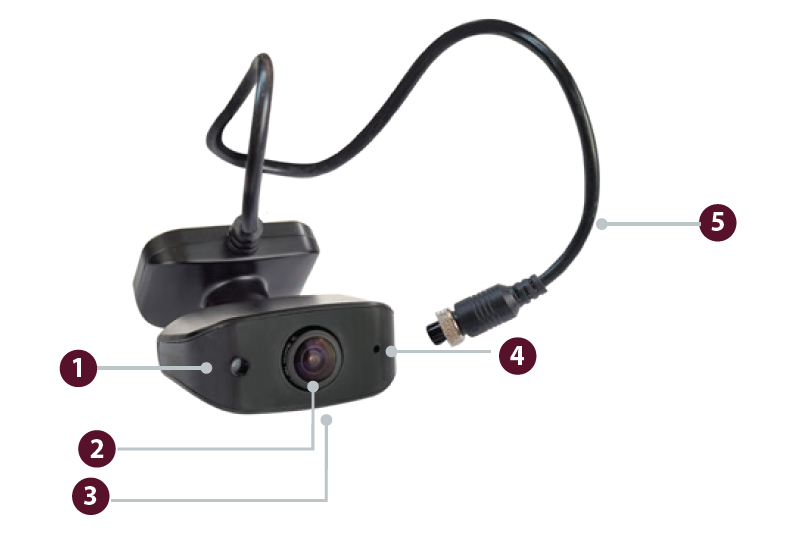
| 1. Photosensitive area | 2. Lens (faces inside) | 3. Screw | 4. Microphone | 5. Video-out cable |
Camera Installation
Install the camera so it has a clear view of the area you wish to capture.
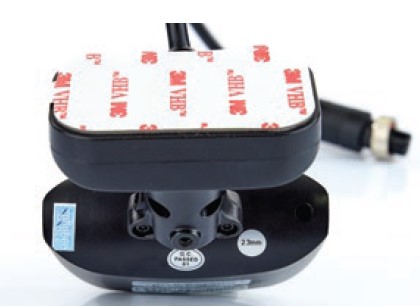
1. Clean the area of installation with a lens wipe to ensure strong adhesion of the mounting bracket.
Ensure the area is dry before mounting.
2. Remove the adhesive and position the camera in place.
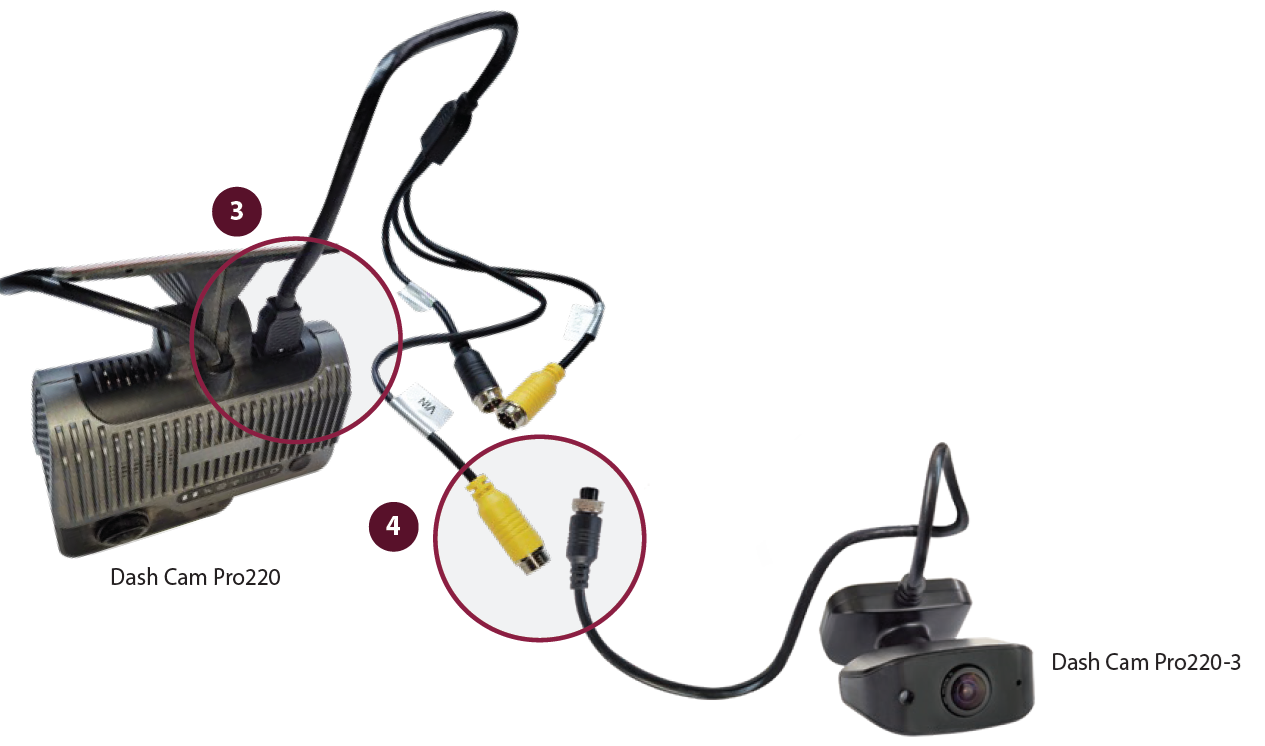
3. Connect the video-out cable to the Dash Cam Pro220.
4. Connect the video cable to the 220-3 video cable.
5. Fix cables with zip ties and mounting brackets or stow out of sight as needed.