SMS COVID-19 Tracking
The COVID-19 Support feature in SMS allows you to add COVID-19 testing and vaccination results for your employees.

Note: All users with the Admin role in your SMS system at the Shared level will have access to the COVID-19 Support feature.
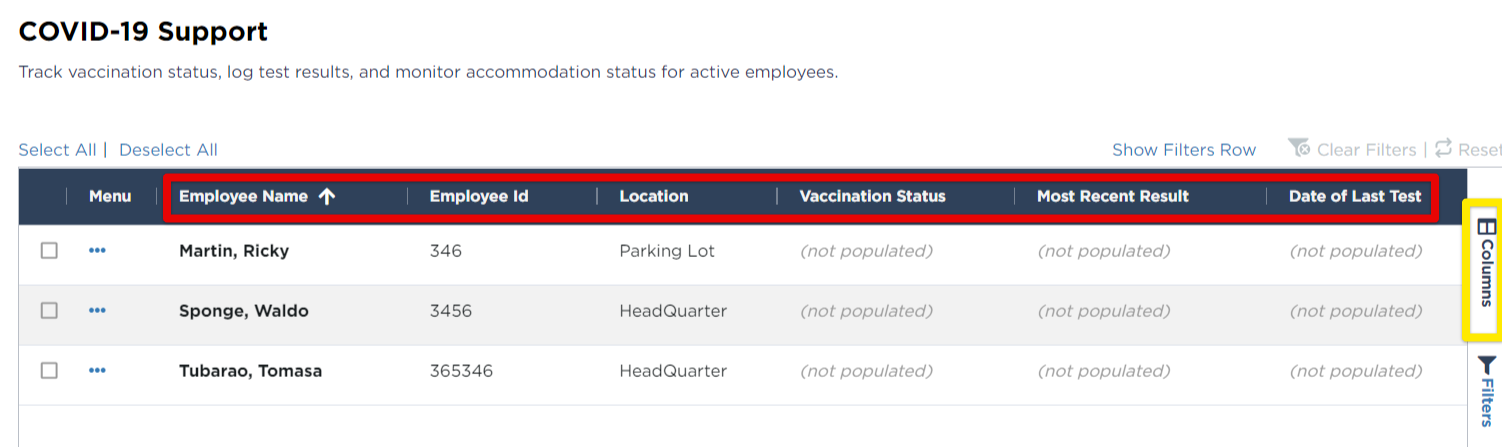
All employees entered into your system will populate in the grid on the COVID-19 Support page. By default, you will be able to see the Employee's Name, Employee ID, Location, Vaccination Status, their Most Recent Test Result, and the Date of their Last Test. (Note: You can also add the following columns to your grid view, if desired: Job Title, Work Area, and Date of Birth. Click the Columns tab to select additional data, as shown in yellow below. For additional filtering guidance, click here to jump to that section.)
Click on a link below to jump to that specific topic in this article:
Adding COVID-19 Vaccination/Test Results
To view or update an employee's COVID-19 information, click the three dots in the Menu column, next to the specific employee. Then, click View.

On the next screen, you will be able to view the Employee Information (click More to expand), options to enter in COVID-19 information, as well as a running log of actions entered for that employee.
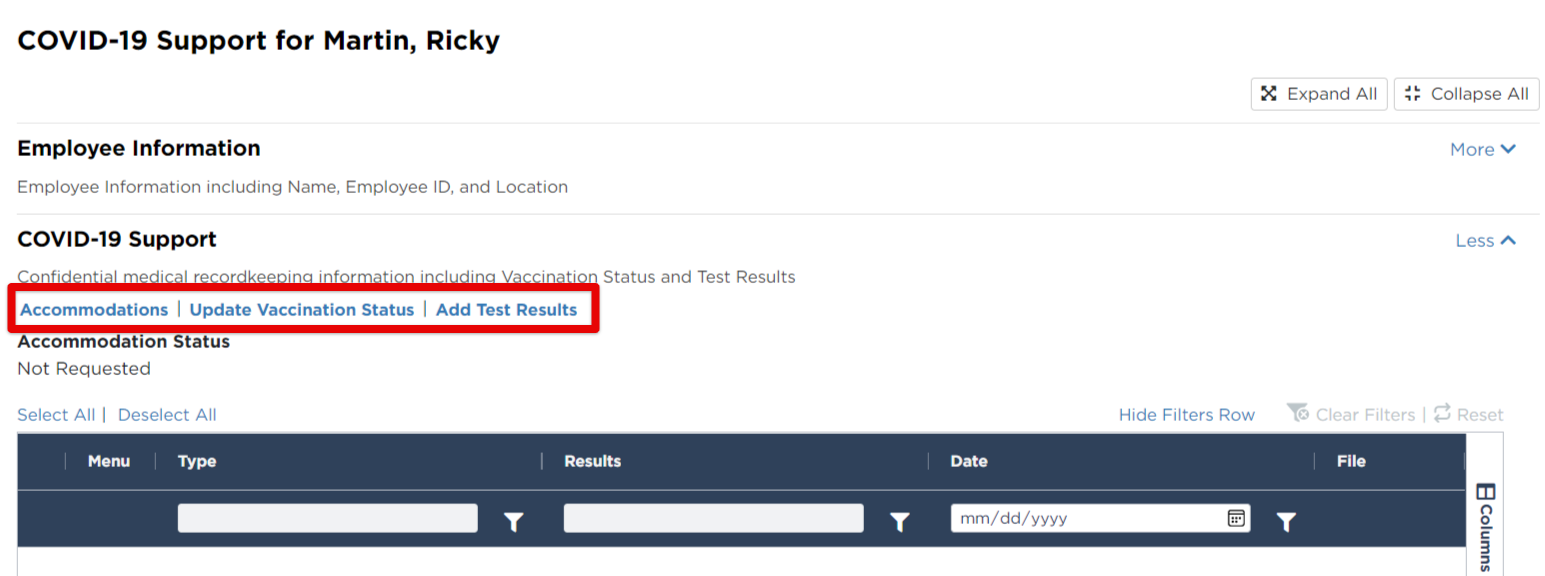
Accommodations
Accommodations are those that might be made, such as exemptions due to religious beliefs, etc. The current Accommodation Status can be viewed here and changed as needed by clicking Accommodations.

Select the appropriate status from the dropdown. Click Save when finished. Note: You can update the Accommodation Status as frequently as needed, as conversations are happening regarding the approval of the accommodation status, etc.

Update Vaccination Status
Click on Update Vaccination Status to enter vaccination information for the employee.

Choose the appropriate vaccination status from the dropdown, and the date of vaccination, if applicable. If the employee is vaccinated, a file will be required to upload.

After saving, you will see the added vaccination status in the grid. Here you can view the entered results, download/preview the attached file (if applicable), or edit/delete the information if needed (click the three dots in the Menu column to edit/delete.)

Test Results
To add COVID-19 test results (positive/negative/inconclusive), click Add Test Results.

Select the result from the dropdown and the date of the test. A file upload is required no matter the test result. Click Save.

After saving, you will see the added test result in the grid. Here you can view the entered results, download/preview the attached file (if applicable), or edit/delete the information if needed (click the three dots in the Menu column to edit/delete.)

If the employee has another test in the future, you can follow the same steps to add results. As you add more information, the grid will show a running log of data.
Using/Viewing the Grid
Now that we've added a vaccination status and test results for an employee, the grid on the COVID-19 Support homepage will display the newly added data for the employee, as well as all other employees' COVID-related information.

You can sort and filter the grid to view specific vaccination statuses, test results, and more. Click on a column heading to sort, or hover and click the three lines in a column to open up further filtering options. (You can also filter the grid by clicking the Filters tab that runs vertically along the righthand side of the grid.)


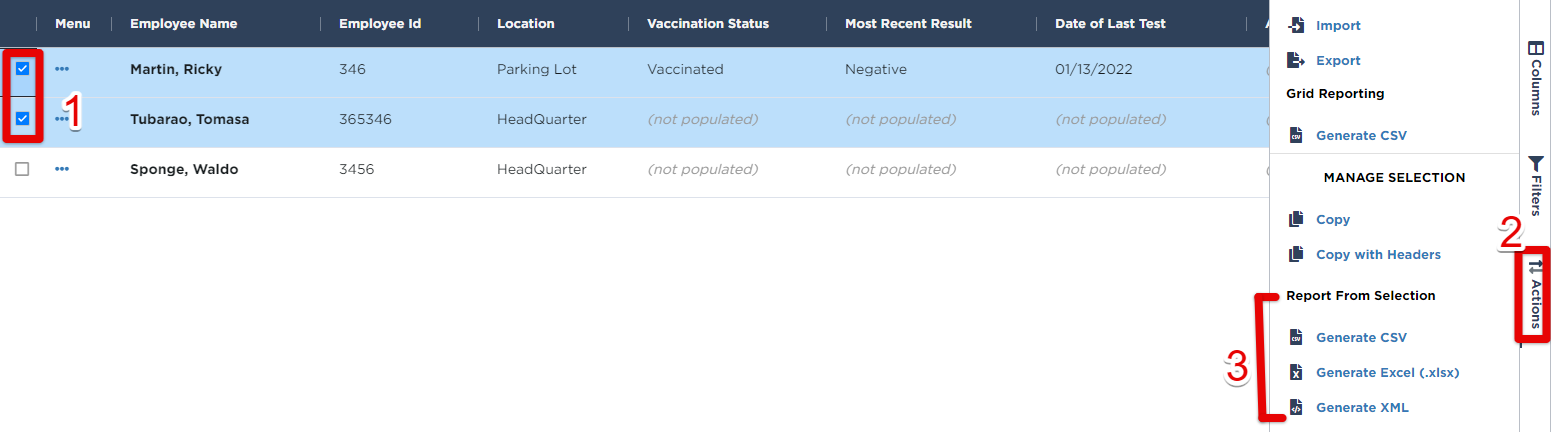
To generate a CSV file for the entire grid, click the Actions tab from the right hand side of the grid. Then, select Generate CSV.

To generate a file for specific employees, check the box next to all desired employees. Then, click Actions to Generate a file from the selected employees.
Importing/Exporting
If you’ve been using the SMS tracking spreadsheets, you can easily import all your existing vaccination and testing records. You can also use the system's Import Template to fill in your employee's COVID-19 information.
To import vaccination statuses and/or test results, you can go straight to the Import/Export Center, as shown in blue below, or you can get to the Import/Export Center by clicking Actions within the COVID-19 Support page, shown in red below.
 OR
OR 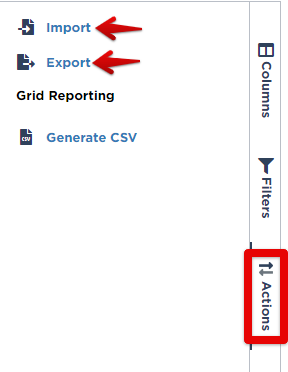
Select the Record Type from the dropdown and whether you would like to Import or Export. If you are Importing, it is important to follow the on-screen instructions.
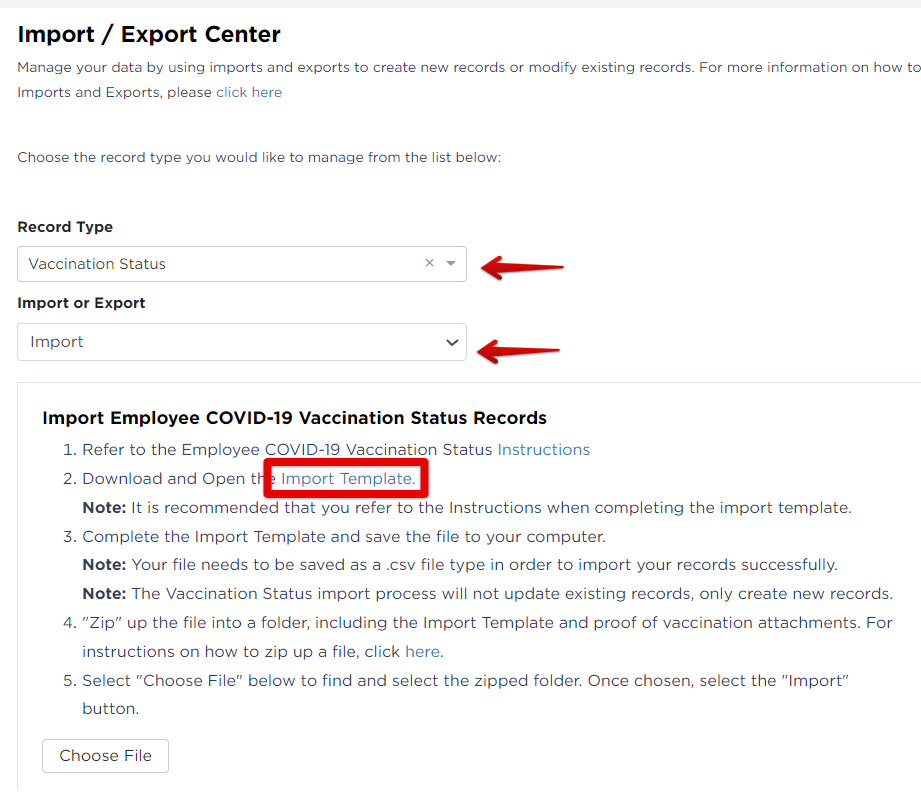
Note: The Vaccination Status import process will not update existing records. It will only create new records.
Download and complete the Import Template. Your file needs to be saved as a .csv file in order to import your records successfully.

For a breakdown of each import template's data fields, click here: COVID-19 Tracking Spreadsheet Breakdown. A pop-up will display, showing you what each data field should contain.
Zip the file into a folder, including the Import Template and Proof of Vaccination attachments. (Your device may have a different method for zipping a file.)
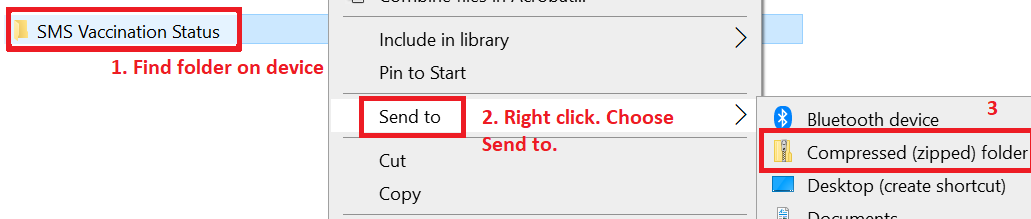
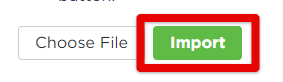
After your folder has been "zipped", upload this to the Import Center by clicking Choose File, and then Import.