Notifications, Subscriptions, & Settings for Camera Events
The Settings page for Encompass Video has three tabs: Notifications, Subscribers, and Event Configurations. This articles walks through all three tabs.
- Notifications are sent via email and/or SMS text and can be sent to subscribers for the specific camera events or triggers that are currently enabled on the camera.
- Additionally, event configurations can be set up for the Critical Speeding event type.
Note: Changing these notifications and settings, will not turn on/off the events on the camera. Not all events and/or triggers are automatically turned on; should you want to learn about additional events, please contact supportvideoprotects@jjkeller.com.
From the left navigation menu, go to Video > Configuration > Settings
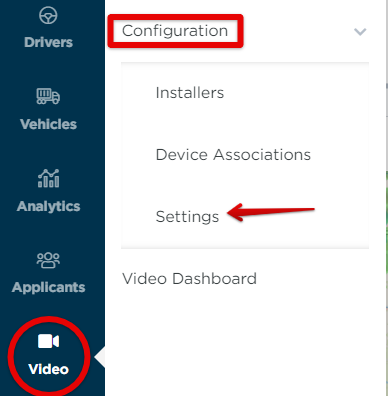 .
.
Add Subscribers from Subscribers Tab
The Encompass admin may first want to add subscribers who will receive the notification.
Click on the Subscribers tab. Then click the orange Add Subscriber button.

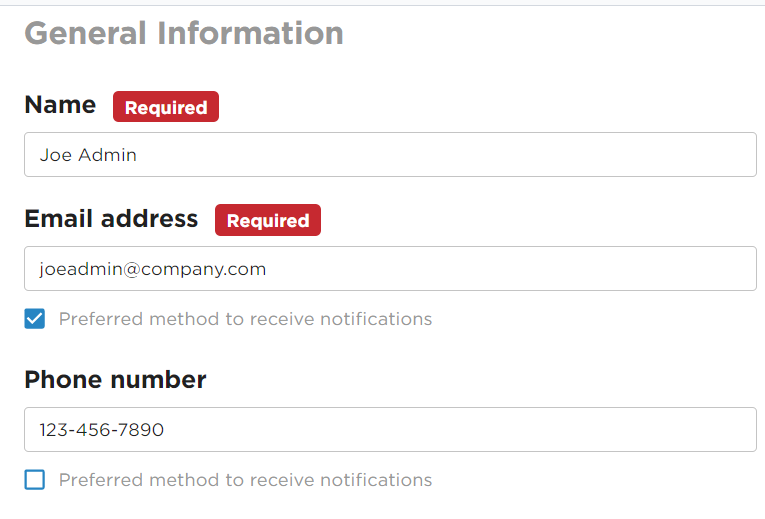
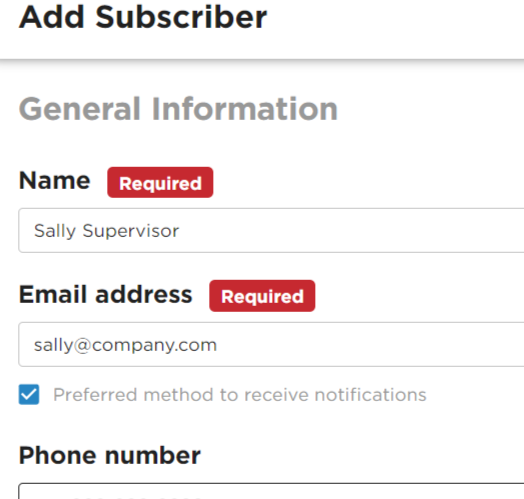
Enter in the subscriber's Name/Email Address/Phone number.
- If the preferred delivery method is email, select the box for “Preferred method to receive notifications” under the email field and enter their email address.
- If the preferred delivery method is text, select “Preferred method to receive notifications” under the Phone Number field and enter their cell phone number.
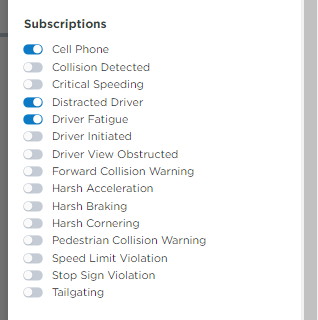
Toggle which event notifications to subscribe to and Save.
Edit/Delete a Subscriber
To edit a Subscriber and their subscriptions, click the pencil icon next to the desired subscriber. Then, modify any fields as needed and Save.

Click the trash can to delete the subscriber from the list.

You can also deactivate the subscriber to keep their information in the system, but remove them from the Active list.

Notifications Page Basics
The Notifications page displays all possible events for which a subscriber can be notified when triggered. Note: There may be additional pages of events; locate the pagination near the bottom of the table. Here you can go to the next page of results, or change the number of rows displayed on the page.
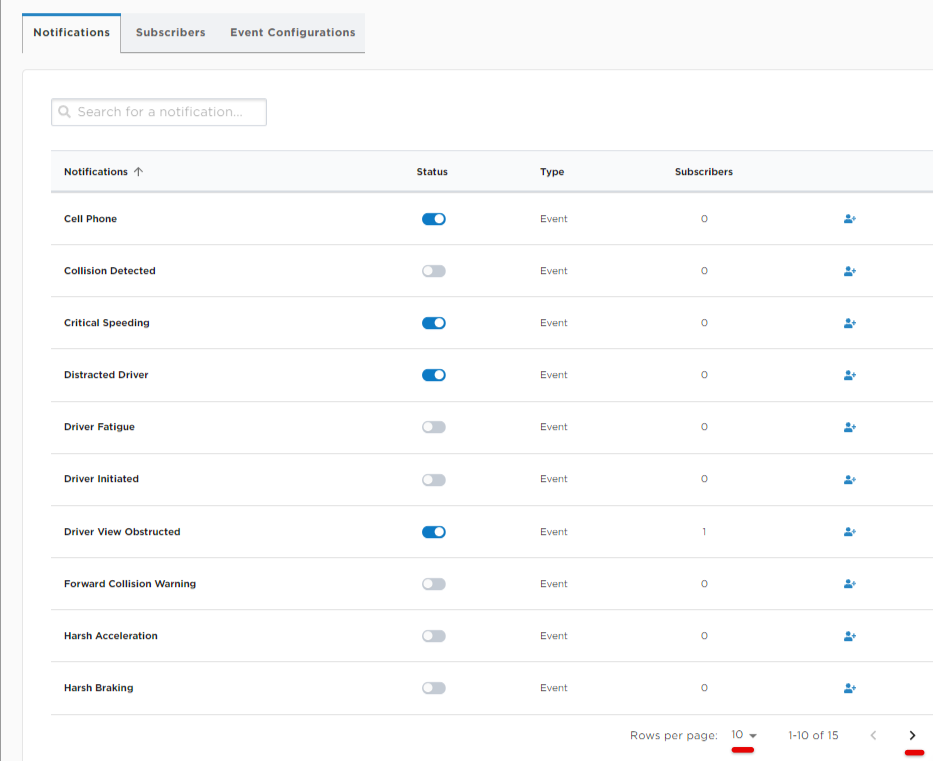
The Status column allows you to turn notifications on/off for that specific event.

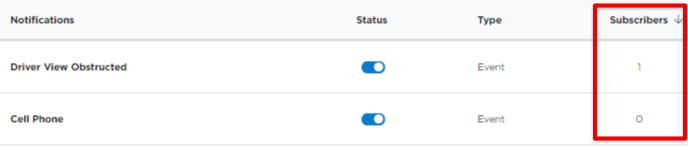
The Subscribers column indicates how many people are subscribed to that event notification.
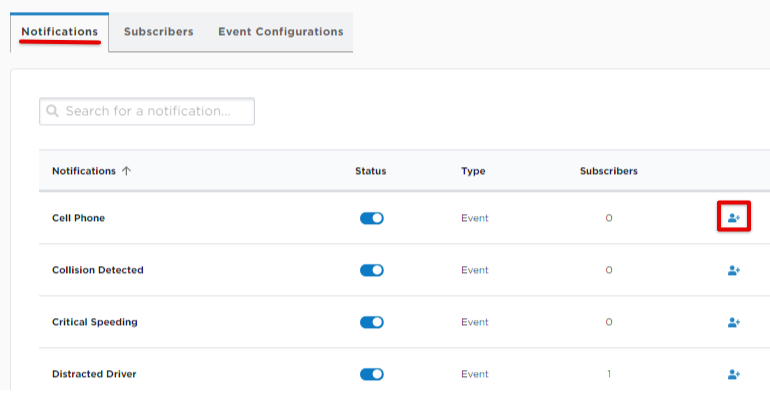
Add Subscribers for a Specific Event from Notifications Tab
Subscribers can also be added to the system directly from the Notifications tab for a specific event.
From the Notifications tab, click the Add Subscriber button next to the desired event.
Enter the subscriber's name and additional information. Click Add when finished.
- If the preferred delivery method is email, select the box for “Preferred method to receive notifications” under the email field and enter their email address.
- If the preferred delivery method is text, select “Preferred method to receive notifications” under the Phone Number field and enter their cell phone number.
Note: Adding a subscriber this way will automatically add them to the overall Subscribers page. Therefore, you will not want to add a subscriber here if thy have already been added from the Subscribers page. Doing so will create a duplicate subscriber.
If you need to add more event notifications for a specific subscriber, you can then go to the Subscribers tab and toggle additional event notifications on by editing the subscriber's information, as outlined in the previous section.
What the Subscriber Will See when Notified of an Event
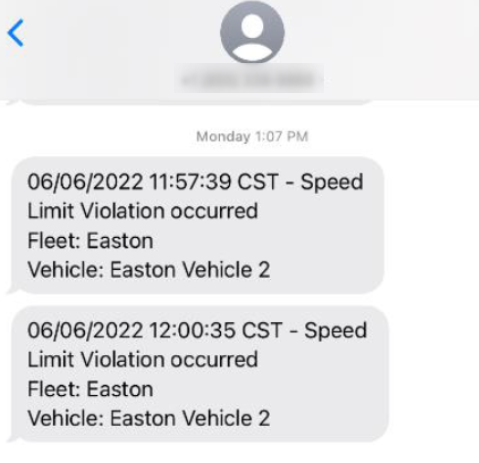
When notified of an event occurrence, the notification will be sent to the list of subscribers at their designated preferred delivery method. Below are examples of what the subscriber will see.
Email Delivery

SMS (Text) Delivery
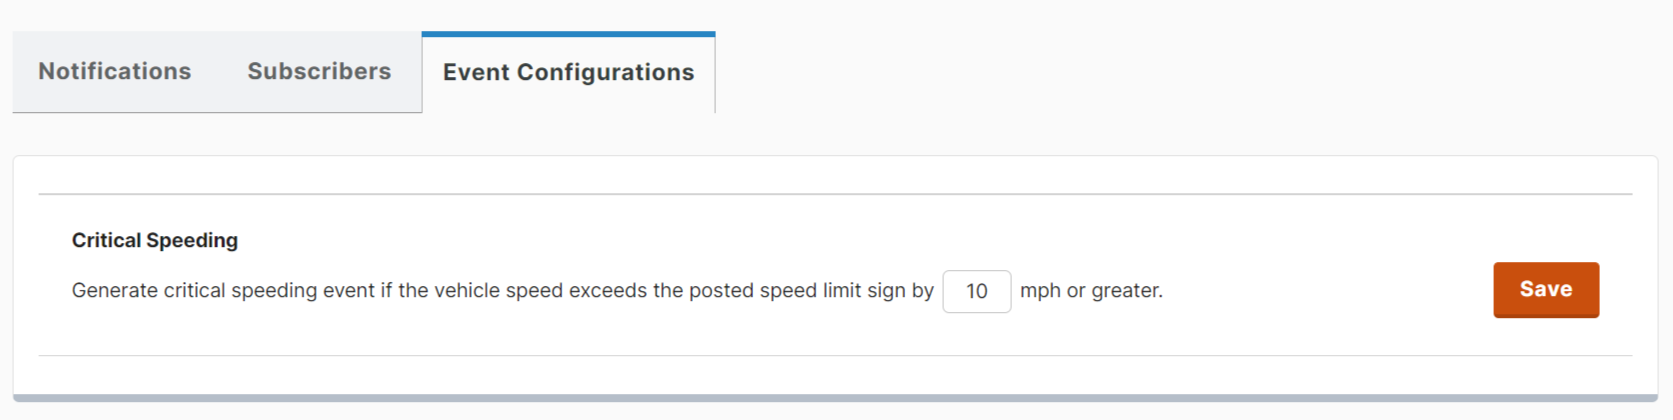
Event Configurations Tab
In the Event Configurations tab, the Critical Speeding event trigger can be adjusted. Critical Speeding is an event type that automatically converts existing speeding events when a certain, defined threshold is met. For the Critical Speeding trigger to work, the regular Speeding event type would need to be enabled on the camera. Note: If you are unsure if the event is turned on, please email supportvideoprotects@jjkeller.com for further confirmation
Once the Speeding event is enabled for the camera, you will be able to set Critical Speeding as another Video Event type to help further monitor drivers' speeds if you have a designated speed limit requirement. Currently, the Speeding Event can be set to 5MPH or 10MPH over the posted speed limit.
*It is recommended that the Critical Speeding is set above your Speeding Event limit so you are not getting duplicate videos.
For example, if the Speeding threshold is set to 5 MPH over the posted limit sign:
- Driver is driving at 50 MPH, speed limit sign is 45 MPH= Speeding event
- Driver is driving at 50 MPH, speed limit sign is at 45 MPH, but the Critical Speeding event is configured for 10 MPH= Speeding event
- Driver is driving at 55 MPH, speed limit sign is at 45 MPH, but the Critical Speeding event is configured for 10 MPH= Critical Speeding event