Setting up a Geo-Fence
When Geo-Fencing is enabled for a driver's data profile, GPS data is captured in Encompass from the mobile application and ELD to determine if Geo-Fence boundaries have been crossed. If they have, data will be collected to populate Geo-Fence reports.
Setup
Before a geo-fence can be setup, a landmark, or base will need to be established to determine what area the geo-fence needs to cover.
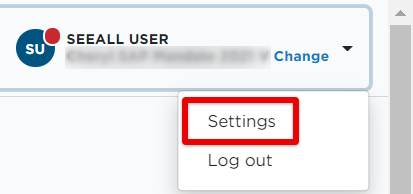
To do this, go to Settings in the drop-down menu in the upper right hand corner.
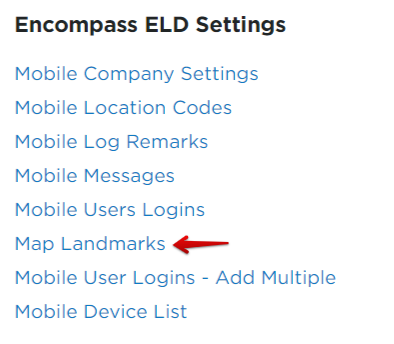
Scroll down to the Encompass® ELD Settings box and click on Map Landmarks.
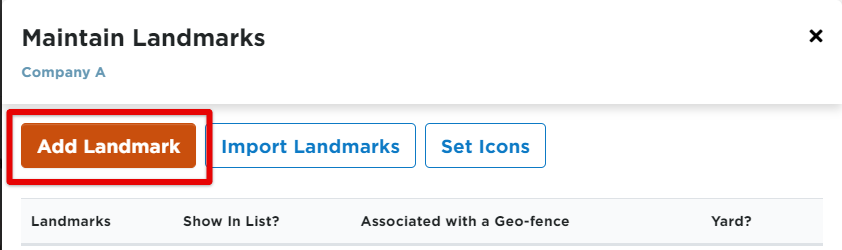
Click Add Landmark.
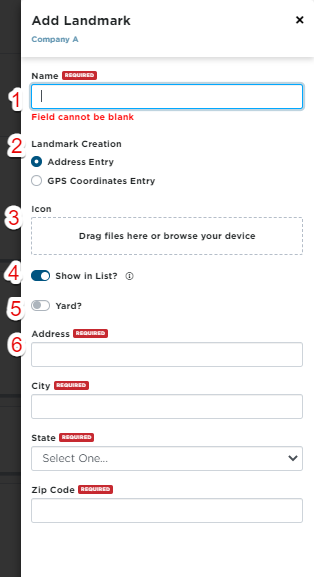
On the Add Landmark screen, enter the necessary information:
1. Name: Enter a name for the landmark. This could be the name of the location (example: Corporate Headquarters).
2. Landmark Creation: Indicate how Encompass should find the location on the map to create the landmark. If GPS Coordinates Entry is selected, the Enter Address area will change to allow for latitude and longitude to be entered.
3. Icon: If there is an image that should be used to denote this landmark on a map, it can be uploaded here.
4. Show in List?: Having this checked will ensure that this location is included in any geo-fencing reports.
5. Yard?: Check this box to indicate if this location is a yard that vehicles move freely in. This is important when utilizing SmartAssign™ for unassigned events and yard moves are automatically processed. Click here for more information on SmartAssign™ Technology.
6. Enter Address/GPS Coordinates: Based on the selection made for Landmark Creation, enter the address or the gps coordinates for the location.
Click Save and Add Geo-Fence.

Creating the Geo-Fence
Once the landmark is created, the Geo-Fence can then be added. After clicking Save & Add Geo-Fence on the Add Landmark screen, the user will be taken to a map with the location of the landmark.
They can select a circular or polygonal Geo-fence.
- If circular is selected, enter in the appropriate radius. A circle will populate and cover the set radius.
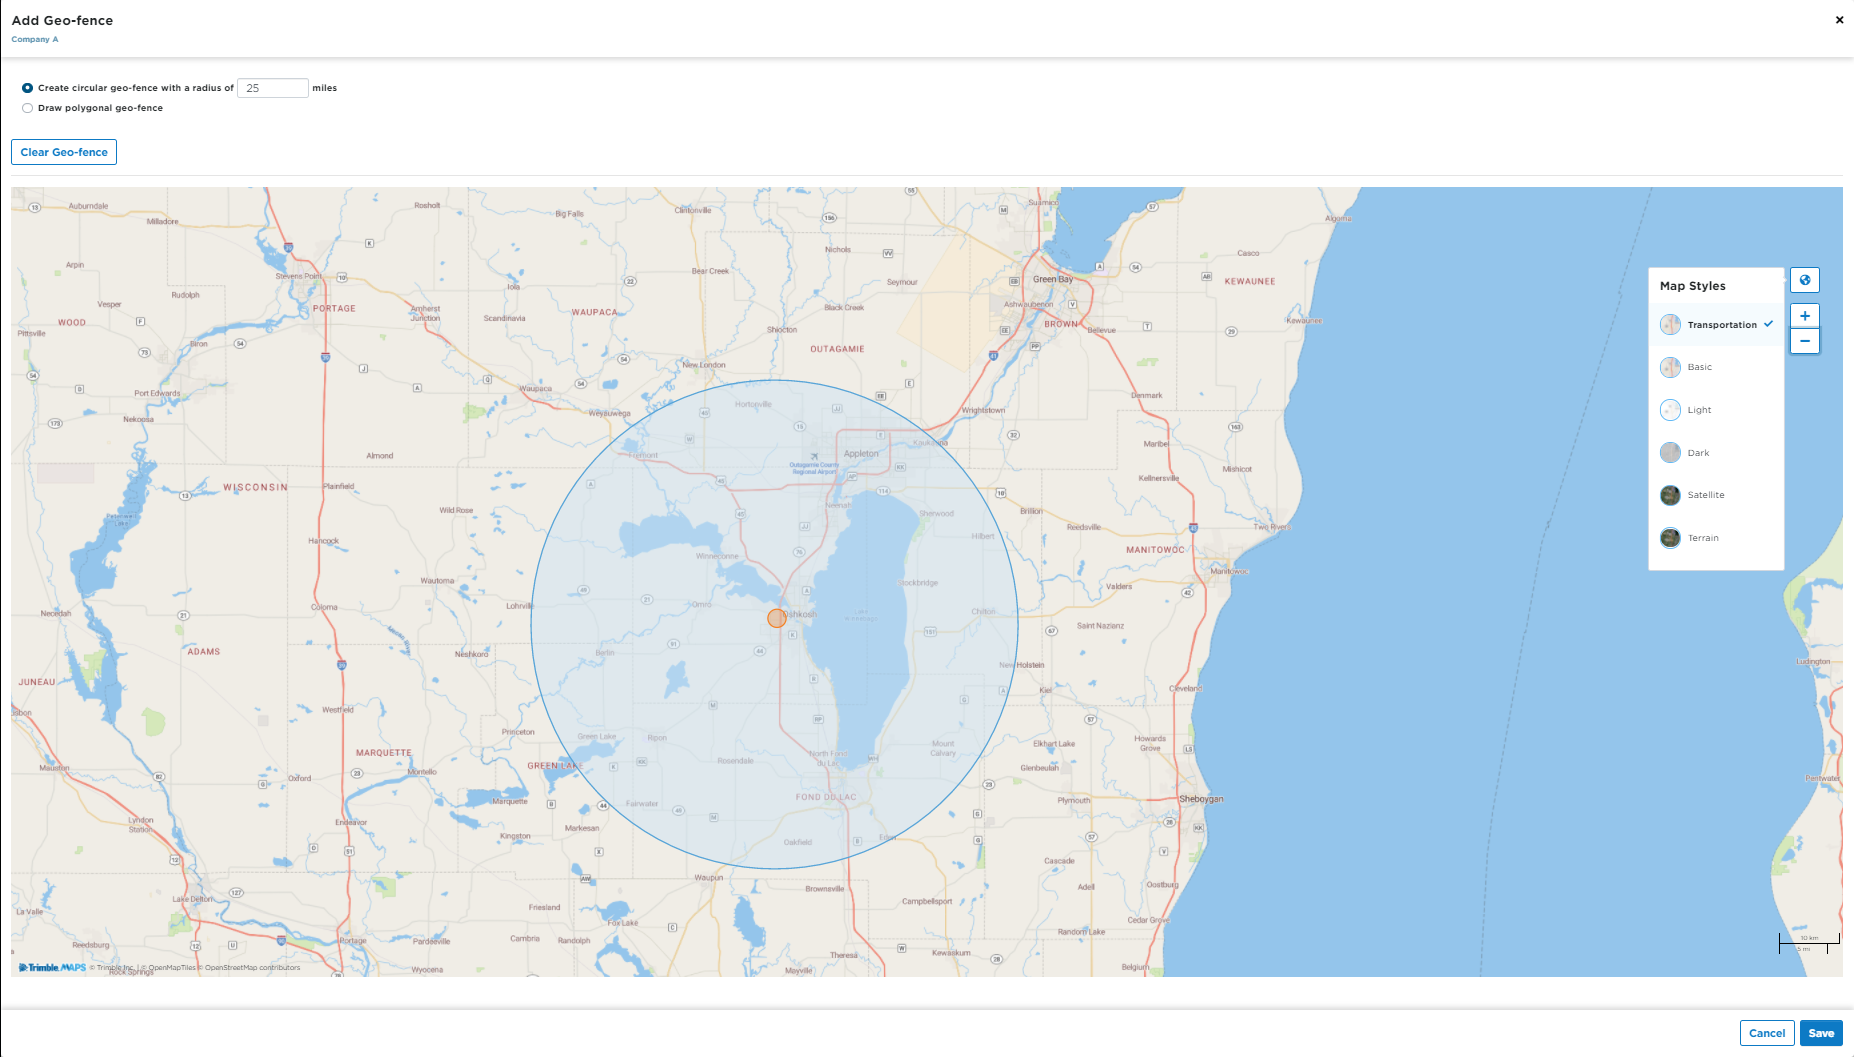
- If polygonal is selected, change the map style to Satellite by clickin the Earth icon on the far right. Follow the instructions found in the blue Information box on the page (or down below) to click around the yard and create the polygonal Geo-Fence.
- Click on the map to create the first point, then click on the map for a second point. A line will now show on the map.
- Click for a third point on the map and a triangle should appear.
- Continue clicking on the map until you get the shape/fencing you require and double-click when finished. If you inadvertently click a bad point on the map, you can Clear the Geofence by clicking the "Clear Geofence" button or by using your Delete key (if you have one).

Once the Geo-Fence is created, click Save to store it.
Import Landmarks
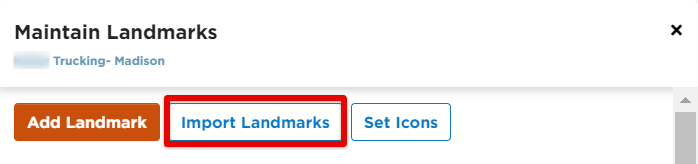
If you have landmarks that you would like to import without having to re-enter the information manually, you can use the following steps to help automate that process.
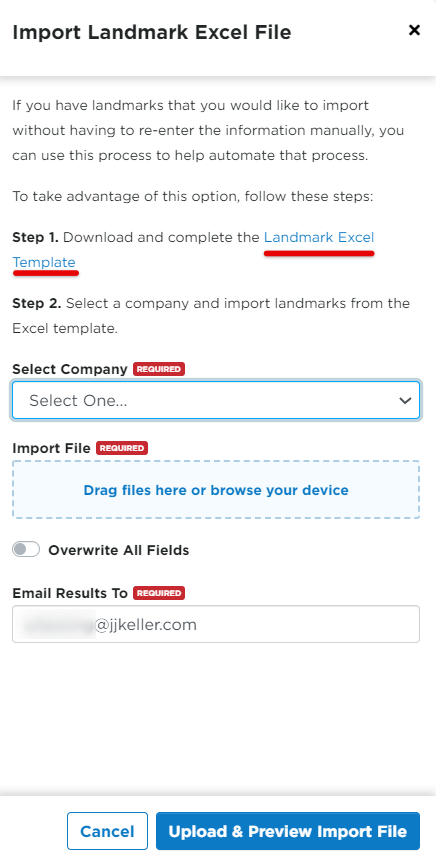
1. Download and complete the Landmark Excel Template that is found within Encompass itself, right on the pop-out screen. (Underlined in red in the image below)
2. Select a company
3. Drag or upload the Import Landmarks file from your device.
4. Determine what email address to send the results to.
5. Click Upload & Preview Import File
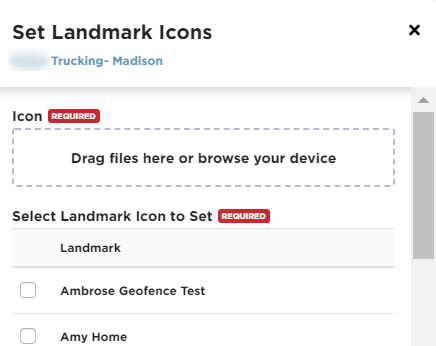
Set Icons
You have the ability to setup specific visual icons for each of your landmarks, if desired. Simply drag or upload the desired icon into the box, and then select the landmark you would like to associate that icon with. Click Save.