Hiring Process Setup
Setting up the hiring process can only be performed by an Encompass user with Administrator access.
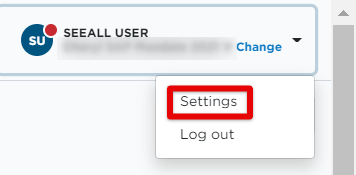
The Hiring Process Setup is found by going to Settings, found dropdown next to your name, in the upper right hand corner.
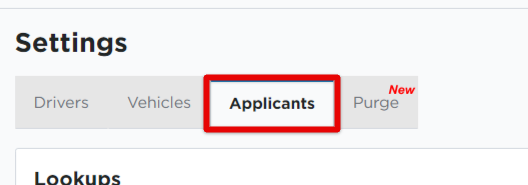
Select the Applicants tab. The following information will focus on the Hiring Processes section.

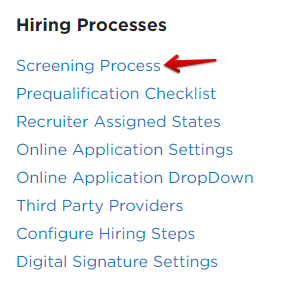
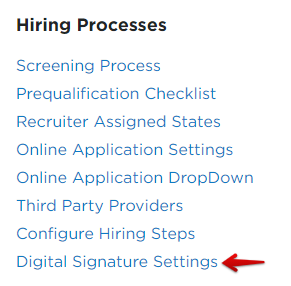
Use these links to skip to the desired section, or use the Table of Contents at the top of your page:
- Screening Process
- Prequalification Checklist
- Recruiter Assigned States
- Online Application Settings
- Third Party Providers
- Configure Hiring Steps
- Digital Signature Settings
Screening Process
The Screening Process for new applicants can be customized to meet a company's requirements. These settings will determine if an applicant is considered a Priority 1 (meets all requirements) or Priority 2 (failed at least one requirement). This lets a recruiter work with the Priority 1 applicants first. To establish these settings, go to Screening Process.
Check any boxes within the Screen On column for items that should be screened upon. To select all of the boxes, check the box next to Screen On. Enter the appropriate screening information (e.g. Applicants should be at least 21 years old) for each item/s selected. Click Save when completed.
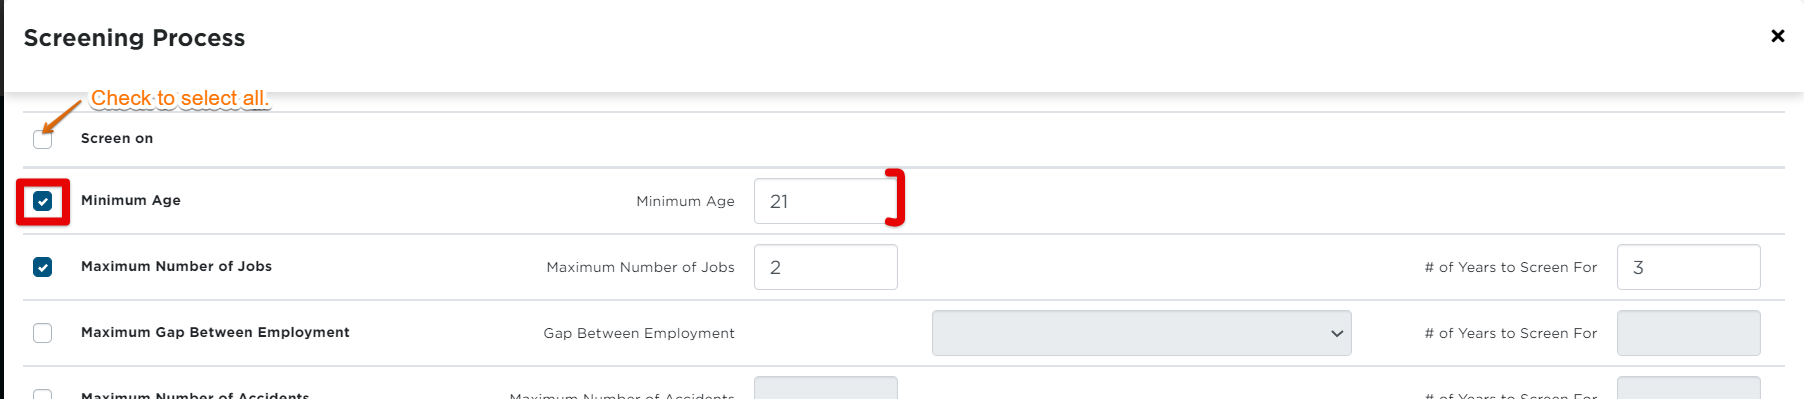
Applicants that meet ALL of the screened requirements will be indicated as Priority 1 applicants. Applicants that fail at least 1 requirement, will be indicated as Priority 2 applicants.
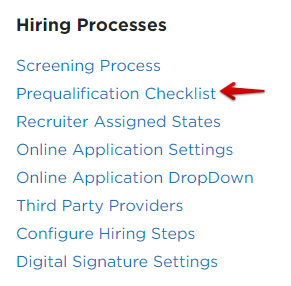
Prequalification Checklist
This setup is critical to determining what forms will be generated in the Prequalification Checklist step of the hiring process.
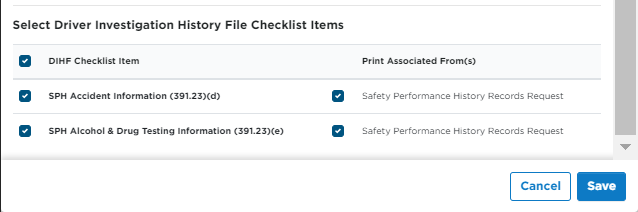
Note: The items shown below as checked (selected) are the most common in line with §391.51 General requirements for driver qualifications. They may not align with the needs of every company.
When the Prequalification Checklist is generated during the hiring process, the Prequalification Item(s) that are checked will appear in the applicant's record. Selecting items from the Print Associated Forms column will print the pre-filled forms relating to that Prequalification Checklist item(s) for the applicant. Once all needed items are selected, click Save.

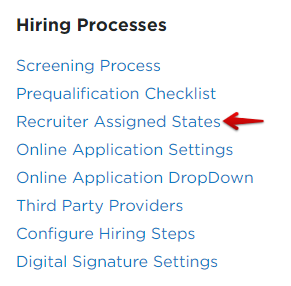
Recruiter Assigned States
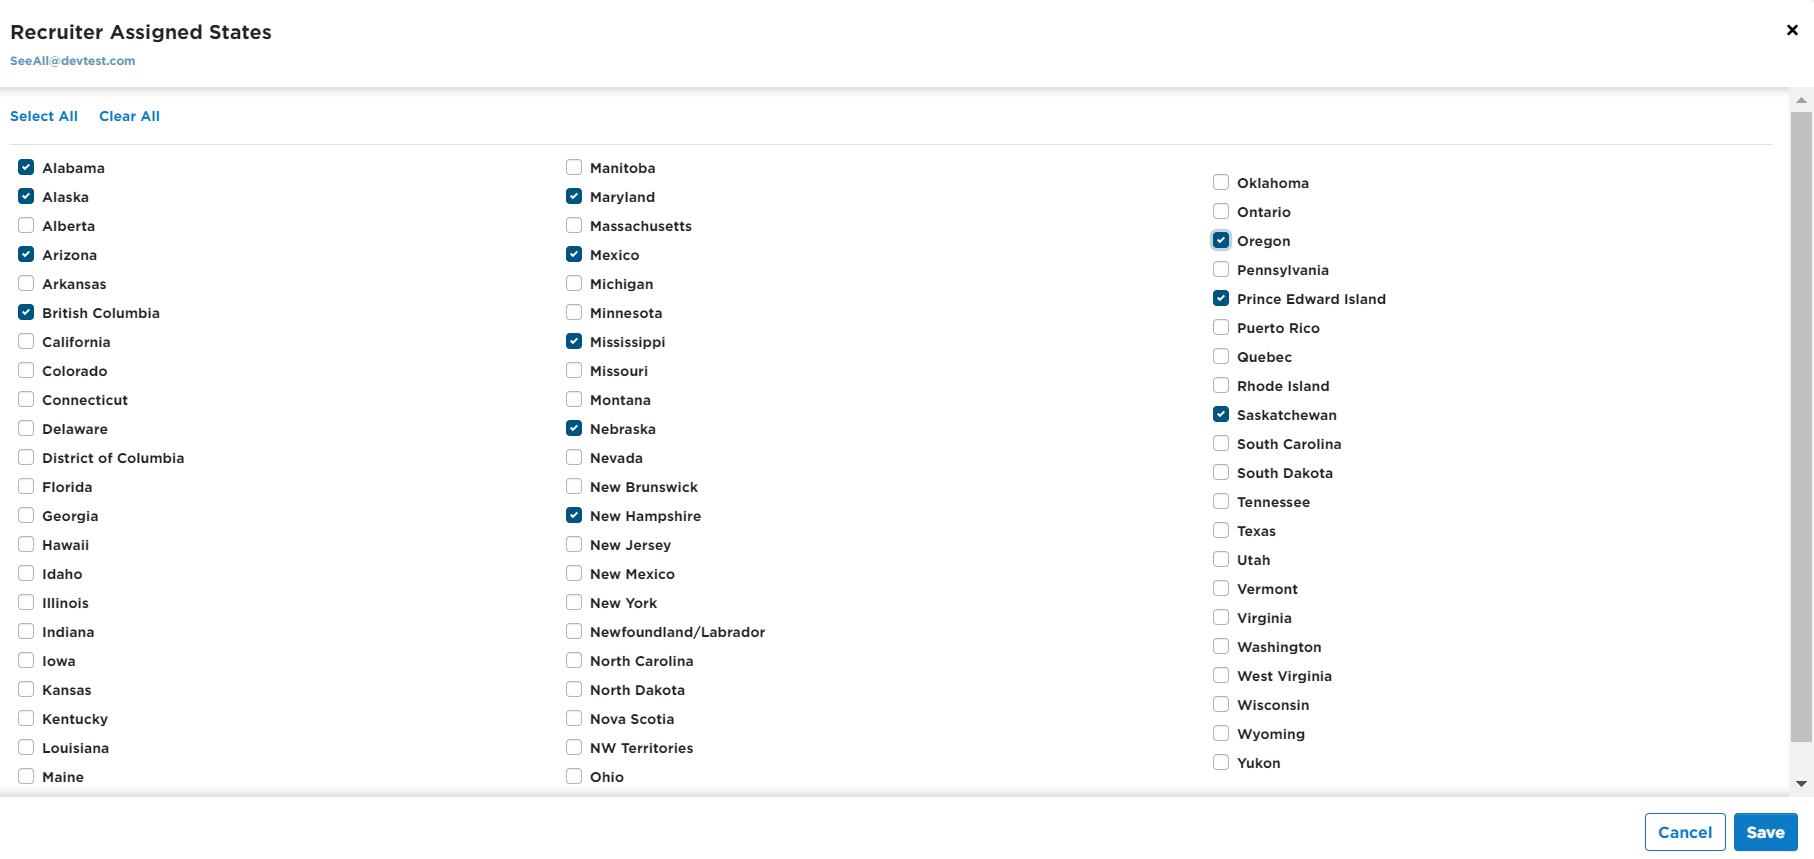
Recruiters can be assigned to specific states, provinces, and territories. When new applications are entered, they are routed to recruiters based on the address information. Click on Recruiter Assigned States.
The recruiter is assigned based on the applicant's state of residence, not the state where the CDL was issued.
Select the state(s), province(s), or territory(ies) for the recruiter. Click Save when completed.
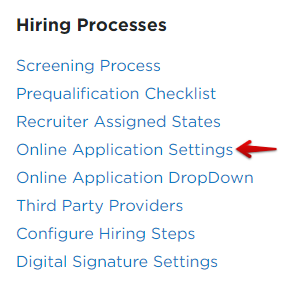
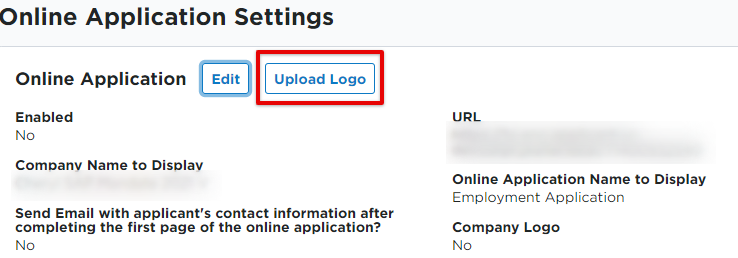
Online Application Settings
Setting up an online application is a good way to save time in having to manually enter in a paper application as the online application is entered by the applicant. An application URL will be generated so you can share it directly with applicants. To set this up, click on Online Application Settings.
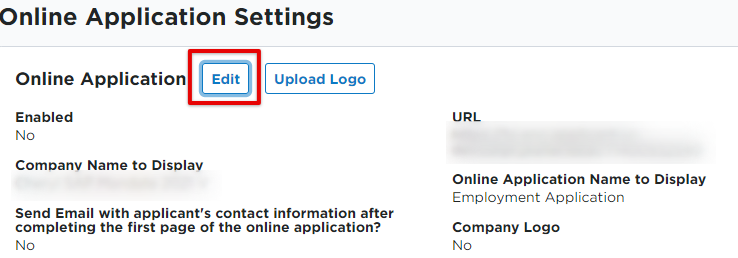
To enable the Online Application, click Edit.
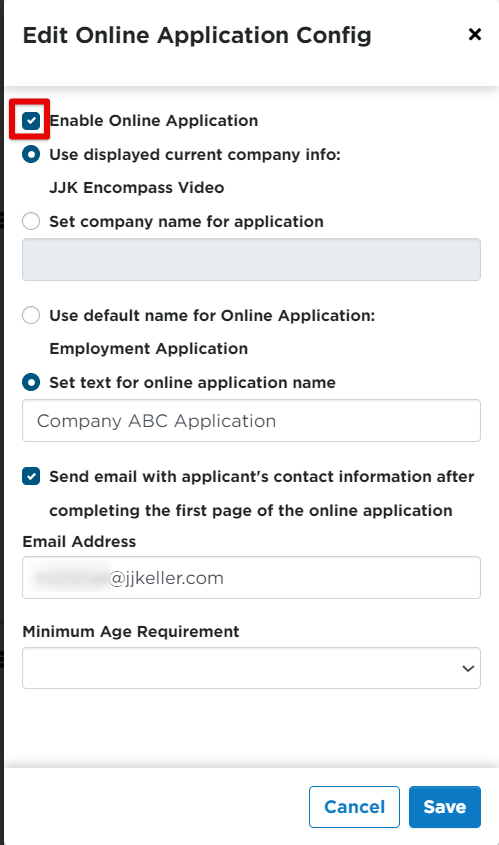
Check/uncheck Enable Online Application to activate/deactivate the online application.
- The displayed company name for the application can be changed by selecting the bubble for Set company name for application and entering in the desired name.
- Additionally, if the online application should have a different name other than the default of Employment Application, select the bubble for Set text for online application name and enter in the desired name.
- Use the Send Email option to have all applicants' contact information sent to the indicated recruiter/admin e-mail address when they complete the first page of the application.
Click Save when completed.
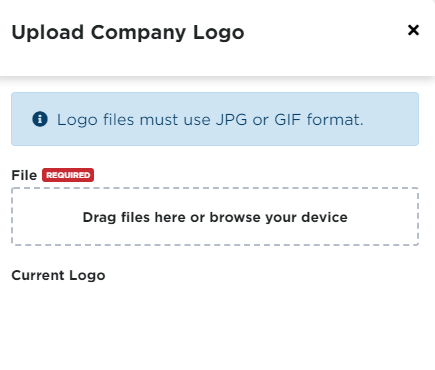
Upload Logo
You also have the ability to upload a logo to the application. Drag the logo right into the File box, or select the file from your device. A preview of your current logo, if any, will show under Current Logo.
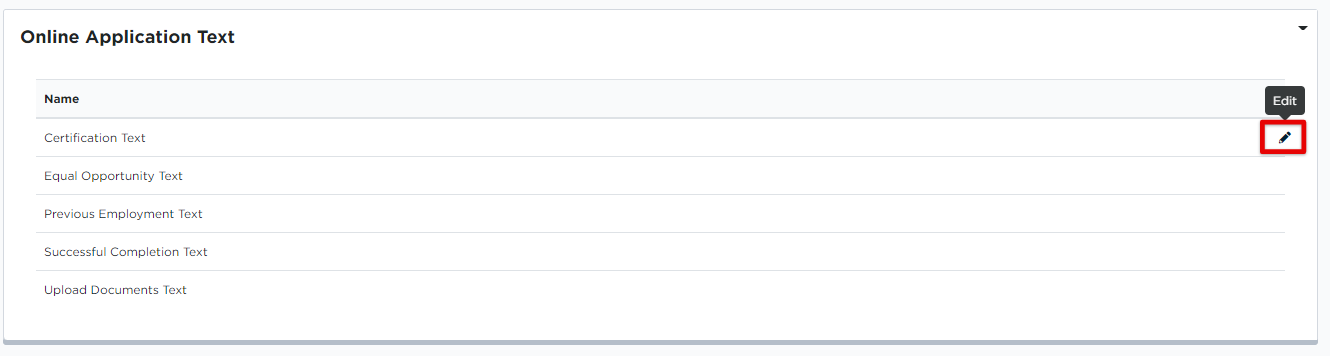
Online Application Text
In the Online Application Text section, the following text that appears on the application can be edited by hovering and clicking the Edit pencil icon the right of the item:
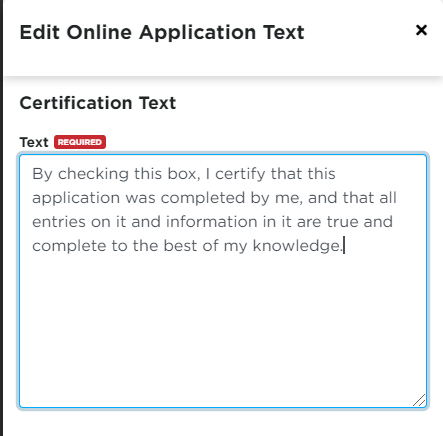
Certification Text - Text that appears at the bottom of the application
Equal Opportunity Text - Text that appears at the top of the application
Previous Employment Text - Text that appears at the top of the Previous Employer Information section
Successful Completion Text - Text that appears after the Submit button has been clicked
Example: Certification Text
Additional Questions
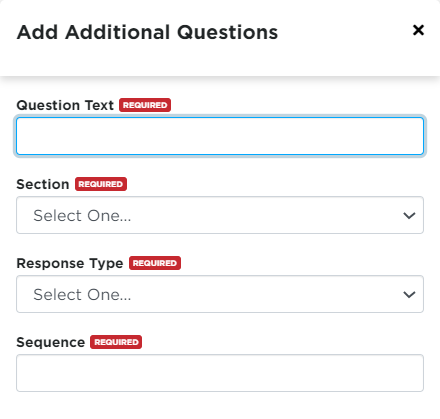
Additional questions can be added to the online application. In the Online Application Additional Questions section, click Add New.

Type in the question in the Question Text field.
Click on the Section drop-down box to select which part of the application the question should be added to.
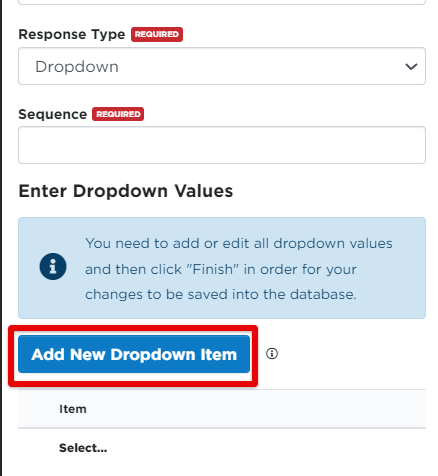
Click on the Response Type drop-down to select the response format of either Yes/No, Text, or Dropdown.
Sequence is the order of the additional questions. Enter the question order number in the sequence box (i.e. 1, to make it the first question out of the additional questions).
Click Save when complete.
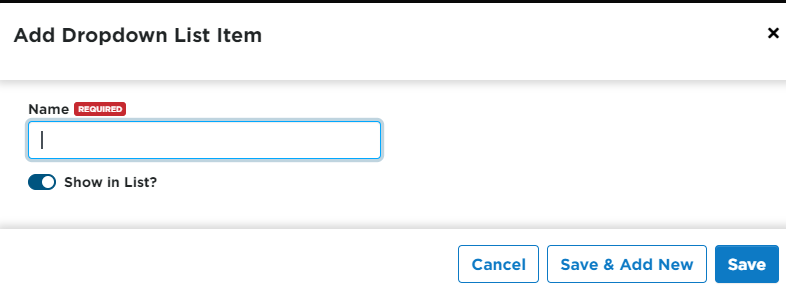
Note: If Dropdown is selected for the Response Type, you will be prompted to enter Dropdown Values.
To edit or delete the additional questions, hover over the question line and click the pencil to Edit or trash can to Delete.


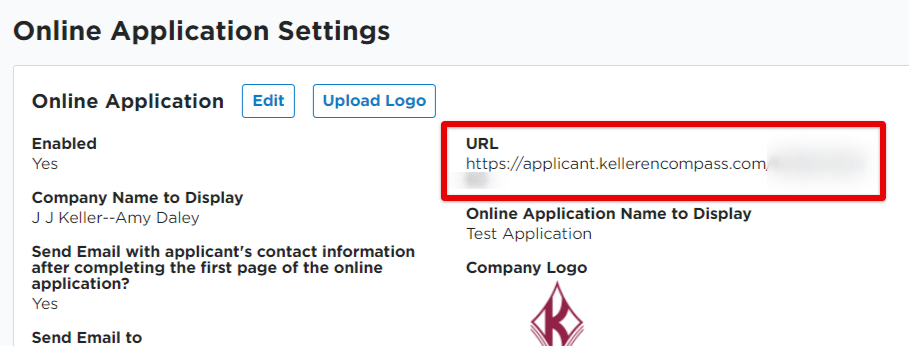
Share Online Application
When all Online Application settings and questions have been determined, you can share the Application. Note the URL; you can copy and paste this to a location where applicants can access the link.
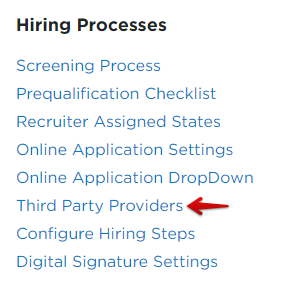
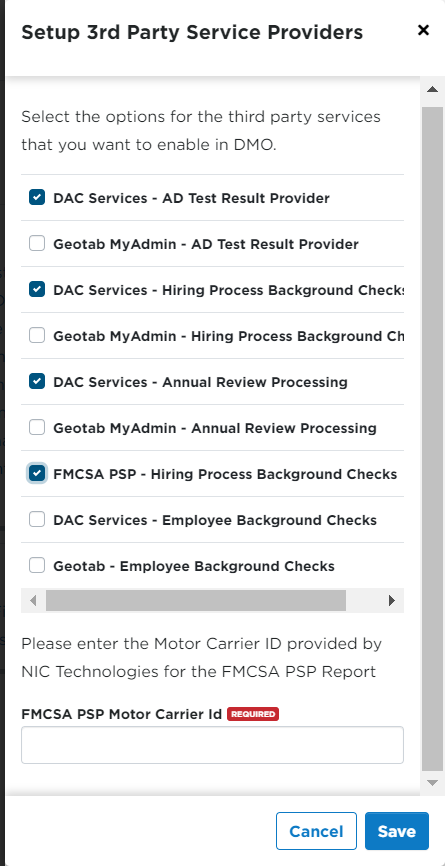
Third Party Providers
Third Party relationships must be established prior to this setup process. Additionally, these settings also affect annual review processing. Contact your sales representative for additional details.
Click Third Party Providers.
Once the desired options are selected, click Save.
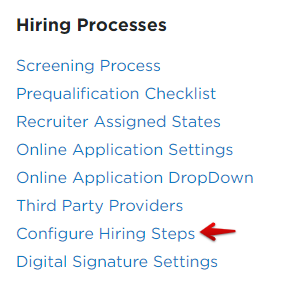
Configure Hiring Steps
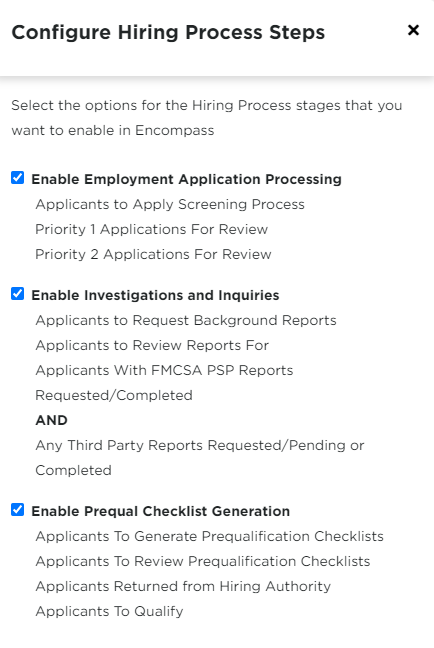
Hiring steps are configured into three phases. It is recommended to use the default settings (all enabled) to make sure you get all the necessary paperwork before hiring applicants. Click on Configure Hiring Steps.
Check/uncheck the box next to the desired hiring process steps, and click Save.
Digital Signature Settings
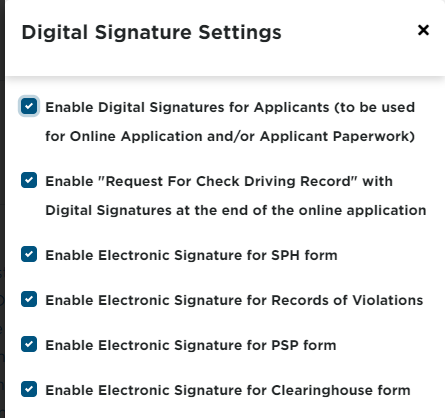
When an online application is completed, the applicant may sign their application digitally. Enable signatures for applications and specific forms throughout the application process by clicking Digital Signature Settings.
Check the box next to each digital signature you would like to enable. Click Save when all selections are made.